Dinner · Part 3 of 3: Tips & recipe card
Creamy Garlic Butter Shrimp Stuffed Salmon Tips, FAQ & printable recipe
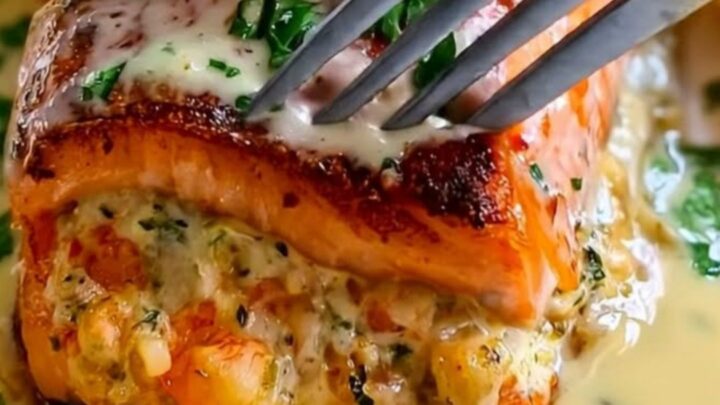
- Prep
- Cook
- Total
- Serves
- 4
Tips for success
To achieve an even better flavor, you can lightly sear the outside of the stuffed salmon in a hot skillet for one minute per side before transferring it to the baking dish. This adds a nice golden color and texture to the surface of the fish, which complements the creamy, soft interior of the filling perfectly.
If you prefer a slightly lighter sauce, you can substitute half of the butter with a small amount of extra-virgin olive oil. This will still provide the necessary richness and carry the flavor of the garlic while making the sauce feel a bit less heavy on the palate, especially when serving the dish alongside roasted vegetables.
Variations
- Spicy Shrimp Stuffing: Add one teaspoon of crushed red pepper flakes to the shrimp and cream cheese mixture for a subtle, warming heat that contrasts with the richness of the cream cheese.
- Lemon Zest Variation: Stir one teaspoon of fresh lemon zest into the filling to add a bright, citrusy note that pairs beautifully with the salmon and the garlic butter.
Storage and make-ahead
- Fridge
- Store in an airtight container for up to 2 days.
- Reheat
- Reheat gently in the oven at 300°F (150°C) until warmed through, or use a microwave on low power to prevent the fish from drying out.
Keep leftovers in an airtight container to preserve the moisture of the salmon. Place them in the refrigerator promptly after the food has cooled to room temperature, which should take no longer than two hours.
Proper storage will keep the fish safe and tasty for up to two days, though it is best enjoyed as soon as possible after cooking.
You can prepare the shrimp filling up to 24 hours in advance and keep it refrigerated in a sealed container.
However, do not stuff the salmon until you are ready to bake it, as the moisture from the shrimp can cause the fish to soften too much if left to sit. Assemble the fillets right before placing them into the preheated oven for the best results.
Serving ideas
This dish pairs exceptionally well with simple, light sides that do not overpower the delicate flavors of the salmon. Consider serving it with steamed asparagus, roasted baby potatoes, or a crisp green salad tossed with a light vinaigrette.
The richness of the creamy filling makes it a hearty main course that stands well on its own without needing heavy accompaniments.
When plating, carefully transfer each fillet to a warm dinner plate using a wide spatula to ensure it stays intact. Drizzle the warm garlic butter sauce generously over the top just before bringing the plates to the table.
This ensures the sauce stays fluid and aromatic, providing the best sensory experience for your guests as they cut into the steaming, stuffed salmon.
Frequently asked questions
Can the salmon be stuffed ahead of time?
How can the salmon be prevented from drying out?
Is it possible to use a different type of fish?
Creamy Garlic Butter Shrimp Stuffed Salmon
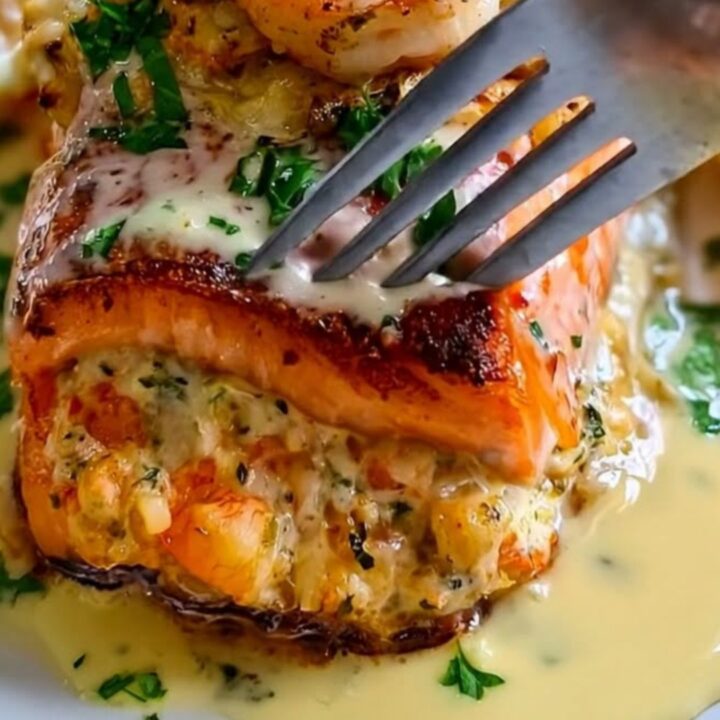
Ingredients
- 4 salmon fillets, skin-on or off
- 1 lb shrimp, peeled, deveined, and chopped
- 4 oz cream cheese, softened
- 3 cloves garlic, minced
- 4 tbsp butter
Instructions
- In a mixing bowl, combine the chopped shrimp, softened cream cheese, and minced garlic. Keep the shrimp chilled in the refrigerator until ready to mix, keeping it out of the fridge for at most 30 minutes before cooking. Mix well until thoroughly incorporated into a smooth, creamy stuffing mixture.
- Cut a deep pocket into the side of each salmon fillet. Fill each pocket generously with the shrimp mixture. Place the fillets in a baking dish and bake until the fish and shrimp reach a safe internal temperature of 145°F (63°C).
- While the salmon rests for 5 minutes, melt the butter in a saucepan over medium heat. Drizzle the warm garlic butter over the stuffed salmon fillets before serving.
Estimated nutrition per serving
- Calories
- 450
- Protein
- 35.5 g
- Carbohydrates
- 3 g
- Fat
- 32 g
- Fiber
- 0 g
- Sugar
- 1 g
- Sodium
- 450 mg
Next recipe
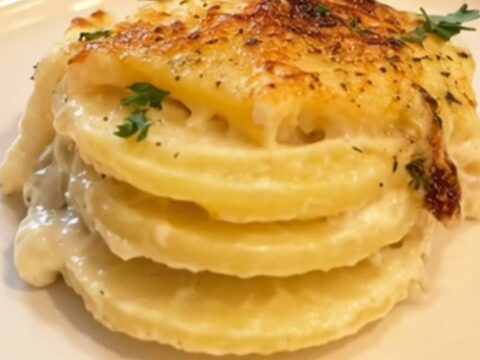
Creamy Roasted Garlic Potato Gratin with Golden Crust
See the recipe → →This recipe is based on a short cooking video and is published under the pen name Clara Weller. It was checked before publication, but errors can slip through. Nutrition, when shown, is an estimate. Read more in our editorial policy and on our food safety page.
More recipes to try
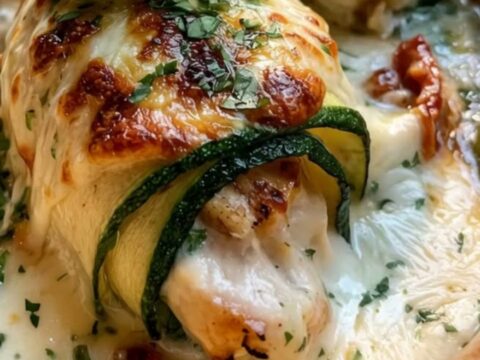
Creamy Zucchini Chicken Roll-Ups for an Easy Weeknight Dinner
Total time: 55 min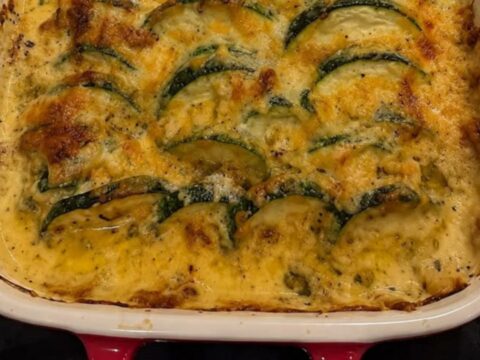
Cheesy Zucchini and Ground Beef Casserole
Total time: 1 h 5 min
Creamy Cajun Beef Spaghetti for a Quick Dinner
Total time: 30 min
Creamy Garlic Herb Beef Roast with Tender Roasted Potatoes
Total time: 2 h 30 min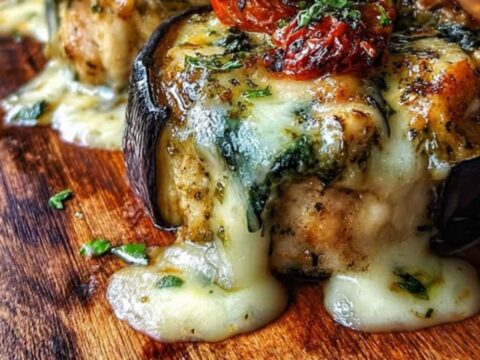
Cheesy Spinach and Sun-Dried Tomato Stuffed Chicken
Total time: 45 min