Dinner · Part 1 of 3: Ingredients
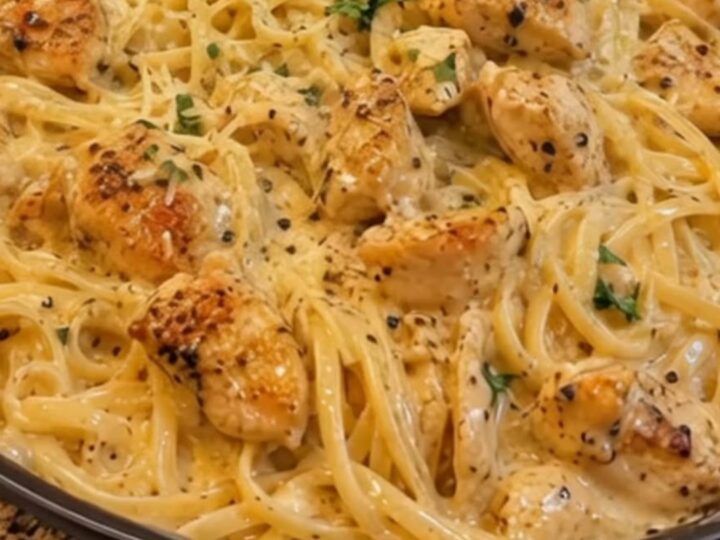
Creamy Garlic Butter Chicken Linguine for a Quick Dinner
- Prep
- Cook
- Total
- Serves
- 4
Elevate your dinner routine with this indulgent creamy garlic butter chicken linguine. This dish marries perfectly seared golden chicken with a velvety, garlic-infused parmesan sauce, clinging to every strand of al dente pasta. It is the kind of meal that feels sophisticated yet remains incredibly approachable for any home cook looking to impress without spending hours in the kitchen.
The secret to this exceptional pasta lies in the combination of simple, high-quality ingredients and the layering of flavors within a single skillet. By searing the chicken first, the pan collects savory brown bits that deepen the complexity of the garlic butter sauce.
The parmesan cheese creates a luxurious texture that coats the linguine beautifully, ensuring every bite is rich, savory, and deeply satisfying. Whether you are preparing a quick weeknight dinner or a special meal for guests, this recipe provides a foolproof method for achieving restaurant-quality results every single time.
Ingredients
Main
- 1 lb chicken breast, cut into bite-sized pieces
- 8 oz linguine
Sauce
- 3 tbsp unsalted butter
- 4 cloves garlic, minced
- 1/2 cup parmesan cheese, freshly grated
Why this recipe works
The method of using a single skillet is highly effective because it allows the fond—the flavorful brown bits left behind by the seared chicken—to incorporate directly into the sauce. This technique builds a deep, savory foundation that would otherwise be lost if the sauce were prepared separately.
Furthermore, finishing the pasta directly in the sauce ensures that the starch from the noodles helps emulsify the cheese, creating a glossy, cohesive coating that clings perfectly to the linguine rather than sliding off.
Balancing the acidity of the garlic with the richness of the butter and the saltiness of the parmesan creates a harmonious profile that is classic for a reason. By keeping the steps straightforward, the integrity of each ingredient remains intact.
The quick searing process preserves the juiciness of the chicken, while the gentle simmering of the sauce prevents the dairy from curdling, resulting in a smooth, professional finish that is consistently achievable in any home kitchen environment.
Notes and substitutions
For the best results, use freshly grated parmesan cheese rather than pre-grated varieties, which are often coated in anti-caking agents that prevent a smooth melt. Regarding the chicken, boneless skinless breasts are recommended for their uniform size and quick cooking time, though thighs can be substituted for a slightly richer flavor. Ensure the chicken pieces are cut to a consistent size to promote even searing and avoid overcooking, which can lead to a dry texture.
The choice of equipment is minimal but important. A wide, heavy-bottomed skillet provides the necessary surface area to sear the chicken without steaming it, which is crucial for achieving that essential golden crust.
If the skillet is too small, the moisture released by the chicken will prevent proper browning. When it comes to substitutions, linguine is the traditional choice for its ability to hold heavier sauces, but fettuccine or even a high-quality spaghetti will work perfectly well depending on personal preference.
- linguine: fettuccine or spaghetti
Equipment
- large skillet
- large pot
- tongs
- chef knife
- cutting board
Up next · Part 2 of 3
3 steps · 20 min of cooking · what to look for at each stage
Step-by-step instructions (Part 2)