Dinner · Part 1 of 3: Ingredients
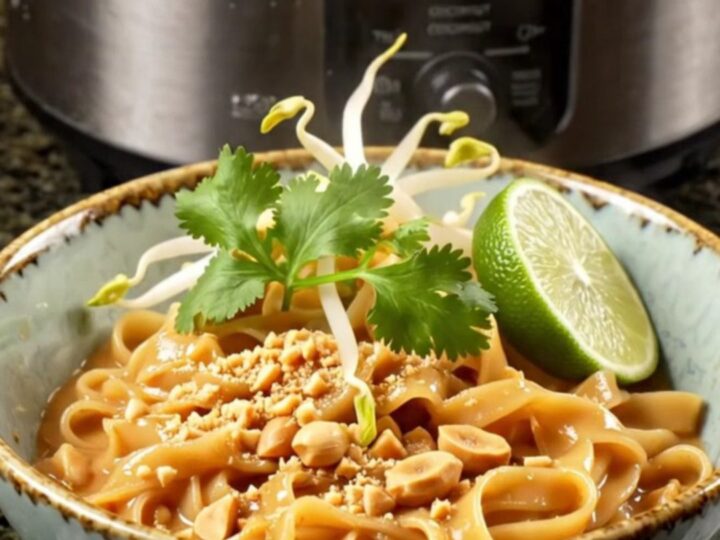
Creamy Crockpot Thai Peanut Chicken Noodles
- Prep
- Cook
- Total
- Serves
- 4
Discover the ease of creating authentic-tasting Thai peanut chicken noodles right in your own kitchen. This slow cooker recipe takes the stress out of meal prep by combining all your favorite bold flavors into one simple pot.
Perfect for busy weeknights, this dish delivers a creamy, nutty, and savory experience that will satisfy any craving for takeout without the need for a wok or constant stirring.
This recipe focuses on the convenience of the slow cooker, allowing flavors to meld beautifully over several hours. By using high-quality coconut milk and creamy peanut butter, the base of the sauce becomes incredibly rich and velvety.
The addition of red curry paste provides just the right amount of warmth and complexity, while the lime juice and ginger brighten the profile. Whether hosting a casual dinner or looking for a comforting meal, this dish is a reliable choice that brings the vibrant tastes of Bangkok to the table with minimal effort.
Ingredients
Main Ingredients
- 2 lb chicken thighs
Sauce
- 1 can (14-ounce) full-fat coconut milk
- 3/4 cup creamy peanut butter
- 2 tbsp red curry paste
- 2 tbsp soy sauce
- 1 tbsp lime juice
- 1 tsp grated ginger
Final Additions
- 16 oz pad Thai rice noodles, softened
Garnish
- 1/2 cup crushed roasted peanuts, for serving
- 1 cup bean sprouts, for serving
- 1/4 cup cilantro, for serving
- 2 limes, cut into wedges, for serving
Why this recipe works
The slow cooking method allows the chicken thighs to become exceptionally tender, making them perfect for shredding into the sauce. This process ensures that the meat absorbs all the aromatic spices from the red curry paste and the nutty depth of the peanut butter, creating a cohesive and flavorful dish that is far more than the sum of its parts.
Using a slow cooker eliminates the need for constant monitoring or high-heat cooking techniques like stir-frying. By adding the noodles in the final stages, they soak up the remaining sauce, becoming perfectly al dente and infused with the curry-peanut base.
This approach guarantees a consistent result every time, providing a stress-free cooking experience that yields restaurant-quality results in your own home.
Notes and substitutions
Choosing full-fat coconut milk is essential for achieving the desired creamy texture of the sauce. Ensure the peanut butter is smooth and unsweetened if possible, though standard creamy peanut butter works well. The choice of chicken thighs ensures the meat remains juicy and flavorful even after several hours of slow cooking, as they have a higher fat content than breast meat.
Red curry paste varies in intensity, so adjust the amount based on personal preference for spice levels. If the sauce appears too thick after shredding the chicken, add a small splash of water or additional coconut milk to reach the preferred consistency.
Always prepare the garnishes in advance, as they are crucial for providing the necessary textural contrast—the crunch of peanuts and bean sprouts perfectly complements the soft noodles.
- Red curry paste: Yellow curry paste or a mix of chili powder and turmeric for a milder profile.
- Pad Thai rice noodles: Wide rice noodles or even linguine if rice noodles are unavailable.
Equipment
- Slow cooker
- Whisk
- Tongs
- Measuring cups
- Measuring spoons
- Knife
Up next · Part 2 of 3
4 steps · 3 h 30 min of cooking · what to look for at each stage
Step-by-step instructions (Part 2)