Dinner · Part 2 of 3: Instructions
Creamy Cottage Cheese Mac and Cheese Bake Step-by-step instructions
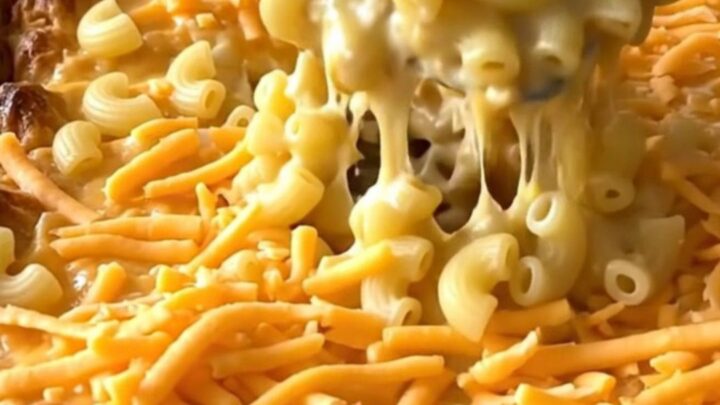
- Prep
- Cook
- Total
- Serves
- 4
Before you start
Before beginning, ensure the oven is preheated to 375°F (190°C). Prepare the cottage cheese by processing it in a blender until it is perfectly smooth and free of any curd texture.
Have the shredded cheddar cheese ready, and ensure the baking dish is clean and dry. Having all ingredients measured and ready to go will make the assembly process seamless and quick, allowing the dish to enter the oven with minimal delay.
Ingredients at a glance (3)
- 1 lb dry elbow macaroni
- 2 cups blended cottage cheese
- 2 cups shredded orange cheddar
Instructions
Assembling the base
- Prepare the pasta basePlace the dry elbow macaroni into the large rectangular ceramic baking dish. Ensure the pasta is distributed evenly across the bottom of the dish to allow for uniform cooking once the sauce is added.Look for Pasta covers the bottom of the dish evenlyTip Using a dry pasta allows the sauce to hydrate the noodles while baking.
The dry macaroni should be spread in an even layer across the bottom of the ceramic dish. Ensure no pasta is piled too high, as this could lead to uneven cooking. The surface of the dish should be clear of any stray noodles on the edges to prevent burning during the baking process.
Adding the sauce and topping
- Add the creamy saucePour the blended cottage cheese over the dry macaroni. Use a spoon or spatula to ensure the sauce covers the pasta completely, as this moisture is essential for cooking the macaroni during the baking process.Look for Pasta is fully submerged in the white sauceTip Blend the cottage cheese until completely smooth to achieve the best texture.
- Add the cheese toppingScatter the shredded orange cheddar thickly over the top of the cottage cheese and pasta mixture. Ensure the cheese covers the entire surface to create a golden, bubbling crust during the bake.Look for A thick layer of cheese covers the surfaceTip Shred the cheese from a block for better melting properties.
The sauce should be poured evenly, ensuring every piece of macaroni is coated. Once the cheddar is added, the surface should look like a solid, thick layer of cheese.
There should be no visible dry pasta peeking through the cheese layer, ensuring a perfectly golden crust will form during the bake.
Baking until golden
- Bake the dishPlace the dish into a preheated oven at 375°F (190°C) and bake until the edges are bubbling and the top is golden brown, typically taking about 25 minutes. Allow the dish to rest for 5 minutes before serving.Look for Edges are bubbling and the cheese is goldenTip Watch the top closely to prevent the cheese from burning.
At this stage, the dish should be bubbling intensely around the edges. The cheese topping should be a deep, appetizing golden brown. The aroma of baked cheese and pasta should be prominent in the kitchen, indicating that the dish is ready to be removed from the oven for its final rest.
Common mistakes
A common mistake is failing to blend the cottage cheese thoroughly, which leaves behind small curds that can make the final sauce texture feel uneven. Another error is not ensuring that the pasta is completely covered by the sauce, which will lead to dry, uncooked noodles on the surface.
Finally, avoiding the resting time after baking can result in a sauce that feels too runny when served, as it needs a few moments for the proteins to stabilize.
How to tell it’s done
The dish is considered done when the cheese topping is melted, golden brown, and bubbling vigorously around the edges of the baking dish. The pasta should be tender when pierced with a fork, and the sauce should have thickened into a creamy, cohesive consistency.
If the center still looks too liquid, continue baking for another few minutes until the sauce sets. Always allow the dish to rest for 5 minutes before serving to ensure the best texture.
Up next · Part 3 of 3
2 variations · storage & make-ahead · 3 answers · printable card
Tips, FAQ & printable recipe (Part 3)← Back to the ingredients (Part 1)