Desserts · Part 2 of 3: Instructions
Creamy Condensed Milk Cheesecake with Golden Biscuit Base Step-by-step instructions
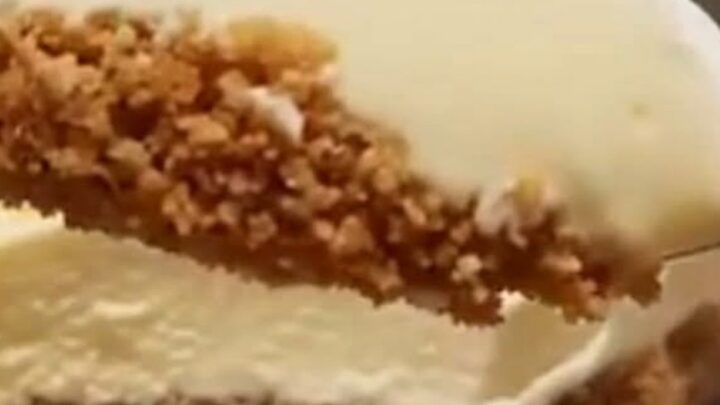
- Prep
- Cook
- Total
- Serves
- 8
Before you start
Before beginning, ensure the cream cheese is at room temperature, as this is crucial for a smooth, lump-free cheesecake filling. Preheat the oven to 325°F (163°C) and prepare a 9-inch springform pan by lining the bottom with parchment paper or greasing the sides lightly.
Gather all necessary equipment, including an electric mixer and a sturdy spatula, to ensure the process flows efficiently. Having everything measured and ready will prevent any rushing during the mixing stages, leading to a more consistent result.
Ingredients at a glance (3)
- 2 cups biscuit crumbs
- 24 oz cream cheese, softened
- 14 oz sweetened condensed milk
Instructions
Crust formation
- Prepare the biscuit crustPress the biscuit crumbs firmly into the bottom and slightly up the sides of a 9-inch springform pan to create a uniform layer. Refrigerate the pan while preparing the filling to allow the base to firm up.Look for The crumbs should be packed tightly and evenly across the pan base.Tip Use the flat bottom of a measuring cup to ensure the crust is packed tightly.
The crust should be evenly distributed across the bottom of the pan. It must feel firm and compact to the touch, indicating that it will provide a solid, crunchy foundation for the creamy filling.
Filling preparation
- Mix the cheesecake fillingIn a large mixing bowl, beat the softened cream cheese until smooth and creamy. Slowly pour in the sweetened condensed milk while continuing to mix on low speed. Mix until the batter is completely smooth, glossy, and free of any large lumps of cream cheese.Look for The batter should be completely smooth and glossy.Tip Ensure the cream cheese is at room temperature before starting to prevent lumpy batter.
The batter should look like a pale, glossy cream with no visible streaks of cream cheese. It should have a thick, pourable consistency that fills the pan evenly without trapping large air bubbles, ensuring a smooth, uniform texture after baking.
Baking and cooling
- Bake and chillPour the silky filling over the prepared crust, smoothing the top with a spatula. Bake in a preheated oven at 325°F (163°C) for 45 minutes or until the edges are set but the center still has a slight wobble. Once baked, turn off the oven and leave the door slightly ajar for an hour to cool gradually. Remove from the oven and chill in the refrigerator for at least 4 hours.Look for The edges should be set and firm, while the center remains slightly jiggly.Tip Avoid overbaking the cheesecake, as this can lead to cracks on the surface.
After the baking time is complete, the cheesecake should have a slight jiggle in the center while the edges remain stable. The surface should be smooth and free of major cracks, indicating that the temperature was managed correctly throughout the process.
Common mistakes
A common error is overmixing the batter, which incorporates excess air and can cause the cheesecake to puff up and then sink, leading to cracks.
Another mistake is failing to allow the cheesecake to cool gradually in the oven; a sudden transition from the hot oven to a cool kitchen can shock the filling and cause it to split. Finally, rushing the chilling process is a mistake, as the structure needs several hours to firm up properly for clean slicing.
How to tell it’s done
The cheesecake is done when the edges appear set and firm, but the center retains a slight, uniform wobble when the pan is gently shaken.
Avoid the temptation to bake until the center is completely firm, as the cooling and chilling process will allow the cheesecake to set further, maintaining its creamy and luxurious texture.
Use a kitchen timer to monitor the progress closely, as the specific baking time can vary slightly depending on the oven calibration.
Up next · Part 3 of 3
2 variations · storage & make-ahead · 3 answers · printable card
Tips, FAQ & printable recipe (Part 3)← Back to the ingredients (Part 1)