Dinner · Part 2 of 3: Instructions
Creamy Chicken Broccoli Rotini Pasta Step-by-step instructions
- Prep
- Cook
- Total
- Serves
- 4
Before you start
Before beginning, ensure all ingredients are measured and ready to go, as the cooking process moves quickly once the heat is turned on. Chop the chicken into uniform, bite-sized pieces so they cook evenly and rapidly. Have your pasta pot filled with water.
Cleaning your workspace and organizing your tools beforehand helps maintain focus and ensures a smooth, stress-free cooking experience from start to finish. Proper preparation is the key to mastering this quick, one-pan meal with ease.
Ingredients at a glance (3)
- 1 lb chicken breast, cut into bite-sized pieces
- 12 oz rotini pasta
- 2 cups broccoli florets
Instructions
Pasta and Broccoli Preparation
- Cook Pasta and BroccoliBring a large pot of salted water to a boil. Add the rotini pasta and cook according to the package directions for al dente. During the last three minutes of cooking, add the broccoli florets to the boiling water. Drain the pasta and broccoli together in a colander, reserving a small amount of pasta water if needed to adjust the sauce consistency later.Look for The pasta should be firm to the bite and the broccoli should be bright green and tender-crisp.Tip Do not overcook the broccoli or it will become mushy when folded into the creamy sauce later.
The pasta is cooked until al dente, and the broccoli is tender-crisp, bright green, and perfectly incorporated. Everything is drained and ready for the next step, with a small amount of starchy pasta water set aside to help adjust the texture if needed later.
Chicken Searing
- Sear the ChickenHeat a large skillet over medium-high heat. Add the chicken pieces in a single layer. Cook, stirring occasionally, until the chicken is golden brown on all sides and reaches an internal temperature of 165°F (74°C). Ensure no pink remains in the center of the pieces before proceeding to the sauce stage.Look for The chicken pieces should have a nice sear and be cooked through completely.Safe temperature 165°F (74°C) internal temperature (poultry)Tip Pat the chicken dry with paper towels before searing to ensure a better crust develops in the skillet.
The chicken pieces are golden brown on the outside, fully cooked through to an internal temperature of 165°F (74°C), and remain juicy and tender. The skillet has a light coating of flavorful browned bits that will form the base of the dish in the final phase.
Final Integration
- Create the Creamy SauceLower the heat to medium. Add the cooked pasta and broccoli to the skillet with the chicken. Toss everything thoroughly until the dish is steaming hot and well-combined. Serve immediately while hot and steaming.Look for The dish should be steaming and the ingredients evenly distributed.Tip If the mixture seems dry, add a tablespoon of the reserved pasta water to loosen it up.
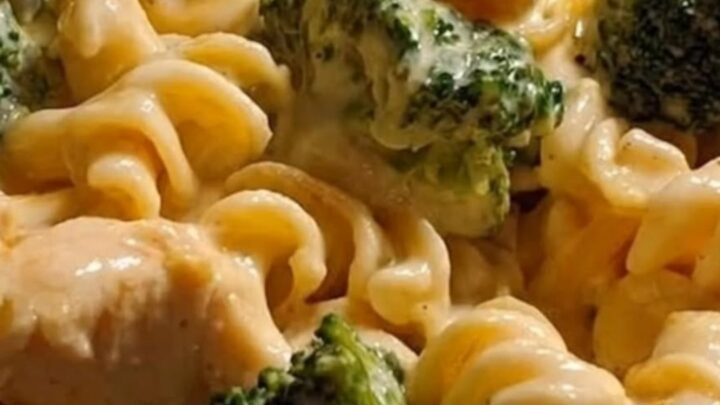
The ingredients are thoroughly combined and coated. The pasta and broccoli are perfectly integrated with the chicken, and the entire dish is steaming hot, fragrant, and ready to be served immediately in deep, warm bowls for the best eating experience.
Common mistakes
Avoid overcrowding the skillet when searing the chicken, as this can cause the meat to steam rather than brown properly, leading to a loss of flavor.
Do not use high heat for the final stage, as this can cause the ingredients to dry out or stick to the bottom of the pan.
Finally, do not overcook the pasta in the boiling water; it will continue to absorb liquid once combined, so aim for a firm, al dente texture.
How to tell it’s done
The dish is finished when the chicken is fully cooked through and the ingredients are hot, glossy, and combined evenly. The internal temperature of the chicken must reach 165°F (74°C) to ensure it is safe to eat.
The pasta should be tender but still have a slight bite, and the broccoli should be bright green and soft. If the dish appears too dry, incorporate a small splash of reserved pasta water until the desired consistency is achieved.
- Poultry: 165°F (74°C) in the thickest part
Up next · Part 3 of 3
2 variations · storage & make-ahead · 3 answers · printable card
Tips, FAQ & printable recipe (Part 3)← Back to the ingredients (Part 1)