Dinner · Part 2 of 3: Instructions
Creamy Cheesy Baked Chicken Breasts for an Easy Dinner Step-by-step instructions
- Prep
- Cook
- Total
- Serves
- 4
Before you start
Before starting, ensure all ingredients are measured and ready to go. Remove the chicken from the refrigerator about 15 minutes before you begin to take the chill off, which helps the chicken cook more evenly.
Preheat your oven to 400°F (200°C) and make sure your baking dish is clean and dry. Have your meat thermometer handy so you can check for doneness accurately without guessing, ensuring the meat is perfectly cooked every time.
Ingredients at a glance (3)
- 4 pieces chicken breasts, boneless and skinless
- 1 cup heavy cream
- 2 cups shredded cheese
Instructions
Preparation
- Prepare the ChickenPreheat your oven to 400°F (200°C). Arrange the chicken breasts in a 9x13 inch glass baking dish. Ensure the chicken pieces are arranged in a single layer for even cooking.Look for Chicken pieces should be arranged in a single layer for even cooking.Tip Ensure the chicken is patted dry with paper towels before placing in the dish.
At the end of this phase, the chicken breasts should be arranged in a single layer. The oven should be fully preheated to 400°F (200°C), ensuring the environment is ready for the chicken to begin cooking immediately upon entry.
Sauce Application
- Prepare the Creamy SaucePour the heavy cream directly over the chicken breasts in the baking dish. Use a large spoon to ensure the cream coats the tops and sides of each piece, creating a rich base that will keep the meat succulent during the baking process.Look for The cream should pool around the chicken breasts without overflowing the baking dish.Tip Adding the cream before the cheese ensures the sauce cooks into the chicken instead of just sitting on top.
Ensure the heavy cream is distributed evenly around the chicken breasts. The cream should look smooth and begin to settle into the crevices of the chicken. Verify that you have enough cream to adequately surround the meat without causing it to float excessively in the dish.
Baking
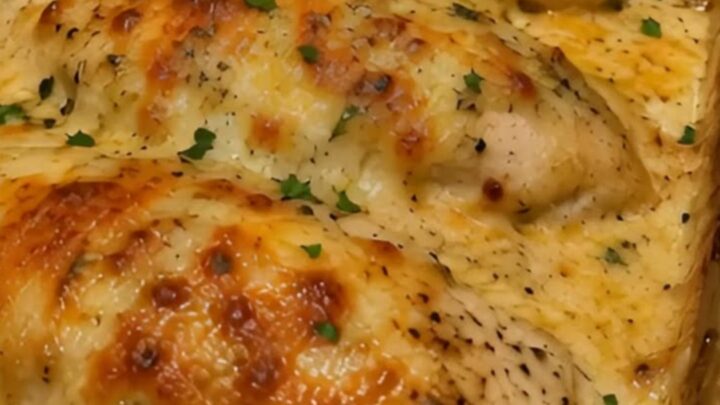
- Bake and Melt CheeseTop the chicken generously with the shredded cheese. Place the baking dish in the preheated oven and bake for approximately 30 minutes. The dish is done when the cheese is melted, bubbly, and golden brown, and the internal temperature of the chicken reaches 165°F (74°C). Let the dish rest for 5 minutes before serving.Look for Watch for the cheese to turn a deep golden brown and the cream sauce to thicken into a bubbly, rich consistency.Safe temperature 165°F (74°C) internal temperature (poultry)Tip Use a meat thermometer inserted into the thickest part of the breast to verify the temperature.
The dish is complete when the cheese is beautifully browned and bubbling across the entire surface. The cream sauce should have thickened into a rich, velvety texture.
Double-check the internal temperature with a thermometer to ensure the chicken has reached a safe 165°F (74°C).
Common mistakes
One common mistake is using chicken breasts that vary significantly in size, which causes some pieces to overcook while others remain undercooked. Try to select breasts of similar thickness or pound them to an even thickness before starting.
Another frequent error is failing to let the dish rest after baking. Cutting into the chicken immediately causes all the flavorful juices to leak out, which can leave the meat feeling dry, regardless of how well it was cooked in the cream sauce.
How to tell it’s done
The chicken is done when the internal temperature, measured in the thickest part of the breast, reaches 165°F (74°C). Visually, the cheese should be melted and show deep golden brown spots, and the cream sauce should look thick and bubbly.
Always allow the chicken to rest for at least 5 minutes after removing it from the oven to allow the juices to redistribute throughout the meat, resulting in a much more tender and flavorful eating experience.
- Poultry: 165°F (74°C) in the thickest part
Up next · Part 3 of 3
2 variations · storage & make-ahead · 3 answers · printable card
Tips, FAQ & printable recipe (Part 3)← Back to the ingredients (Part 1)