Dinner · Part 2 of 3: Instructions
Creamy Cajun Garlic Butter Chicken Spaghetti Step-by-step instructions
- Prep
- Cook
- Total
- Serves
- 4
Before you start
Before you begin cooking, ensure all your ingredients are prepped and ready to go. Slice your chicken breasts into uniform strips to help them cook evenly. Shred your cheese blend if you are using a block, and measure out your Cajun seasoning.
Have your pasta pot filled with water and ready to boil, and make sure your colander is accessible for draining. Having everything organized will allow the cooking process to flow smoothly once the skillet is hot.
Ingredients at a glance (6)
- 1 lb chicken breasts, sliced
- 1 tbsp Cajun seasoning
- 12 oz spaghetti
- 4 tbsp unsalted butter
- 3 cloves garlic, minced
- 1 1/2 cups shredded three-cheese blend
Instructions
Searing the chicken
- Sear the chickenSeason the sliced chicken with Cajun seasoning. Heat a large skillet over medium-high heat and sear the chicken until golden and cooked through, reaching an internal temperature of 165°F (74°C). Remove the chicken from the skillet and set aside.Look for The chicken should be opaque and golden brown on all sides.Safe temperature 165°F (74°C) internal temperature (poultry)Tip Ensure the pan is hot before adding the chicken to get a good crust.
The chicken should be golden brown and perfectly cooked through. The pan will have some flavorful residue, which is exactly what you want to build the base of your sauce. Ensure the meat is removed and the pan is ready for the next step of melting the butter and garlic.
Building the sauce
- Prepare the pasta and sauceCook the spaghetti in a large pot of salted boiling water according to package directions until al dente. While the pasta cooks, melt the butter in the same skillet used for the chicken. Add the minced garlic and sauté until fragrant.Look for The garlic should be aromatic without browning.Tip Save a splash of pasta water to adjust the sauce consistency if needed.
The sauce should be simmering gently, with the garlic having softened and released its aromatic oils into the butter. The mixture should appear smooth and start to thicken slightly, indicating it is ready to receive the cheese and pasta for the final assembly.
Final assembly
- Assemble the dishStir the shredded cheese blend into the garlic butter until melted and smooth. Add the cooked chicken and the drained spaghetti to the skillet. Toss everything together until the pasta is well-coated in the creamy sauce and the cheese is stretchy. Serve immediately.Look for The sauce should be glossy and cling to the pasta with visible cheese pulls.Tip Work quickly once the cheese is added to prevent the sauce from becoming too thick.
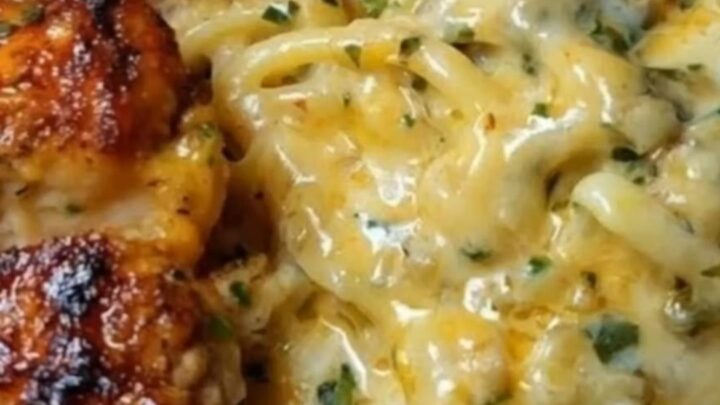
The final dish should look vibrant and cohesive, with every strand of spaghetti coated in the creamy, spicy sauce.
The chicken should be well-distributed, and the cheese should be melted into long, stretchy strands, creating a visually inviting and delicious meal ready to be served immediately.
Common mistakes
A common mistake is overcrowding the skillet when searing the chicken, which causes the meat to steam rather than brown. Work in batches if necessary to maintain high heat.
Another error is overcooking the pasta; remember that it will continue to cook slightly when tossed in the hot sauce, so drain it while it is still firm. Finally, avoid adding the cheese over extremely high heat, as this can cause the dairy to separate and result in a greasy, broken sauce.
How to tell it’s done
The chicken is perfectly done when it reaches an internal temperature of 165°F (74°C) and is opaque throughout. The spaghetti should be cooked to al dente, meaning it is tender but still has a slight bite to it, which will prevent it from becoming mushy when tossed in the sauce.
The sauce is ready when it is thick enough to coat the back of a spoon and the cheese has completely melted into a smooth, stretchy consistency.
- Poultry: 165°F (74°C) in the thickest part
Up next · Part 3 of 3
2 variations · storage & make-ahead · 3 answers · printable card
Tips, FAQ & printable recipe (Part 3)← Back to the ingredients (Part 1)