Dinner · Part 2 of 3: Instructions
Creamy Butternut Squash and Apple Slow Cooker Chowder Step-by-step instructions
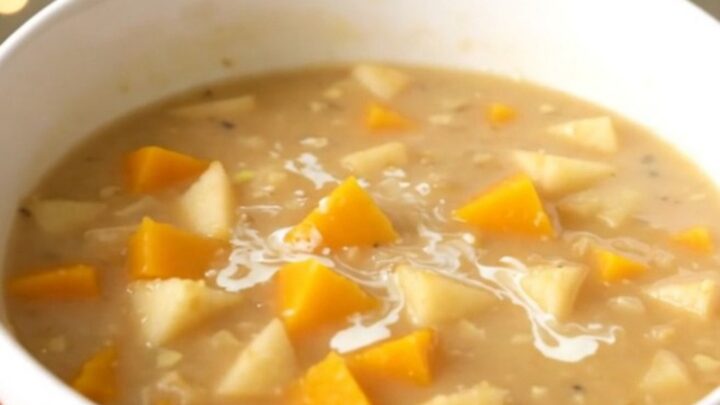
- Prep
- Cook
- Total
- Serves
- 6
Before you start
Before starting, ensure your butternut squash is peeled and cut into uniform one-inch cubes to promote even cooking. Have your apples diced to a similar size so they soften at the same rate as the squash.
Measure out your vegetable broth and have your seasoning packet ready to go. Ensure your slow cooker is clean and positioned on a stable, heat-resistant surface with easy access to a power outlet for safe operation throughout the long cooking cycle.
Ingredients at a glance (4)
- 2 lb butternut squash, peeled and cubed
- 2 cups apples, diced
- 1 packet poultry seasoning
- 4 cups vegetable broth
Instructions
Setting the Base
- Prepare the Slow Cooker BasePlace the cubed butternut squash into the bottom of the slow cooker vessel. Ensure the cubes are spread out evenly to allow for consistent heat distribution during the cooking process.Look for The squash should be arranged in a single layer at the base.Tip Peel the squash thoroughly to ensure a smooth texture later.
At this initial stage, the squash should be neatly cubed and arranged. Check that the bottom of the slow cooker is fully covered to ensure even heat distribution. The squash should look fresh and clean, providing a solid foundation for the remaining ingredients to rest upon.
No heat is applied yet, so ensure the vessel is dry before adding the ingredients to prevent any unwanted moisture accumulation during the start of the cooking process.
Layering and Seasoning
- Layer and SeasonScatter the diced apples over the layer of butternut squash. Sprinkle the poultry seasoning packet evenly across the top, then pour the vegetable broth over the entire mixture until the contents are mostly submerged.Look for The broth should just cover the vegetables and fruit.Tip Distribute the seasoning evenly for balanced flavor throughout.
The slow cooker should now contain the squash, apples, and the seasoning blend, with the broth poured over the top. The ingredients should be mostly submerged but not overflowing. Ensure the seasoning is distributed across the surface for balanced flavor.
The apples should be visible near the top, ready to soften into the broth. Check that the slow cooker lid is properly seated to lock in the heat and moisture for the duration of the cycle.
Blending to Perfection
- Cook and BlendCover the slow cooker and cook on high for 4 hours until the squash is tender. Once cooked, use an immersion blender to process the mixture directly in the slow cooker until smooth and creamy.Look for The squash must be fork-tender before blending.Tip Blending while hot creates the best velvety consistency.
After four hours, the squash and apples will have softened significantly and the broth will have absorbed the flavors. When using the immersion blender, the mixture should transform from a chunky state into a smooth, creamy, and consistent chowder. The color should be a vibrant, uniform orange. Ensure the blender is fully submerged to avoid splashing, and continue processing until no solid pieces remain for the best possible texture.
Common mistakes
A common mistake is using squash cubes that are too large, which can lead to uneven cooking and chunks remaining in the final blend. Another oversight is failing to ensure the vegetables are sufficiently tender before blending, which will result in a gritty rather than velvety texture.
Avoid adding too much liquid at the beginning; if the soup is too thick after blending, you can stir in a small amount of warm broth to reach your desired consistency.
How to tell it’s done
The chowder is done when the butternut squash is completely tender and breaks apart easily when pressed with a fork. The mixture should be thick, uniform, and have a consistent, velvety texture once blended. There is no protein to monitor for internal temperature, so rely on the visual and tactile cues of the vegetables. The final soup should be steaming hot and thick enough to coat the back of a spoon with a smooth, glossy finish.
Up next · Part 3 of 3
2 variations · storage & make-ahead · 3 answers · printable card
Tips, FAQ & printable recipe (Part 3)← Back to the ingredients (Part 1)