Dinner · Part 1 of 3: Ingredients
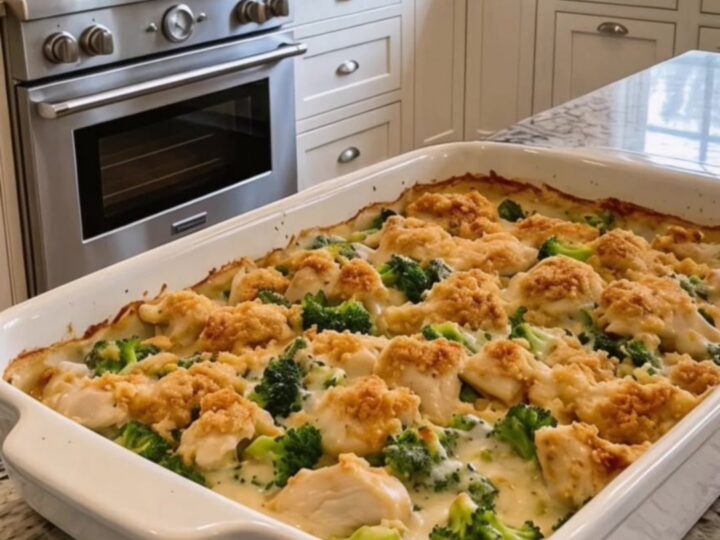
Creamy Broccoli Chicken Divan with Crispy Topping
- Prep
- Cook
- Total
- Serves
- 6
Discover the secret to the ultimate comfort food with this classic Chicken Divan. This recipe combines tender poultry, fresh broccoli, and a rich, savory sauce topped with a golden, buttery crunch that satisfies every craving.
It is the perfect centerpiece for a cozy family dinner, offering a balance of textures and flavors that makes everyone reach for a second helping. Simple to assemble and deeply satisfying, this dish brings warmth to the table.
Chicken Divan is a timeless casserole that excels at being both simple to prepare and incredibly flavorful. By using pre-cooked chicken and steamed broccoli, the assembly becomes a quick task, allowing the oven to do the heavy lifting.
The combination of a creamy cheese sauce and a buttery breadcrumb topping creates a delightful contrast between the soft, savory interior and the crisp, golden exterior. Whether you are hosting a casual gathering or simply looking for a reliable meal for the week, this recipe provides a comforting result that is consistently delicious and easy to serve for any occasion.
Ingredients
Main Ingredients
- 2 lbs chicken breast, cooked and cubed
- 4 cups broccoli florets, steamed until tender-crisp
Sauce
- 2 cups creamy cheese sauce, store-bought or made ahead
Topping
- 1 cup buttery breadcrumbs
Why this recipe works
The method of combining pre-cooked proteins with a prepared sauce ensures that the dish comes together with minimal effort while maintaining the integrity of the ingredients. By tossing the chicken and broccoli in the sauce before placing them in the baking dish, each bite is guaranteed to be coated in flavor, preventing the ingredients from drying out during the baking process and ensuring a cohesive texture throughout the entire casserole.
The use of a high-heat bake for the final phase allows the breadcrumb topping to crisp up rapidly without overcooking the delicate broccoli or drying out the chicken. This technique creates an essential textural contrast that elevates the dish from a simple bake to a sophisticated comfort meal. The bubbling cheese sauce acts as a binder, while the resting period ensures that the flavors meld together perfectly for a final, consistent result.
Notes and substitutions
For the best results, use high-quality, creamy cheese sauce as the base. If preparing the sauce from scratch, ensure it is thick enough to hold the ingredients together; a thin sauce may result in a watery casserole.
The choice of breadcrumbs is also important; panko breadcrumbs provide a lighter, crispier finish, while traditional breadcrumbs offer a finer, more dense crunch. Feel free to adjust the seasoning of the sauce with a pinch of nutmeg or black pepper to enhance the overall flavor profile.
The equipment used, specifically a 9x13 inch ceramic or glass baking dish, is ideal for even heat distribution. If using a metal pan, be mindful that the edges may cook faster. Always ensure the chicken is cut into uniform, bite-sized pieces so that every serving is consistent.
If you prefer a more intense cheese flavor, you can stir a handful of shredded sharp cheddar directly into the sauce before baking, which adds a deeper, more complex taste to the final dish.
- chicken breast: cooked rotisserie chicken or turkey breast for a faster assembly
- buttery breadcrumbs: crushed buttery crackers mixed with melted butter
Equipment
- 9x13 inch baking dish
- mixing bowl
- serving spoon
- saucepan
Up next · Part 2 of 3
3 steps · 30 min of cooking · what to look for at each stage
Step-by-step instructions (Part 2)