Dinner · Part 2 of 3: Instructions
Creamy Beef and Rotini Pasta Casserole Step-by-step instructions
- Prep
- Cook
- Total
- Serves
- 4
Before you start
Before starting, ensure all ingredients are measured and ready, as the cooking process moves quickly. Cook the rotini pasta in a separate pot of salted boiling water until it is al dente, according to the package directions, then drain it thoroughly.
Having the cheese already shredded and the sour cream measured out allows for a seamless transition between the browning and sauce-making phases, preventing the meat from overcooking while waiting for other components.
Ingredients at a glance (4)
- 1 lb ground beef
- 8 oz rotini pasta, cooked
- 1/2 cup sour cream
- 1 cup shredded cheese
Instructions
Browning the beef
- Brown the ground beefPlace the skillet over medium-high heat. Add the ground beef and cook, breaking it up with a spoon, until it is thoroughly browned and no longer pink. Ensure the internal temperature reaches at least 160°F (71°C) to confirm it is fully cooked through.Look for The beef should be deeply browned and sizzling in the pan.Safe temperature 160°F (71°C) internal temperature (ground meat)Tip Drain any excess fat from the pan if preferred for a cleaner sauce consistency.
At the end of this phase, the ground beef should be deeply browned, fragrant, and sizzling. It is important that no pink remains in the meat.
This deep color is the indicator that the flavor base has been properly developed, providing the necessary depth for the subsequent creamy sauce additions.
Creating the sauce
- Build the creamy sauceReduce the heat to low. Add the sour cream to the skillet with the cooked beef and stir continuously until the sauce becomes smooth, glossy, and well-incorporated. Avoid high heat, which can cause the sour cream to curdle rather than melt into a silky consistency.Look for The sauce should look smooth, thick, and have a glossy sheen.Tip Keep the heat low to maintain a gentle simmer and prevent the sauce from breaking.
The sauce should transform into a smooth, glossy, and creamy mixture once the sour cream is fully integrated. It should smell rich and savory. Check that the texture is consistent throughout the skillet and that there are no lumps of sour cream remaining before adding the cooked pasta to the pan.
Final assembly
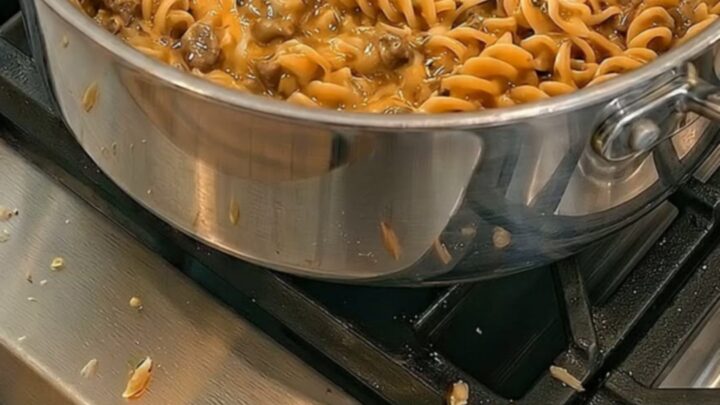
- Combine and melt cheeseAdd the cooked rotini pasta to the skillet and toss thoroughly to coat every spiral in the creamy meat sauce. Top the mixture evenly with the shredded cheese. Cover the pan briefly until the cheese is completely melted and bubbling, then remove from heat and serve immediately.Look for The cheese should be completely melted, bubbling, and stretching when lifted with a fork.Tip A quick stir just before serving ensures the cheese is evenly distributed throughout the pasta.
The final dish should be vibrant, with the pasta evenly coated in the rich beef sauce and topped with a layer of perfectly melted, bubbling cheese. The steam should be rising from the pan, and the aroma should be savory and comforting, indicating that the meal is ready for immediate service.
Common mistakes
A common mistake is adding the sour cream while the pan is still at high heat, which can cause the sauce to separate or curdle. Always reduce the heat to low before adding dairy.
Another error is failing to drain excess grease from the beef, which can result in a pool of oil on top of the sauce. Finally, ensure the pasta is not overcooked during the boiling phase, as it will continue to absorb liquid from the sauce.
How to tell it’s done
The dish is considered perfectly done when the ground beef has reached an internal temperature of at least 160°F (71°C) and the cheese topping is completely melted and bubbling.
The sauce should be thick enough to coat the back of a spoon and cling to the pasta without pooling at the bottom of the skillet. The pasta itself should be tender but still retain a slight bite, ensuring a pleasant contrast to the creamy sauce.
- Ground meat: 160°F (71°C) in the thickest part
Up next · Part 3 of 3
2 variations · storage & make-ahead · 3 answers · printable card
Tips, FAQ & printable recipe (Part 3)← Back to the ingredients (Part 1)