Desserts · Part 2 of 3: Instructions
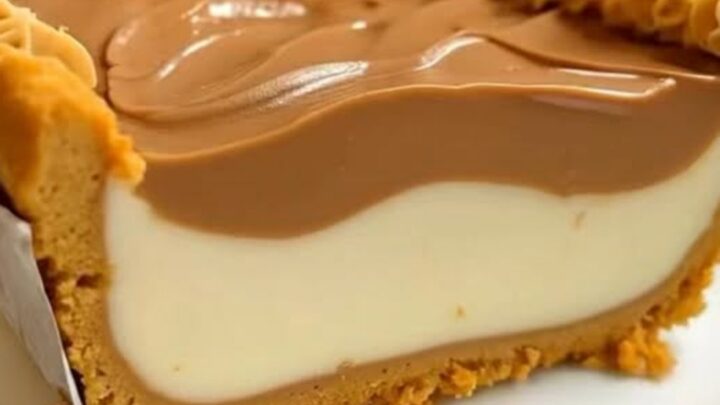
Creamy Amish Peanut Butter Pie with Crisp Crumb Crust Step-by-step instructions
- Prep
- Cook
- Total
- Serves
- 8
Before you start
Before starting, ensure all ingredients are measured and ready for use. Take the cream cheese out of the refrigerator at least 30 minutes before you begin to ensure it is soft enough to whip properly.
Prepare the pie pan by lightly greasing it if you prefer easier serving later, though it is not strictly necessary for this type of crust. Clear your workspace to allow enough room for the mixing bowls and the pie pan, ensuring that your refrigerator has a flat space large enough to accommodate the pie during the chilling phase.
Ingredients at a glance (5)
- 1 1/2 cups graham cracker crumbs
- 6 tbsp unsalted butter, melted
- 1 cup creamy peanut butter
- 8 oz cream cheese, softened
- 1 cup heavy whipping cream
Instructions
Crust preparation
- Prepare the crumb crustCombine the graham cracker crumbs and melted butter in a medium bowl. Stir until the mixture resembles wet sand. Press the crumbs firmly into the bottom and up the sides of a 9-inch pie pan. Bake at 350°F (175°C) for 10 minutes until set, then allow to cool completely before filling.Look for crumb mixture looks like wet sandTip ensure the crust is pressed tightly into the pan corners
The crust mixture should look like coarse, wet sand that holds its shape when pressed between your fingers. Ensure it is distributed evenly across the bottom and sides of the pie pan.
The crust is ready for the oven when it is firmly packed, and after baking, it should appear golden and feel dry to the touch before you begin the filling.
Filling preparation
- Mix the peanut butter fillingUsing an electric mixer, beat the softened cream cheese in a large bowl until smooth. Add the creamy peanut butter and continue beating until fully incorporated and light. In a separate bowl, whip the heavy whipping cream until stiff peaks form, then gently fold the whipped cream into the peanut butter mixture until combined.Look for filling is smooth and uniformTip avoid over-mixing the final whipped cream fold
The peanut butter filling is finished when it is completely uniform in color and texture, with no streaks of cream cheese or peanut butter remaining. The mixture should be thick, creamy, and hold its own weight on a spatula. It is now ready to be transferred to the cooled crust for the final assembly and the necessary long chill time.
Chilling and setting
- Assemble and chillSpread the peanut butter filling evenly into the cooled crust using a spatula, smoothing the top. Place the pie in the refrigerator to chill for at least 3 hours or until completely firm. Once set, slice the pie with a sharp, warm knife for clean edges and serve immediately while cold.Look for filling is firm to the touchTip wipe the knife clean between slices
The final phase is complete when the pie is firm and cold throughout. The surface should be smooth and stable. Check that the edges of the crust remain crisp and that the filling has set into a solid, sliceable consistency. The pie is now ready to be cut into clean wedges using a warm knife and served immediately to guests.
Common mistakes
A common mistake is using cold cream cheese, which will leave small lumps in the filling that are difficult to smooth out. Another error is failing to whip the heavy cream to stiff peaks before folding it into the peanut butter mixture, which leads to a dense, flat pie rather than one with a light, airy texture.
Additionally, rushing the chilling process will result in a pie that does not slice cleanly, so allow sufficient time for the fats to solidify in the refrigerator.
How to tell it’s done
The pie is considered done when the filling has firmed up significantly after the recommended chilling time in the refrigerator. The surface of the pie should feel set and not tacky to the touch.
When slicing, the pie should hold its shape cleanly without the filling slumping or running. Because this recipe does not involve cooking raw protein, there is no internal temperature requirement for safety, but proper chilling is essential for the physical integrity of the dessert.
Up next · Part 3 of 3
2 variations · storage & make-ahead · 3 answers · printable card
Tips, FAQ & printable recipe (Part 3)← Back to the ingredients (Part 1)