Desserts · Part 2 of 3: Instructions
Easy Cranberry Pineapple Dump Cake Step-by-step instructions
- Prep
- Cook
- Total
- Serves
- 8
Before you start
Before beginning, ensure your oven is preheated to 350°F (175°C) to provide a consistent environment for the cake to bake properly. Gather your baking dish and ensure your workspace is clean and ready.
Have your canned ingredients opened and your butter sliced into thin, even pieces so they are ready for immediate assembly. Keeping everything prepped in advance ensures that the assembly phase is quick and efficient, allowing the cake to go into the oven without delay, which is key to achieving the perfect texture.
Ingredients at a glance (4)
- 2 cans (14 oz each) whole berry cranberry sauce
- 1 can (20 oz) crushed pineapple, undrained
- 1 box (15.25 oz) yellow cake mix
- 1 cup unsalted butter, thinly sliced
Instructions
Assembling the fruit base
- Layer the fruit baseSpread the whole berry cranberry sauce evenly across the bottom of a 9x13 inch baking dish. Spoon the undrained crushed pineapple over the cranberry layer, ensuring the fruit is distributed evenly to create a vibrant red and yellow base.Look for The dish bottom is fully covered by the fruit mixture.Tip Do not drain the pineapple juice, as the liquid is essential for cooking the cake mix properly.
The fruit base is ready when the cranberry sauce and crushed pineapple are spread into an even, consistent layer across the entire bottom of the baking dish. Check that there are no gaps in the fruit coverage and that the pineapple is evenly distributed to prevent concentrated sweet spots.
The contrast between the deep red of the cranberries and the bright yellow of the pineapple should be visible throughout the dish before moving on to the dry ingredients.
Adding the cake topping
- Add cake and butterSprinkle the dry yellow cake mix evenly over the fruit layer, ensuring no large clumps remain. Arrange the thin slices of butter in uniform rows to cover the top of the cake mix completely, which helps create a golden crust.Look for The cake mix is completely covered by the butter slices.Tip Slice the butter thin to ensure even melting and browning across the entire surface of the cake.
The assembly is complete when the dry cake mix is spread in a smooth, level layer over the fruit and the butter is arranged in a grid pattern. Ensure that the butter slices cover most of the cake mix surface, as this is critical for the final texture. The dry mix should not be pressed down; it should remain loose and airy to allow the butter to melt through effectively during the initial stages of baking in the oven.
Baking until golden
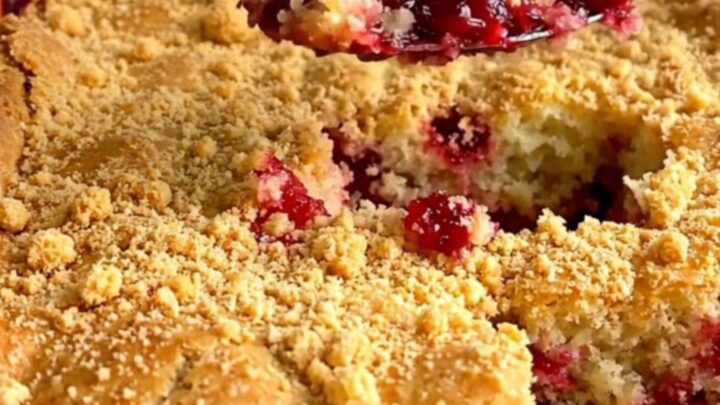
- Bake and servePreheat the oven to 350°F (175°C). Place the dish in the oven and bake for 45 minutes, or until the topping is golden brown and the fruit edges are bubbling. Remove from the oven and let rest for 10 minutes before serving warm.Look for The top is golden and crumbly with bubbling fruit juices around the edges.Tip Letting the cake rest allows the juices to thicken slightly, making it easier to serve.
The cake is ready to be removed from the oven when the top is firm, golden, and slightly crisp. The edges of the dish should show bubbling fruit liquid, which confirms that the heat has permeated the entire depth of the dessert. Let the dish sit for 10 minutes on a wire rack or a heat-safe surface; this resting period is vital for the structure to settle and for the fruit juices to thicken into a cohesive syrup.
Common mistakes
A common mistake is failing to spread the fruit evenly across the dish, which can lead to uneven cooking and burnt patches in the cake mix. Another error is using drained pineapple, which removes the necessary liquid required to hydrate the cake mix; always keep the juices from the can.
Finally, avoid crowding the butter slices, as they need to be distributed across the entire surface to ensure every part of the cake mix gets enough moisture to transform into a golden crust.
How to tell it’s done
The dump cake is done when the top has achieved a uniform golden-brown color and the fruit filling is visibly bubbling along the sides of the baking dish. The cake layer should look set and slightly crisp to the touch.
Because this is a fruit-based dessert, there is no protein to monitor for safety, but observing the bubbling edges is a reliable indicator that the fruit has reached an appropriate temperature and that the flavors have fully melded together during the baking cycle.
Up next · Part 3 of 3
2 variations · storage & make-ahead · 3 answers · printable card
Tips, FAQ & printable recipe (Part 3)← Back to the ingredients (Part 1)