Dinner · Part 2 of 3: Instructions
Colby-Jack Green Chile Hashbrown Bake: Easy Crockpot Dinner Step-by-step instructions
- Prep
- Cook
- Total
- Serves
- 8
Before you start
Before starting, ensure the cream cheese is softened to room temperature for easier melting. If using frozen hashbrowns, there is no need to thaw them—they will cook perfectly in the slow cooker.
Measure out all ingredients and have the slow cooker ready. No pre-cooking is required, making this a true dump-and-go meal.
Ingredients at a glance (6)
- 2 lb shredded russet potato hashbrowns
- 1 lb thick-cubed honey-glazed smoked ham
- 4 oz fire-roasted Hatch green chiles, diced
- 1 can (10.5 oz) condensed cheddar cheese soup
- 8 oz cream cheese, softened
- 2 cups shredded Colby-Jack cheese
Instructions
Layer and Go
- Layer the BasePlace the shredded hashbrowns in the bottom of a 7-quart slow cooker. Scatter the cubed ham evenly over the potatoes. Sprinkle the diced green chiles over the ham, then pour the condensed cheddar cheese soup over the top, spreading it as evenly as possible.Look for The hashbrowns should be mostly covered by the soup and chiles.Tip No need to thaw the hashbrowns if frozen; they will cook perfectly in the slow cooker.
- Add the CheesesPlace the block of softened cream cheese in the center of the mixture. Sprinkle the shredded Colby-Jack cheese over the top, covering the cream cheese and the rest of the ingredients as much as possible.Look for The top should be covered with cheese, with the cream cheese block visible in the middle.Tip Soften the cream cheese beforehand for easier melting and stirring later.
After layering, the slow cooker should be filled with distinct layers: hashbrowns on the bottom, ham scattered over, chiles and soup spread on top, and the cheese crowning it all. The cream cheese block sits in the center, surrounded by shredded cheese. The mixture looks dry but will transform as it cooks.
Slow-Cook to Perfection
- Cook on LowCover the slow cooker and cook on low for 4 to 5 hours, until the hashbrowns are tender and the cheese is melted and bubbly. Do not stir during cooking to allow the layers to meld together.Look for The edges will be bubbling and the cheese fully melted.Tip Cooking on low yields the creamiest texture; high heat may cause the dairy to separate.
About 3 hours in, the aroma of melting cheese and ham fills the kitchen. The edges begin to bubble gently, and the cream cheese softens into the mixture.
By the end of the cooking time, the top is golden and bubbly, with steam rising from the surface. A fork inserted into the hashbrowns meets little resistance.
Stir and Serve
- Stir and ServeAfter cooking, stir the mixture gently to combine all ingredients into a creamy, cheesy casserole. Serve hot directly from the slow cooker or transfer to a serving plate.Look for The mixture should be cohesive, creamy, and steaming.Tip For a golden top, broil for a few minutes after stirring, but watch carefully.
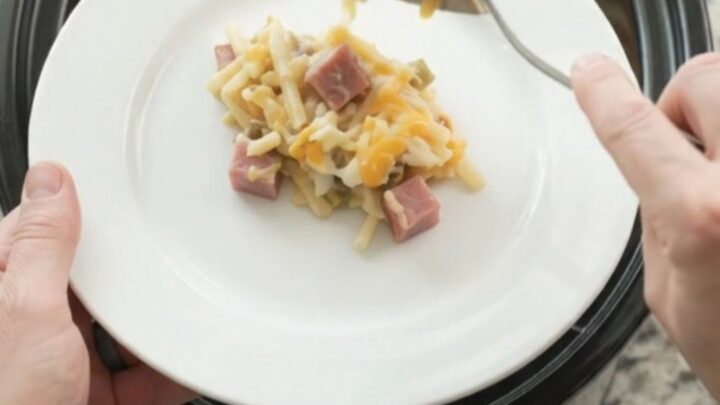
After stirring, the casserole becomes a cohesive, creamy mass. The potatoes are tender but not mushy, the ham is juicy, and the green chiles are dispersed throughout. The cheese sauce coats every bite, and the dish is steaming hot, ready to be served.
Common mistakes
One common mistake is stirring the casserole too early, which can break up the hashbrowns and make the dish mushy. Let it cook undisturbed for the full time.
Another pitfall is using high heat, which can cause the dairy to curdle. Stick to low heat for the creamiest texture. Finally, do not overdo the chiles—start with 4 ounces and adjust next time if you want more heat.
How to tell it’s done
The casserole is done when the hashbrowns are fork-tender and the cheese is fully melted and bubbling around the edges. The internal temperature of the casserole should reach at least 165°F (74°C) to ensure it is heated through.
If the top needs more browning, switch the slow cooker to high and cook uncovered for an additional 15 minutes, watching closely.
Up next · Part 3 of 3
4 variations · storage & make-ahead · 5 answers · printable card
Tips, FAQ & printable recipe (Part 3)← Back to the ingredients (Part 1)