Dinner · Part 1 of 3: Ingredients
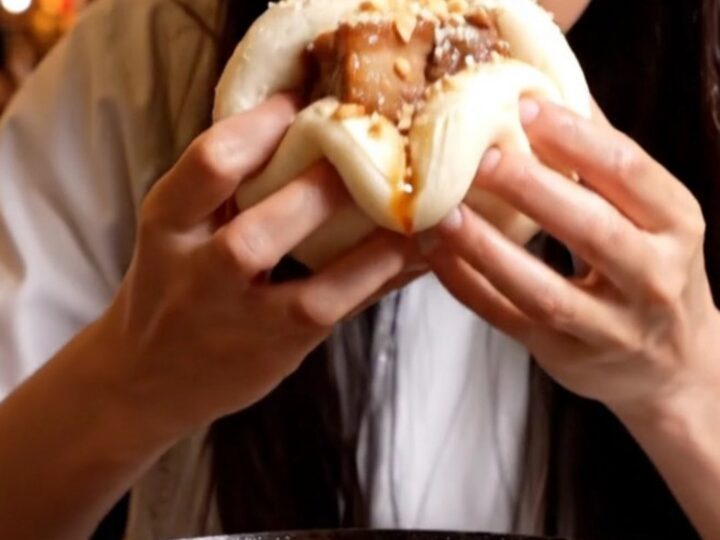
Classic Taiwanese Braised Pork Belly Gua Bao
- Prep
- Cook
- Total
- Serves
- 4
Discover the art of the perfect Taiwanese gua bao right in your own kitchen. This iconic street food combines tender, melt-in-your-mouth braised pork belly with a harmonious blend of sweet, savory, and tangy elements.
It is an experience that brings the vibrant energy of night market culture directly to your dining table, offering a sophisticated yet deeply comforting meal that is sure to impress everyone who takes that first decadent bite.
The gua bao is a staple of Taiwanese culinary tradition, celebrated for its unique contrast of textures. The soft, pillowy steamed milk bun acts as the perfect vessel for the rich, lacquered pork belly, while the pickled mustard greens provide a necessary acidic bite.
Finished with the crunch of peanuts and a touch of sweetness, this dish is a masterclass in balance. This recipe simplifies the assembly process, allowing home cooks to recreate the professional street food quality with ease and consistency every single time.
Ingredients
Main
- 1 lb five-spice braised pork belly, sliced into 4 slabs
- 4 pieces steamed milk buns, store-bought or made ahead
Filling
- 120 g pickled mustard greens
- 1/4 cup fresh cilantro, to taste
Glaze
- 1/4 cup dark soy sauce
- 2 tbsp rock sugar
Topping
- 1/4 cup roasted peanuts, crushed
- 1 tsp granulated sugar
Why this recipe works
The method of simmering the pork in a dark soy and rock sugar reduction is essential for achieving that characteristic glossy, lacquered appearance. By reducing the sauce directly in the pan, the flavors concentrate, coating the meat in a rich glaze that prevents it from drying out. This technique ensures that the pork belly remains succulent throughout the heating process, providing a depth of flavor that is both intense and satisfying.
Layering the ingredients in a specific order—meat, followed by the tangy crunch of mustard greens and fresh herbs—is the key to a balanced bao. The fat from the pork belly is perfectly cut by the acidity of the pickled mustard greens, while the crushed peanuts add a nutty texture that rounds out the profile.
This deliberate assembly ensures that each bite contains a perfect harmony of ingredients, mimicking the experience of high-end street food stalls.
Notes and substitutions
When selecting the pork belly, look for a piece with an even distribution of lean meat and fat. This balance is crucial for achieving the desired melt-in-your-mouth texture. If the pork is too lean, it may become tough; if it is too fatty, it can feel overwhelming. Using pre-braised pork belly allows for a quicker assembly, but ensures the meat is already infused with traditional five-spice aromatics for authentic results.
The choice of equipment is straightforward, but a high-quality non-stick skillet is vital for the glazing step. It prevents the sugar-heavy reduction from sticking to the pan, allowing for an easy cleanup and ensuring the pork belly is coated evenly without burning.
For the toppings, using a mortar and pestle to crush the peanuts ensures a consistent, coarse texture that adheres well to the sticky pork, avoiding the unevenness of pre-crushed varieties.
- rock sugar: brown sugar can be substituted, though the glaze will be less glossy.
- pickled mustard greens: sauerkraut or kimchi provides a similar tangy crunch.
Equipment
- non-stick skillet
- tongs
- cutting board
- chef knife
- mortar and pestle
Up next · Part 2 of 3
3 steps · 5 min of cooking · what to look for at each stage
Step-by-step instructions (Part 2)