Breakfast · Part 1 of 3: Ingredients
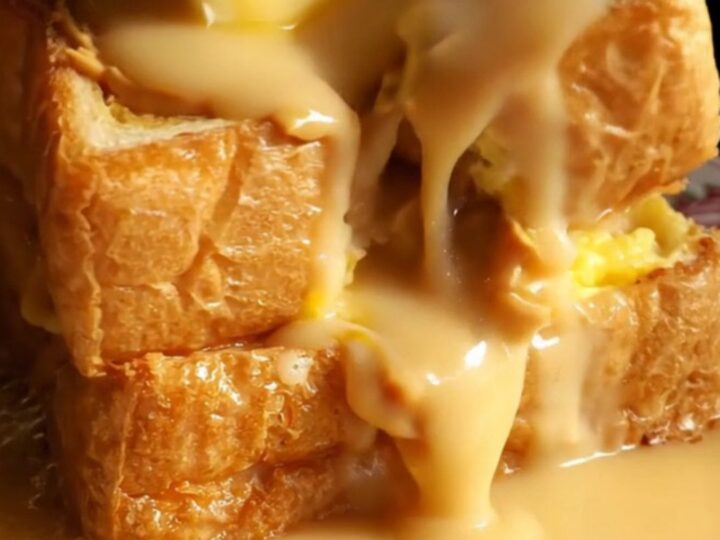
Classic Hong Kong Peanut Butter French Toast
- Prep
- Cook
- Total
- Serves
- 1
Discover the indulgence of a classic Hong Kong café staple. This recipe transforms simple ingredients into a decadent, molten treat that is perfect for a special breakfast or a comforting afternoon snack.
By using thick, fluffy milk bread and a rich peanut butter filling, you create a contrast of textures that is truly satisfying. The golden, crispy exterior gives way to a warm, creamy center, making this a dish that feels like a genuine culinary experience in every single bite.
This Hong Kong-style peanut butter French toast is a masterclass in comforting textures and flavors. It relies on the quality of the bread and the precision of the frying technique to achieve its signature airy yet crispy finish.
Unlike traditional French toast, this version is stuffed with creamy peanut butter and shallow-fried in clarified butter, which provides a clean, rich taste without the burnt bits often associated with regular butter. Finished with a drizzle of condensed milk, it is a sweet, savory, and incredibly satisfying dish that feels both elevated and deeply familiar.
Ingredients
Main
- 2 slices thick shokupan milk bread
- 50 g creamy peanut butter
Batter
- 2 large eggs, beaten
- 30 ml evaporated milk
Cooking
- 2 tbsp clarified butter
Topping
- 1 pat salted butter
- 1 tbsp sweetened condensed milk
Why this recipe works
The method of stuffing the bread before soaking creates a sealed, molten core. By using thick-cut shokupan, the bread is robust enough to soak up the egg wash without falling apart. The clarified butter allows for a higher frying temperature, which is crucial for achieving that signature puffed, golden-brown exterior while ensuring the peanut butter center warms up properly during the short cooking time.
Shallow-frying in a controlled temperature environment ensures the egg-soaked bread crisps up immediately upon contact with the pan. This technique prevents the bread from becoming overly greasy, which can happen with deep-frying or lower-temperature pan-frying.
The result is a light, airy pillow of bread that is crisp on the outside and wonderfully tender on the inside, providing a perfect vessel for the sweet and salty toppings.
Notes and substitutions
Choosing the right bread is essential for success. Shokupan, or Japanese milk bread, is the gold standard because of its high moisture content and light, cloud-like texture. If you cannot find it, look for the thickest brioche or challah bread available in your local bakery. The bread must be sturdy enough to handle the egg bath without disintegrating, so avoid thin, standard sandwich bread if possible.
Clarified butter is highly recommended because it has a higher smoke point than regular butter, making it ideal for the 350°F frying temperature required for this recipe.
If you do not have clarified butter, you can use ghee or a neutral oil like grapeseed or vegetable oil. While traditional butter adds flavor, the risk of burning is higher, so maintain careful control over the heat to ensure the crust develops evenly without charring.
- shokupan milk bread: thick-sliced brioche or challah bread
- clarified butter: ghee or neutral oil with a high smoke point
Equipment
- non-stick skillet
- whisk
- mixing bowl
- spatula
- serrated knife
Up next · Part 2 of 3
4 steps · 4 min of cooking · what to look for at each stage
Step-by-step instructions (Part 2)