Dinner · Part 2 of 3: Instructions
Classic Creamy Tuna Casserole for Comforting Weeknight Dinners Step-by-step instructions
- Prep
- Cook
- Total
- Serves
- 6
Before you start
Before starting, ensure all ingredients are measured and ready. Preheat the oven to 375°F (190°C) to ensure it is ready when the casserole is assembled. Prepare the baking dish by lightly greasing it if desired, though the sauce typically prevents sticking.
Have a large pot of water ready to boil for the noodles. Having everything prepared in advance makes the assembly process smooth and efficient, allowing for a focused and enjoyable cooking experience. Ensure that the canned tuna is drained properly and the peas are thawed if they were frozen.
Ingredients at a glance (5)
- 12 oz egg noodles
- 2 cans canned tuna, drained
- 1 cup sweet peas, frozen or canned
- 2 cups creamy sauce, store-bought or made ahead
- 1/2 cup breadcrumbs
Instructions
Cooking the Noodles
- Prepare the BaseBring a large pot of salted water to a boil and cook the egg noodles according to the package directions until al dente. Drain the noodles thoroughly using a colander and return them to the pot.Look for Noodles are soft but still hold their shape.Tip Do not overcook the noodles, as they will soften further in the oven.
The noodles should be cooked to al dente, meaning they are tender but still retain a slight bite. Drain them well so no excess water interferes with the creamy sauce. The noodles will appear bright and slightly firm before they are combined with the other ingredients.
Mixing the Casserole
- Combine IngredientsAdd the drained canned tuna, sweet peas, and the prepared creamy sauce to the pot with the cooked noodles. Stir everything together gently with a wooden spoon until the ingredients are evenly coated and combined.Look for The mixture is thick and well-coated with sauce.Tip Folding the ingredients gently prevents the tuna from breaking into too small pieces.
The mixture should look uniform, with the tuna and peas evenly distributed throughout the creamy sauce.
The consistency should be thick enough to hold its shape when scooped but moist enough to remain creamy after baking. All ingredients should be thoroughly incorporated before transferring to the dish.
Baking to Perfection
- Bake the CasseroleTransfer the mixture into a 9x13 inch glass baking dish, spreading it into an even layer. Sprinkle the breadcrumbs over the top. Bake at 375°F (190°C) for 20 to 25 minutes until the sauce is bubbling and the breadcrumb topping is golden brown.Look for The sauce is bubbling and the top is golden.Tip Let the casserole rest for 5 minutes before serving to allow the sauce to set.
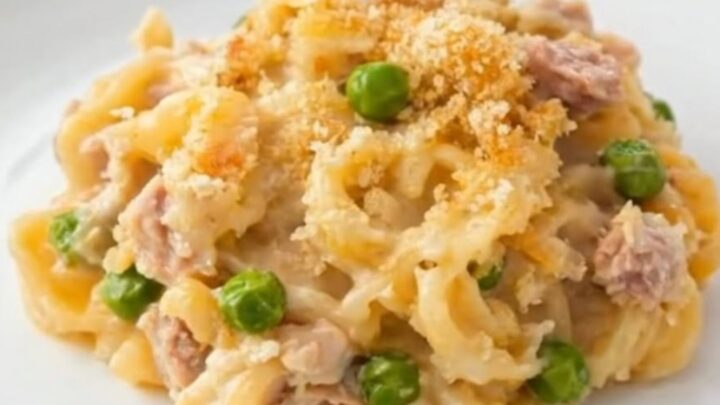
The final casserole should have a bubbling sauce and a crisp, golden-brown breadcrumb topping. The kitchen will smell warm and savory. Check that the edges are bubbling strongly, indicating the heat has penetrated the center of the dish, ensuring a consistent texture throughout.
Common mistakes
A common mistake is overcooking the noodles before they hit the oven; they should be slightly under-done, as they will finish cooking in the sauce. Another error is failing to drain the tuna sufficiently, which can lead to a watery casserole that does not set properly.
Avoid using too much sauce, which can overwhelm the other ingredients and result in a soggy texture. Finally, do not skip the resting period, as this is crucial for the sauce to settle into the perfect consistency before serving.
How to tell it’s done
The casserole is done when the internal mixture is heated through and the sauce is bubbling vigorously around the edges of the dish. The breadcrumb topping should be golden brown and crisp.
Since the ingredients are essentially pre-cooked, the baking time is focused on marrying the flavors and achieving the desired texture. Allow the dish to rest for 5 minutes after removing it from the oven to let the sauce thicken slightly, making it easier to scoop and serve without it being too runny.
Up next · Part 3 of 3
2 variations · storage & make-ahead · 3 answers · printable card
Tips, FAQ & printable recipe (Part 3)← Back to the ingredients (Part 1)