Desserts · Part 1 of 3: Ingredients
Classic Caramelized Apple Tarte Tatin
- Prep
- Cook
- Total
- Serves
- 8
Master the art of the perfect French dessert with this classic Apple Tarte Tatin. This recipe delivers a stunning balance of sweet, caramelized fruit and crisp, buttery pastry that will elevate any gathering.
By using a cast-iron skillet, the apples develop a deep, rich flavor while the pastry achieves an irresistible golden crunch. It is the ultimate showstopper dessert that remains approachable for any home cook looking to impress with time-honored techniques and simple, high-quality ingredients.
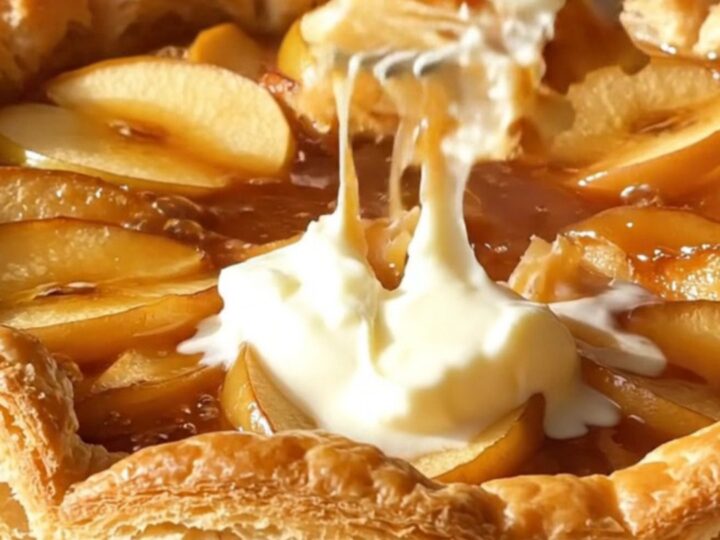
The Apple Tarte Tatin is a legendary French upside-down tart that relies on the magic of caramelization. In this version, fresh Honeycrisp apples are nestled into a bubbling butter-sugar base and topped with rough puff pastry, creating a dessert where the fruit becomes tender and infused with a deep toffee flavor.
Once baked, the tart is inverted, revealing a beautiful, glistening surface of perfectly caramelized apples. It is best enjoyed warm, providing a satisfying contrast between the crisp, flaky pastry and the soft, molten fruit, especially when finished with a cool, creamy dollop of fresh crème fraîche.
Ingredients
- 150 g sugar
- 80 g salted butter
- 6 Honeycrisp apples, halved
- 250 g rough puff pastry
Serving
- crème fraîche, for serving
Why this recipe works
The method of starting the caramel directly in the cast-iron skillet allows for superior heat distribution and a more intense flavor profile. As the apples cook, they release their natural juices, which mingle with the butter and sugar to create a luxurious, thick sauce. By tucking the puff pastry edges firmly into the skillet, you create a seal that traps the steam, ensuring that the fruit cooks through completely while the pastry edges turn crisp and golden.
Using a heavy cast-iron skillet is essential for this recipe because it retains heat exceptionally well, ensuring the caramel continues to bubble evenly as the tart bakes. This consistent heat is what transforms the simple ingredients into a complex, multi-layered dessert.
The process of inverting the tart while it is still warm is the final step that ensures the caramel coats every piece of apple evenly, resulting in that signature, glossy, professional-grade finish that defines a true Tarte Tatin.
Notes and substitutions
For the best results, use Honeycrisp apples as they hold their shape well during the baking process and provide a perfect balance of sweetness and acidity. If you cannot find Honeycrisp, Granny Smith or Fuji apples are excellent alternatives. The quality of the butter also makes a difference, so opt for a high-fat European-style salted butter to enhance the richness of the caramel sauce. Ensure the puff pastry is cold when you begin, as this helps it puff up beautifully in the oven.
The cast-iron skillet is the preferred tool for this recipe, but ensure it is well-seasoned to prevent sticking. If you do not have a cast-iron skillet, a heavy-bottomed, oven-safe stainless steel pan can be used, provided it is of sufficient thickness.
When choosing crème fraîche for serving, look for a high-quality, thick version that offers a slight tang to cut through the sweetness of the caramel. If unavailable, a thick Greek yogurt can also provide a similar refreshing contrast.
- Honeycrisp apples: Granny Smith or Fuji apples
- rough puff pastry: frozen puff pastry, thawed
Equipment
- cast-iron skillet
- chef knife
- cutting board
- platters
- oven
Up next · Part 2 of 3
3 steps · 35 min of cooking · what to look for at each stage
Step-by-step instructions (Part 2)