Desserts · Part 2 of 3: Instructions
Chocolate Crumble Cake with Coconut Cream Step-by-step instructions
- Prep
- Cook
- Total
- Serves
- 8
Before you start
Before beginning assembly, ensure the chocolate sponge cake is completely cool to the touch. If the cake was recently baked, allow it to rest at room temperature for at least an hour.
Prepare the coconut cream by ensuring it is chilled, which helps it maintain a firm, spreadable consistency.
Have the serving stand ready on a flat, stable surface in a cool area of the kitchen to prevent the cream from softening too quickly during the assembly process.
Ingredients at a glance (3)
- 1 unit chocolate sponge cake, store-bought or made ahead
- 1 cup thick coconut cream
- 1/2 cup chocolate crumbs
Instructions
Base Preparation
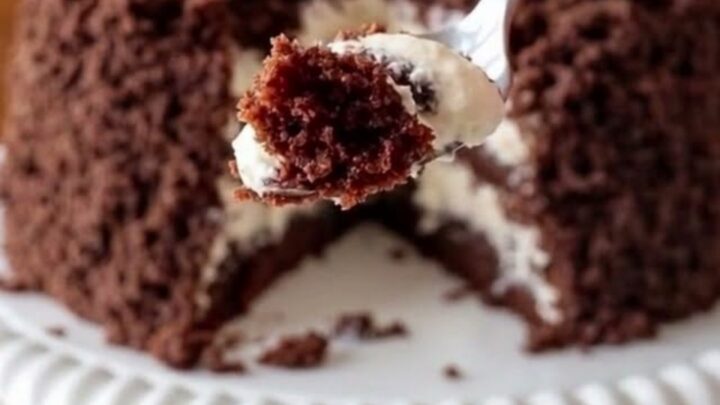
- Prepare the BasePlace the prepared chocolate sponge cake dome onto a clean, white scalloped serving stand. Ensure the surface is level and stable before beginning the assembly process to prevent any shifting during the application of the cream.Look for The dome cake is centered on the stand.Tip Use a cake board underneath if moving the cake is necessary.
The cake dome is securely positioned on the serving stand. Check that the stand is clean and that the cake is centered to allow for even distribution of the topping. The surface of the cake should be dry and free of loose crumbs before moving to the next phase.
Cream Application
- Apply Coconut CreamUsing an offset spatula, pile the thick coconut cream generously over the dark sponge base. Spread it evenly to cover the entire dome, ensuring a thick, luscious layer that creates a beautiful contrast with the dark chocolate cake underneath.Look for The coconut cream forms a smooth, thick coating over the cake.Tip Chill the coconut cream beforehand for a firmer texture.
The coconut cream is applied in a thick, even layer over the dome. The layer should be smooth and consistent, with no gaps in coverage. Verify that the cream is thick enough to hold its shape on the sides of the cake without sagging or pooling at the base.
Crumb Finishing
- Add Chocolate CrumbsCarefully hand-sprinkle the fine chocolate crumbs over the top of the coconut-covered dome. Apply them evenly to ensure a consistent texture and visual appeal across the entire surface of the finished dessert.Look for The cake is fully coated with a layer of chocolate crumbs.Tip Sprinkle from a few inches above for even distribution.
The final layer of chocolate crumbs is applied. The entire surface should look well-covered, with a consistent distribution of texture. Check that the crumbs are not overly piled in one area, ensuring a balanced look that highlights the dome shape of the cake.
Common mistakes
Avoid using warm coconut cream, as it will run off the cake and create a messy appearance. Ensure the sponge base is not too dry, as the cream relies on the cake's moisture to balance the overall flavor.
Do not press the chocolate crumbs into the cream too forcefully, as this can ruin the smooth finish and cause the cream to clump, resulting in an uneven texture across the dome.
How to tell it’s done
The cake is considered done when the coconut cream is evenly applied and the chocolate crumbs are distributed across the entire surface. There is no internal temperature to monitor for this assembly-based recipe, as the components are prepared in advance.
Visually, the cake should appear uniform and stable, with the cream adhering well to the dome shape without sliding off the sides of the sponge base.
Up next · Part 3 of 3
2 variations · storage & make-ahead · 3 answers · printable card
Tips, FAQ & printable recipe (Part 3)← Back to the ingredients (Part 1)