Dinner · Part 1 of 3: Ingredients
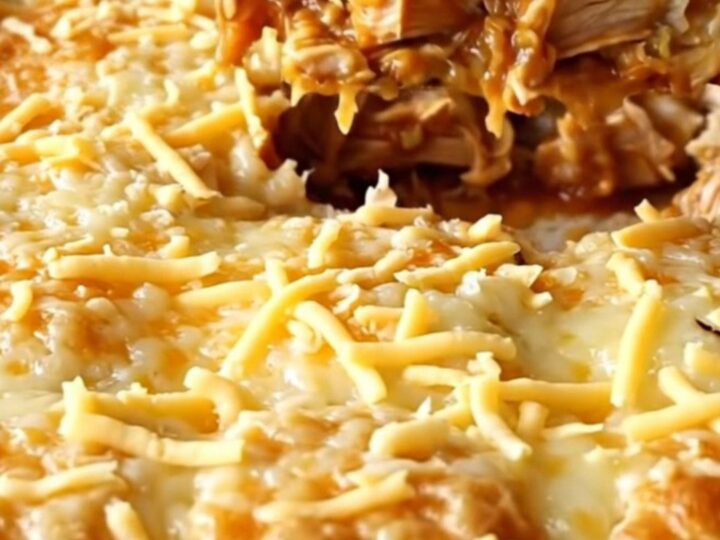
Easy Chicken Enchilada Bubble-Up Bake
- Prep
- Cook
- Total
- Serves
- 6
Simplify your dinner routine with this effortless chicken enchilada bubble-up bake. This recipe takes the classic flavors of a traditional enchilada and transforms them into a hearty, comforting casserole that requires minimal effort.
By using refrigerated biscuit dough as a base, you achieve a delightful texture that mimics a dumpling, perfectly soaking up the savory enchilada sauce while providing a satisfying bite that everyone will enjoy throughout the week.
The beauty of this chicken enchilada bubble-up bake lies in its straightforward preparation and consistent results. Designed for the home cook who values efficiency without sacrificing flavor, this dish relies on a simple layering technique. The biscuit quarters expand during the baking process, creating light, airy pockets that are surrounded by tender chicken and a rich, spiced sauce.
It is an ideal meal for busy evenings when time is limited but a warm, homemade dinner is desired. This recipe focuses on creating a balanced, cohesive casserole that is both visually appealing and delicious, ensuring that each serving is packed with flavor and texture.
Ingredients
Base
- 2 cans refrigerated biscuit dough, cut into quarters
- 2 cups shredded cooked chicken
- 10 oz red enchilada sauce
Topping
- 2 cups shredded Mexican-blend cheese
Why this recipe works
The bubble-up method works by utilizing the leavening agents in the biscuit dough, which expand rapidly when exposed to the high heat of the oven. As the dough puffs, it creates small pockets that trap the savory moisture from the enchilada sauce. This process ensures the biscuits are never dry, but rather tender and flavorful, acting as the perfect vessel for the shredded chicken and melted cheese combination.
Layering the ingredients allows for a harmonious distribution of flavors. By placing the biscuits at the bottom and layering the chicken, sauce, and cheese on top, the ingredients cook in a way that allows the sauce to permeate the dough. This creates a cohesive dish where the savory elements of the chicken and the spice of the enchilada sauce are infused into every bite, resulting in a satisfying and consistent meal.
Notes and substitutions
When selecting ingredients, choose a high-quality enchilada sauce to ensure the best flavor profile for the dish. The shredded chicken can be rotisserie-style or simply poached and shredded ahead of time, providing a versatile protein base.
Using a pre-shredded Mexican-blend cheese is convenient, but grating your own block of cheese often results in a smoother melt due to the lack of anti-caking agents, which can improve the overall texture of the final topping.
The choice of baking dish is important for achieving the right cook time. A ceramic or glass rectangular dish provides even heat distribution, which is necessary for the biscuits to rise and cook through without the bottom burning.
Ensure the dish is deep enough to accommodate the expansion of the biscuits. If you find the top browning too quickly, you can loosely tent the dish with aluminum foil for the final few minutes of baking.
- shredded cooked chicken: cooked turkey, shredded pork, or canned beans for a vegetarian alternative
- Mexican-blend cheese: shredded cheddar, Monterey Jack, or a pepper jack for added spice
Equipment
- large rectangular ceramic baking dish
- knife
- cutting board
- measuring cups
- spatula
Up next · Part 2 of 3
3 steps · 25 min of cooking · what to look for at each stage
Step-by-step instructions (Part 2)