Dinner · Part 1 of 3: Ingredients
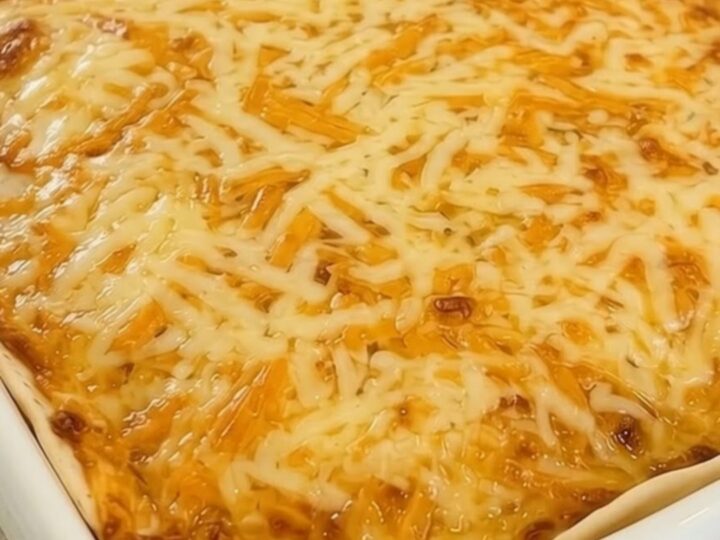
Cheesy Taco Lasagna Casserole
- Prep
- Cook
- Total
- Serves
- 6
Discover the joy of a simple, crowd-pleasing dinner with this cheesy taco lasagna. This recipe transforms standard taco night ingredients into a layered, comforting casserole that is sure to become a staple in any kitchen.
With minimal effort and maximum flavor, it is the perfect solution for busy evenings when you want something satisfying and warm without spending hours at the stove. Enjoy the perfect blend of seasoned beef, beans, and melted cheese in every single bite of this hearty dish.
The beauty of this taco lasagna lies in its straightforward assembly and the way it elevates simple pantry staples into a cohesive, delicious meal. By layering soft flour tortillas with a savory beef and bean mixture and plenty of cheese, you create a texture that is both soft and satisfying.
This casserole is designed for ease, requiring only a few basic steps to bring everything together. It is an ideal choice for family gatherings, potlucks, or simply a cozy weeknight dinner that everyone will appreciate.
Ingredients
Filling
- 1 lb ground beef
- 15 oz canned black beans, drained and rinsed
Layers
- 6 count flour tortillas
- 2 cups shredded cheddar cheese
Why this recipe works
The method of layering ingredients instead of mixing them ensures that each bite has the perfect ratio of protein, carbohydrates, and creamy cheese. This approach also allows the flavors to meld together in the oven, creating a rich and savory profile that is much more than the sum of its parts. Because the tortillas act as a soft base, they absorb the juices from the seasoned beef, resulting in a tender texture that contrasts perfectly with the slightly crisp, golden edges of the cheese.
Using a baking dish for this recipe is highly effective because it provides even heat distribution, ensuring the cheese melts thoroughly and the edges become perfectly toasted. The casserole format also makes it incredibly easy to portion, which is helpful for feeding a group.
By starting with a pre-cooked filling, the baking time is kept relatively short, focusing primarily on heating the components through and achieving that signature bubbling, golden-brown crust that makes the dish so visually appealing and delicious.
Notes and substitutions
For the best results, use a high-quality ground beef with a moderate fat content, as this provides necessary moisture and flavor for the filling. The black beans can be swapped for pinto or kidney beans if preferred, provided they are well-drained to prevent the casserole from becoming overly watery. Flour tortillas work best for this recipe due to their pliability, allowing them to conform to the shape of the baking dish and layer neatly between the savory filling and the cheese.
A 9x13 inch baking dish is the standard size for this recipe, offering enough surface area to create distinct layers without making the casserole too deep. If a smaller dish is used, adjust the number of layers accordingly.
Always ensure the cheese is freshly shredded if possible, as pre-shredded varieties often contain anti-caking agents that can hinder the desired melt. Using a good quality cheddar or a blend of cheeses will significantly improve the overall texture and depth of flavor in the finished casserole.
- flour tortillas: corn tortillas for a gluten-free version
- cheddar cheese: monterey jack or pepper jack cheese
Equipment
- Large skillet
- 9x13 inch baking dish
- Spatula
- Can opener
Up next · Part 2 of 3
3 steps · 30 min of cooking · what to look for at each stage
Step-by-step instructions (Part 2)