Dinner · Part 1 of 3: Ingredients
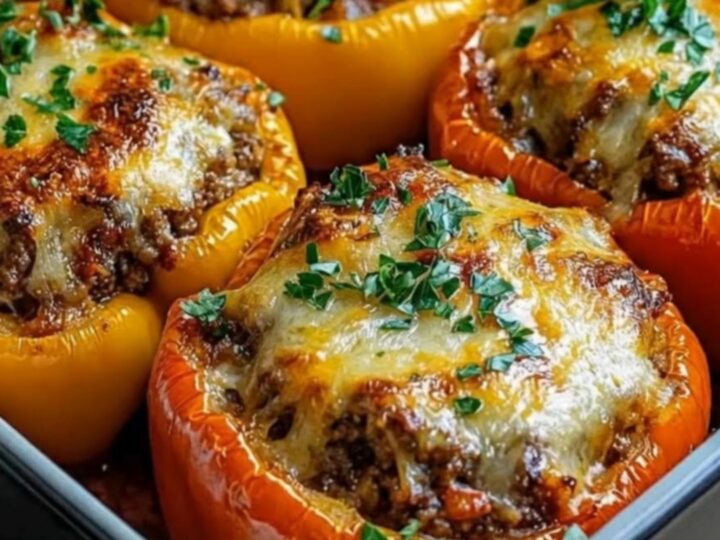
Cheesy Stuffed Bell Peppers with Savory Beef and Rice
- Prep
- Cook
- Total
- Serves
- 4
Savor the ultimate comfort food with these cheesy stuffed bell peppers. Vibrant bell peppers are packed with a savory, seasoned ground beef and rice filling, then baked to tender perfection under a thick, bubbly blanket of melted mozzarella cheese. This classic family favorite delivers satisfying flavors and a spectacular cheese stretch that makes every single bite feel special.
Stuffed bell peppers are a timeless dinner staple for good reason. They combine tender, sweet bell peppers with a rich, savory meat filling and gooey, melted cheese. This recipe simplifies the process, ensuring the peppers cook to a perfect tender-crisp texture while the filling remains incredibly juicy and flavorful.
By pre-cooking the filling and finishing the dish in the oven, you achieve a harmonious balance of textures and flavors. It is an excellent option for busy weeknights or cozy weekend dinners when looking for a classic dish that everyone at the table will love.
Ingredients
- 4 large bell peppers, tops removed and seeded
- 1 lb ground beef
- 1 1/2 cups cooked white rice
- 1 1/2 cups shredded mozzarella cheese, divided
- 1 tbsp fresh parsley, chopped for garnish
Why this recipe works
The method of baking the stuffed peppers covered with aluminum foil first is crucial for texture. This traps the moisture escaping from the peppers and the filling, essentially steaming the pepper walls so they soften without drying out or burning.
Without this initial covered bake, the peppers would remain tough and leathery, while the top of the filling would dry out before the pepper itself becomes tender.
Browning the ground beef in a hot skillet before stuffing the peppers is essential for flavor development. The Maillard reaction from browning the meat creates deep, savory notes that raw beef simply cannot achieve when cooked inside a baking pepper.
Mixing the cooked beef with pre-cooked rice allows the rice to absorb the rich juices from the meat, keeping the filling moist and cohesive throughout the baking process without becoming dry.
Notes and substitutions
Choosing the right bell peppers is key to both presentation and stability. Look for large, blocky bell peppers with flat bottoms so they can stand upright in the baking dish without tipping over. Red, yellow, and orange bell peppers are sweeter and milder than green ones, but a mix of colors makes for a beautiful presentation. Ensure they are firm and free of soft spots before starting.
For the cheese, low-moisture mozzarella provides the best melt and that iconic, dramatic cheese pull. Shredding the cheese from a block rather than buying pre-shredded cheese is highly recommended, as pre-packaged cheese contains anti-caking agents that prevent it from melting smoothly.
If you prefer a sharper flavor, a blend of mozzarella and sharp cheddar or Monterey Jack works wonderfully.
- ground beef: ground turkey, ground chicken, or sweet Italian sausage meat
- cooked white rice: cooked brown rice, quinoa, or riced cauliflower
- shredded mozzarella cheese: shredded Monterey Jack, mild cheddar, or provolone cheese
Equipment
- 9x13-inch baking dish
- Large skillet
- Wooden spoon
- Chef's knife
- Cutting board
- Measuring cups and spoons
- Aluminum foil
- Instant-read food thermometer
Up next · Part 2 of 3
7 steps · 50 min of cooking · what to look for at each stage
Step-by-step instructions (Part 2)