Appetizers · Part 1 of 3: Ingredients
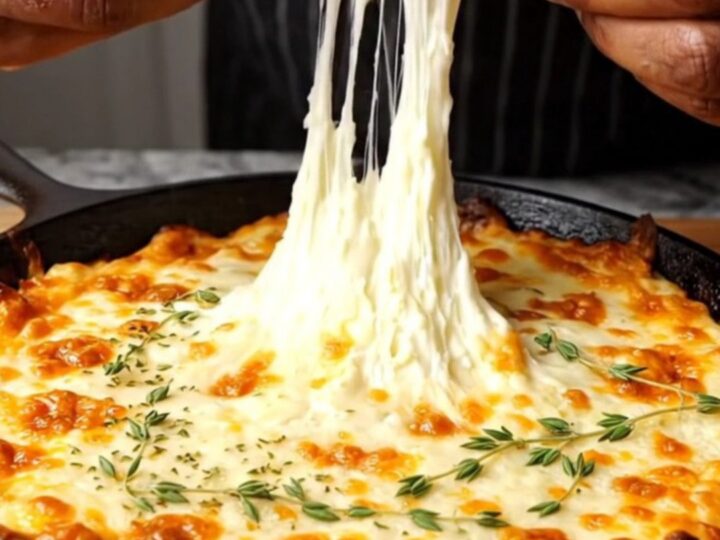
Cheesy Skillet French Onion Dip with Warm Crusty Crostini
- Prep
- Cook
- Total
- Serves
- 8
This warm, cheesy skillet dip takes all the deeply comforting flavors of classic French onion soup and turns them into a party-ready appetizer.
Sweet, jammy caramelized onions are folded into a creamy base of cream cheese, sour cream, and mayonnaise, then blanketed with Gruyère and baked until bubbling and golden. Served with warm crusty crostini, it’s an irresistible, crowd-pleasing starter that disappears fast.
French onion soup is beloved for its rich, savory broth and gooey, melted cheese. This dip captures that same magic in a shareable, scoopable form. Caramelized onions are slowly cooked until they turn dark, sweet, and jammy, then combined with a creamy, tangy base and a generous amount of Gruyère.
Baked in a cast iron skillet, the dip becomes bubbly, golden, and utterly irresistible. Serve it warm with crusty crostini for the ultimate game-day or holiday appetizer.
Ingredients
- 3 large yellow onions, thinly sliced
- 2 tbsp butter
- 1 tbsp olive oil
- 1 tsp brown sugar
- 1 tsp fresh thyme leaves, plus more for garnish
- 200 g (7 oz) cream cheese, softened
- 1/2 cup sour cream
- 1/4 cup mayonnaise
- 1 cup shredded Gruyère cheese
- 1/4 cup grated Parmesan cheese
For serving
- Warm crusty crostini (baguette slices toasted), for serving
Why this recipe works
The key to this dip’s deep, sweet flavor is the slow caramelization of the onions. Cooking them for 30 minutes over medium heat with butter and olive oil allows their natural sugars to develop, resulting in a rich, jammy texture and a mahogany color that forms the flavor backbone of the dip.
This step cannot be rushed—patience is rewarded with a complex, savory-sweet base that mimics the essence of French onion soup.
The combination of cream cheese, sour cream, and mayonnaise creates a luxurious, creamy texture that balances the intense onion flavor. The Gruyère adds a nutty, melty quality that pulls everything together, while the Parmesan contributes a salty, savory note.
Baking the dip in a cast iron skillet ensures even heat distribution and creates a beautiful, bubbly crust that contrasts with the creamy interior.
Notes and substitutions
For the best results, use high-quality Gruyère cheese and grate it yourself—pre-shredded cheese often contains anti-caking agents that can affect melting. Yellow onions are ideal for caramelizing due to their balanced sweetness and texture. If you prefer a milder onion flavor, you can substitute sweet onions like Vidalia, but reduce the brown sugar slightly as they are naturally sweeter.
The dip can be assembled ahead of time and refrigerated, then baked just before serving. If you don’t have a cast iron skillet, any oven-safe skillet or baking dish will work. For a lighter version, you can replace the mayonnaise with additional sour cream, but the texture will be slightly less rich. Fresh thyme adds a subtle herbal note that complements the onions beautifully—don’t skip the garnish.
- Gruyère cheese: Swiss cheese or white cheddar for a similar nutty, melty texture.
- Sour cream: Plain Greek yogurt for a tangier, slightly thicker dip.
- Mayonnaise: Additional sour cream or crème fraîche for a richer flavor.
- Fresh thyme: 1/2 teaspoon dried thyme, added with the onions.
Equipment
- Large skillet
- 8-inch cast iron skillet
- Mixing bowl
- Wooden spoon
- Chef's knife
- Cutting board
Up next · Part 2 of 3
5 steps · 50 min of cooking · what to look for at each stage
Step-by-step instructions (Part 2)