Dinner · Part 3 of 3: Tips & recipe card
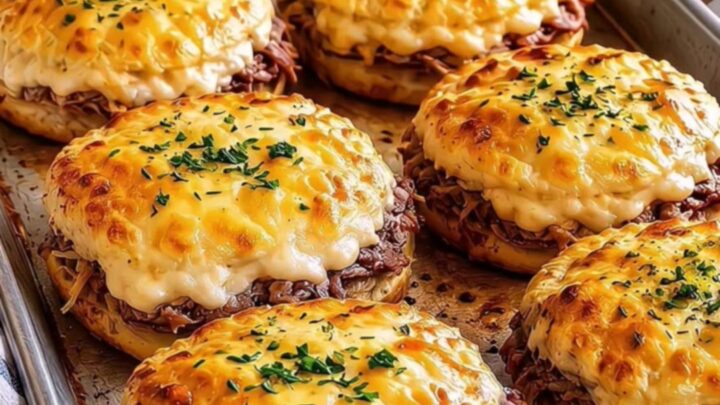
Cheesy Roast Beef Biscuit Melts for a Quick Savory Meal Tips, FAQ & printable recipe
- Prep
- Cook
- Total
- Serves
- 6
Tips for success
For an extra layer of flavor, sprinkle a little bit of grated parmesan or dried Italian herbs over the garlic butter right before baking. This adds a nice crunch and a savory boost that elevates the overall profile of the melts.
Additionally, serving these with a side of warm marinara or ranch dipping sauce can provide a nice contrast to the richness of the roast beef and cheese.
If you find that the biscuits are browning too quickly on the bottom, double-stack your baking sheets. This creates an air gap that insulates the bottom of the biscuits, allowing the tops to brown at the same rate.
This simple trick is especially useful if you are using a thin metal baking sheet that tends to conduct heat too aggressively, which can lead to burnt bottoms and undercooked centers.
Variations
- Spicy Beef Melts: Add a teaspoon of diced pickled jalapeños into the beef mixture before filling. This provides a nice heat that cuts through the richness of the cheese and the buttery biscuit.
- Caramelized Onion Melts: Mix in two tablespoons of caramelized onions with the shredded beef. The sweetness of the onions pairs beautifully with the savory roast beef, adding a sophisticated flavor profile.
Storage and make-ahead
- Fridge
- Store in an airtight container in the refrigerator for up to 3 days.
- Freezer
- Freeze in a freezer-safe bag for up to 1 month. Thaw in the refrigerator before reheating.
- Reheat
- Reheat in a 350°F (175°C) oven for 8 to 10 minutes until warmed through and crisp.
Store any leftovers in an airtight container to keep them from drying out. They are best when consumed within two days of preparation. To maintain the best texture, keep them in a cool, dry place if they are not being refrigerated immediately, although refrigeration is necessary for food safety if they will not be eaten within two hours of being baked.
You can assemble the melts up to two hours before baking, keeping them covered on the baking sheet in the refrigerator. Do not apply the garlic butter until right before you put them in the oven, as the butter can make the dough soggy if it sits for too long. Bake them directly from the refrigerator, adding an extra minute or two to the total cook time.
Serving ideas
These melts are best served warm, straight from the oven. The contrast between the crisp, buttery biscuit and the molten, cheesy center is at its peak immediately after resting.
Arrange them on a platter for easy sharing, and consider adding a side of crisp fresh vegetables or a light salad to balance the richness of the beef and cheese, making for a more complete and satisfying meal.
Consider setting out a few different dipping sauces, such as a tangy barbecue sauce or a creamy horseradish sauce, to let guests customize their bites.
The versatility of the roast beef filling means that it pairs well with a variety of flavors, allowing for a customized experience. Whether for a casual gathering or a quick family dinner, serving these warm ensures that every bite is enjoyed as intended.
Frequently asked questions
Can these be made with store-bought leftover roast beef?
Why is it necessary to let the meat rest?
Can these be frozen after baking?
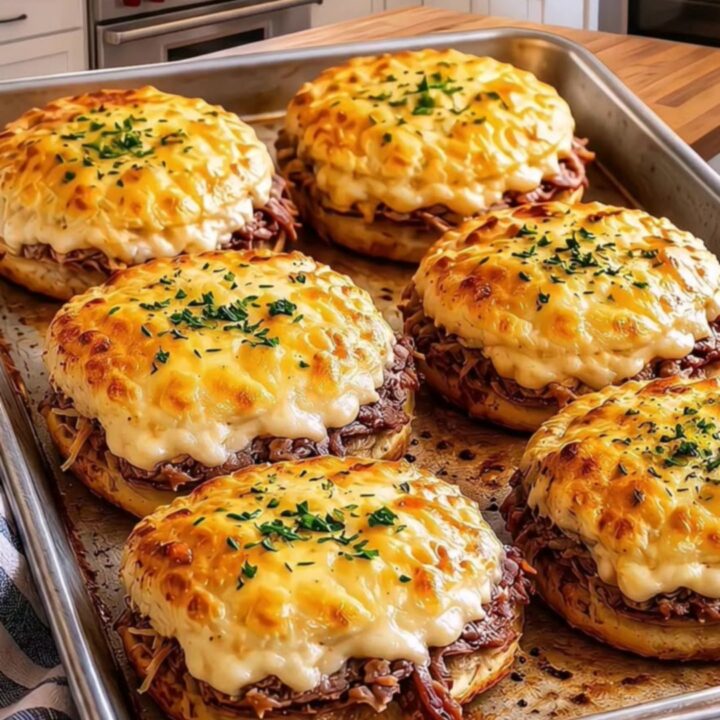
Cheesy Roast Beef Biscuit Melts for a Quick Savory Meal
Ingredients
- 1 can refrigerated biscuit dough
- 1 lb shredded roast beef
- 2 cups shredded cheese
- 2 tbsp melted butter
- 1 tsp garlic powder
Instructions
- Preheat the oven to 375°F (190°C). Open the can of biscuit dough and separate the biscuits. Flatten each biscuit slightly on a baking sheet to create a base for the fillings.
- Spoon the shredded roast beef onto the center of each flattened biscuit. Top the beef generously with the shredded cheese. Fold the edges of the biscuit dough over the filling to seal, or top with another flattened biscuit piece if desired.
- Mix the melted butter and garlic powder in a small bowl. Brush the tops of the assembled biscuits with the garlic butter. Bake in the oven until the biscuits are golden brown and the cheese is bubbling and melted, reaching an internal temperature of at least 145°F (63°C) for the roast beef. Let the meat rest at least 3 minutes before serving.
Estimated nutrition per serving
- Calories
- 380
- Protein
- 18 g
- Carbohydrates
- 32 g
- Fat
- 20 g
- Fiber
- 1 g
- Sugar
- 3 g
- Sodium
- 750 mg
Next recipe
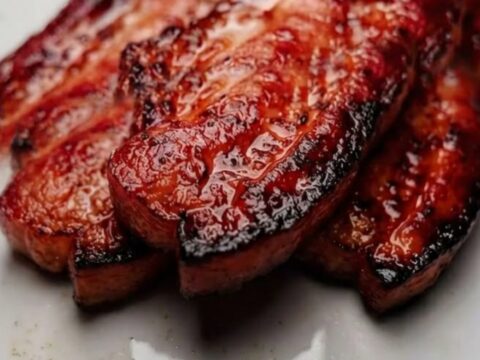
Sweet and Smoky Glazed Pork Belly
See the recipe → →This recipe is based on a short cooking video and is published under the pen name Clara Weller. It was checked before publication, but errors can slip through. Nutrition, when shown, is an estimate. Read more in our editorial policy and on our food safety page.
More recipes to try
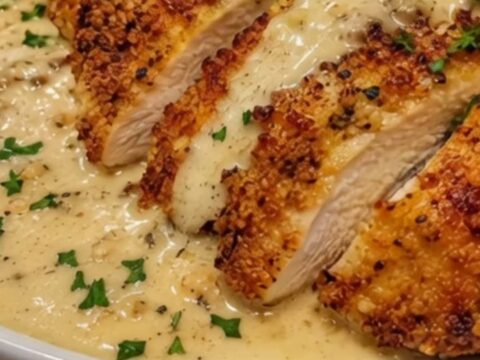
Steakhouse-Style Parmesan Crusted Chicken with Garlic Cream Sauce
Total time: 45 min
Creamy Slow-Cooker Scalloped Potatoes and Ham
Total time: 4 h 25 min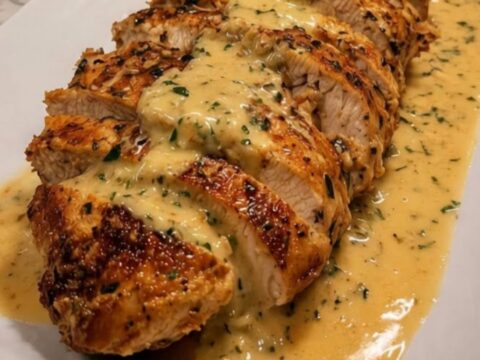
Creamy Garlic Parmesan Chicken for a Quick Dinner
Total time: 30 min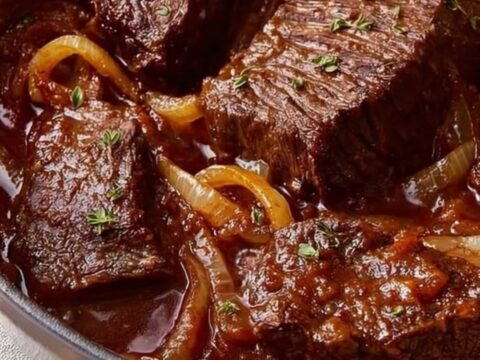
Tender Braised Beef Short Ribs in Red Wine Sauce
Total time: 3 h 30 min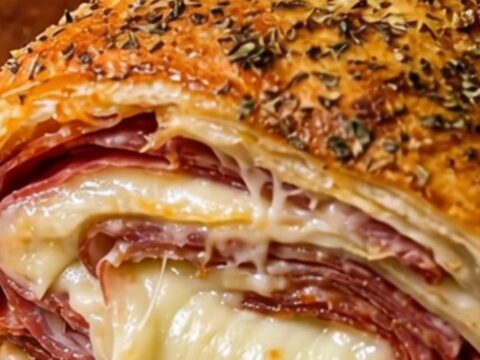
Crispy Italian Stromboli with Melted Mozzarella
Total time: 45 min