Dinner · Part 3 of 3: Tips & recipe card
Cheesy Ground Beef Enchiladas with Rich Red Sauce Tips, FAQ & printable recipe
- Prep
- Cook
- Total
- Serves
- 6
Tips for success
To elevate the flavor profile of your enchiladas, try lightly frying the tortillas in a small amount of hot vegetable oil for just a few seconds on each side before filling them. This traditional technique creates a light barrier that prevents the tortillas from absorbing too much sauce and becoming mushy.
Additionally, letting the baked enchiladas rest for about ten minutes after removing them from the oven is crucial. This resting period allows the sauce to thicken and the structure to set, making it much easier to lift clean, intact portions out of the baking dish.
If you find yourself with leftover filling, it can be repurposed in a variety of delicious ways. Use the seasoned beef as a topping for nachos, a filling for quesadillas, or mix it into a quick taco soup. For the best presentation, always garnish the hot dish with fresh herbs right before serving.
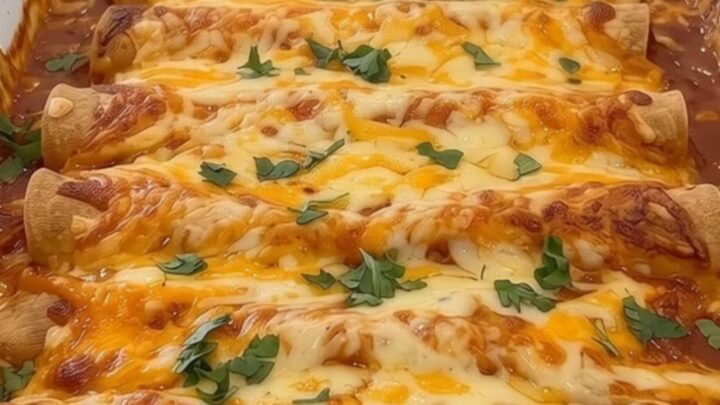
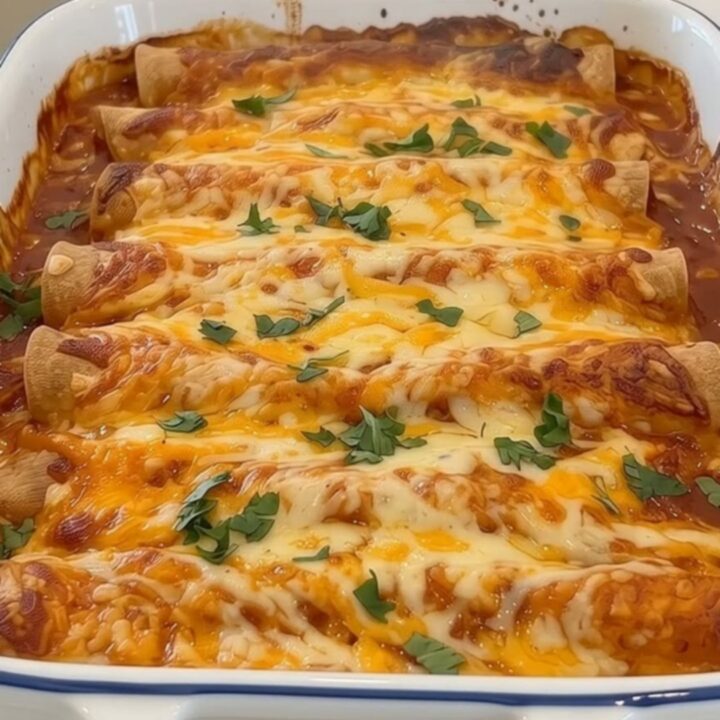
The bright green parsley or cilantro provides a beautiful visual contrast to the rich red sauce and golden cheese, while adding a subtle fresh flavor that cuts through the richness of the beef and cheese.
Variations
- Spicy Jalapeño: Add diced pickled jalapeños to the ground beef filling and top with pepper jack cheese for an extra kick of heat.
- Black Bean and Corn: Mix rinsed black beans and sweet corn kernels into the seasoned beef filling to add texture and flavor.
Storage and make-ahead
- Fridge
- Store in an airtight container in the refrigerator for up to 3 to 4 days.
- Freezer
- Freeze in a freezer-safe container or tightly wrapped dish for up to 3 months.
- Reheat
- Reheat individual portions in the microwave for 1-2 minutes or bake covered at 350°F (175°C) for 15-20 minutes.
Store any leftover enchiladas in an airtight container in the refrigerator for up to three to four days. Allow the dish to cool completely to room temperature for no more than two hours before transferring it to the fridge to maintain food safety. For longer storage, you can freeze the cooked enchiladas. Wrap the baking dish tightly in plastic wrap and then aluminum foil, or transfer individual portions to freezer-safe containers, and freeze for up to three months.
This recipe is incredibly easy to prepare in advance, making it a fantastic option for meal prep. You can assemble the entire dish, cover it tightly with plastic wrap, and store it in the refrigerator for up to twenty-four hours before baking. When you are ready to serve, simply remove the plastic wrap and bake as directed, adding about five to ten extra minutes to the baking time to account for the cold temperature of the dish straight from the fridge.
Serving ideas
Serve these hot, cheesy enchiladas alongside classic Mexican-style side dishes to create a complete and satisfying feast. Mexican red rice, cilantro lime rice, or refried beans topped with a sprinkle of cotija cheese pair beautifully with the rich flavors of the beef.
A simple, crisp green salad dressed with a light citrus vinaigrette offers a refreshing contrast to the hearty casserole. You can also serve tortilla chips with fresh salsa, guacamole, or a warm cheese dip to start the meal.
Set up a toppings bar so everyone can customize their plate to their liking. Excellent topping options include a dollop of sour cream or Mexican crema, sliced jalapeños for a touch of heat, diced avocado, or a squeeze of fresh lime juice.
Sliced black olives and finely chopped red onions also add wonderful texture and flavor. Presenting the dish family-style in its baking dish keeps the enchiladas hot and allows guests to scoop up extra sauce and melted cheese from the bottom.
Frequently asked questions
Can corn tortillas be used instead of flour tortillas?
How is soggy enchiladas prevented?
Can this recipe be frozen before baking?
Cheesy Ground Beef Enchiladas with Rich Red Sauce
Ingredients
- 1 1/2 lb ground beef
- 1 packet taco seasoning
- 2 cups red enchilada sauce, divided
- 8 flour tortillas
- 2 cups shredded cheddar cheese, divided
- 2 tbsp chopped fresh parsley, for garnish
Instructions
- Heat a large skillet over medium-high heat. Add the ground beef and cook, breaking it apart with a spatula, until it is completely browned and no pink remains. Drain any excess grease from the skillet. The beef must reach a safe internal temperature of 160°F (71°C) to ensure it is fully cooked.
- Reduce the heat to medium-low. Sprinkle the taco seasoning over the browned beef and pour in 1/2 cup of the red enchilada sauce. Stir well to combine all ingredients, and let the mixture simmer gently for 2 to 3 minutes until the sauce has thickened slightly and coated the meat.
- Preheat the oven to 375°F (190°C). Lay a flour tortilla flat on a clean work surface. Place a generous portion of the seasoned beef filling down the center of the tortilla, and sprinkle with a tablespoon of shredded cheddar cheese. Roll the tortilla tightly around the filling.
- Spread 1/2 cup of the red enchilada sauce over the bottom of a 9x13-inch baking dish. Place the rolled tortillas seam-side down into the dish, packing them snugly together. Pour the remaining red enchilada sauce evenly over the tops of all the rolled tortillas, ensuring they are well coated.
- Sprinkle the remaining shredded cheddar cheese evenly over the top of the sauced enchiladas. Place the baking dish in the preheated oven and bake for 20 minutes, or until the cheese is completely melted, bubbly, and golden brown around the edges of the dish.
- Remove the baking dish from the oven and let it rest for 5 to 10 minutes. Garnish the top of the hot enchiladas with the chopped fresh parsley before slicing and serving. This resting period helps the casserole set, making it much easier to serve clean portions.
Estimated nutrition per serving
- Calories
- 650
- Protein
- 35 g
- Carbohydrates
- 40 g
- Fat
- 38 g
- Fiber
- 2 g
- Sugar
- 3 g
- Sodium
- 1100 mg
Next recipe
Slow Cooker Lasagna with Stretchy Mozzarella
See the recipe → →This recipe is based on a short cooking video and is published under the pen name Clara Weller. It was checked before publication, but errors can slip through. Nutrition, when shown, is an estimate. Read more in our editorial policy and on our food safety page.
More recipes to try
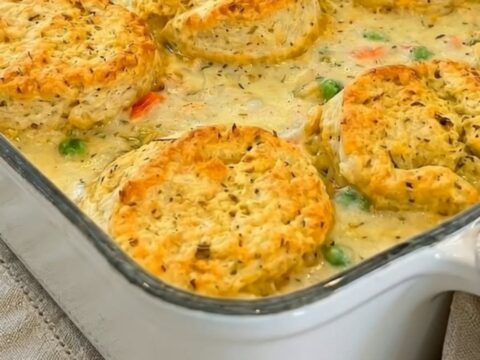
Chicken Pot Pie Casserole with Biscuits
Total time: 50 min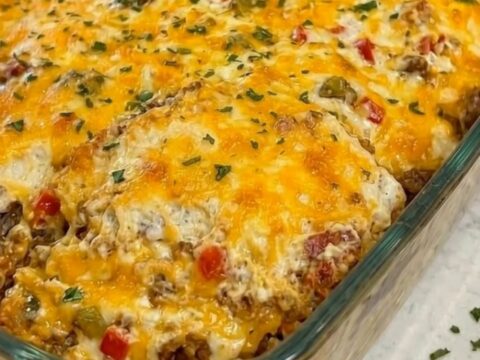
Easy Cattle Drive Casserole with a Bubbly Cheese Crust
Total time: 50 min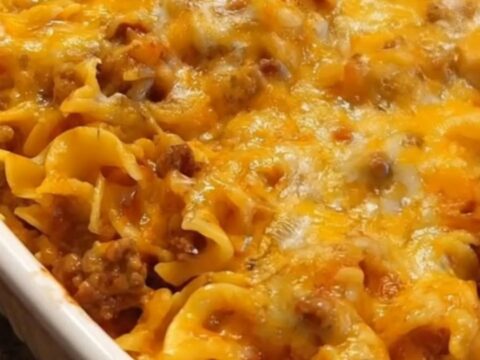
Cheesy Beef Noodle Casserole with Melted Cheddar
Total time: 45 min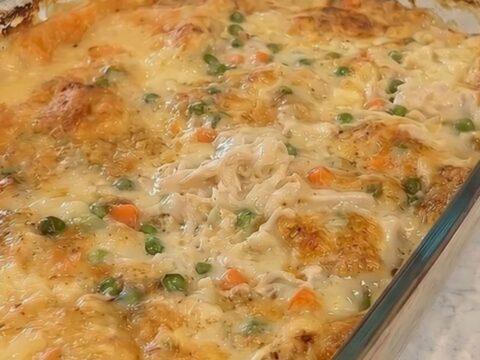
Creamy Chicken and Dumpling Casserole with Golden Crust
Total time: 1 h 5 min
Creamy Crockpot Chicken Pot Pie Pasta
Total time: 6 h 35 min