Appetizers · Part 1 of 3: Ingredients
Cheesy Garlic Butter Pull-Apart Pizza Monkey Bread
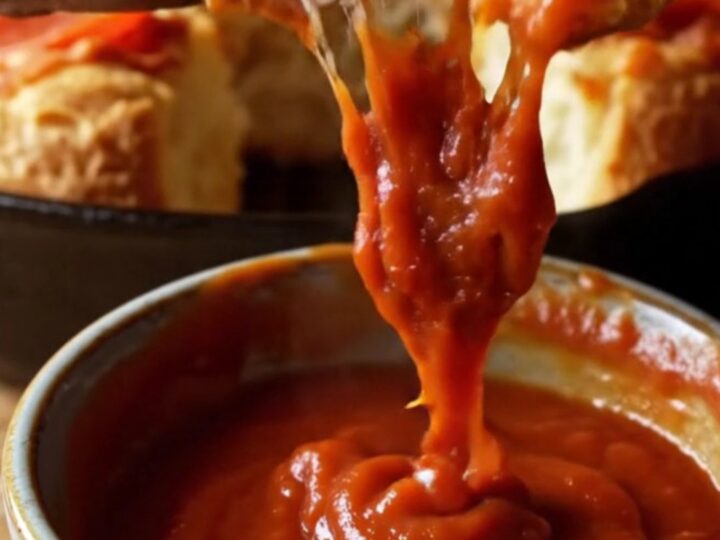
- Prep
- Cook
- Total
- Serves
- 8
Imagine pulling apart a golden, buttery ball of pizza dough to reveal a molten core of mozzarella and pepperoni. This pull-apart pizza monkey bread delivers all the flavors of a classic pepperoni pizza in an irresistible, shareable form.
Tossed in garlic butter and herbs, then baked until puffed and blistered, each piece is a self-contained bite of cheesy, savory perfection. Serve it warm with marinara for dipping, and watch it disappear at any gathering.
This cheesy garlic butter pull-apart pizza monkey bread is the appetizer that turns any dinner into a party. Small rounds of pizza dough are stuffed with a slice of pepperoni and a cube of mozzarella, then coated in a rich garlic butter mixture with Italian herbs and Parmesan.
Layered in a cast iron skillet with extra cheese and pepperoni, the dough rises briefly and bakes until golden and bubbling. The result is a pull-apart bread that's crispy on the edges, soft and tender inside, and utterly addictive when dipped in warm marinara.
Ingredients
- 1 1/2 lb pizza dough
- 4 oz pepperoni slices
- 8 oz low-moisture mozzarella, cut into 1/2-inch cubes
- 1/2 cup unsalted butter, melted
- 4 cloves garlic, minced
- 1 tbsp Italian seasoning
- 1/4 cup grated Parmesan cheese
- 1/2 cup shredded mozzarella cheese
- 1/4 cup chopped pepperoni
- 1 cup warm marinara sauce, for serving
Why this recipe works
The method of stuffing each dough ball ensures that every single bite contains a pocket of melted mozzarella and savory pepperoni.
Sealing the edges tightly prevents the cheese from leaking out during baking, so the filling stays molten and gooey inside the bread. This technique also creates a satisfying contrast between the crisp, golden exterior and the soft, chewy interior.
Tossing the stuffed balls in garlic butter and herbs before baking does double duty: it flavors the dough deeply and helps it brown beautifully in the oven.
The butter also creates a rich, savory crust that mimics the best parts of a pan pizza. Baking in a cast iron skillet promotes even browning and keeps the bread warm at the table, making it ideal for sharing.
Notes and substitutions
Use store-bought pizza dough for convenience, or make your own if you prefer. Let the dough come to room temperature before handling; it will be more elastic and easier to shape. Low-moisture mozzarella is recommended because it melts smoothly without releasing excess water, which can make the bread soggy.
For the best flavor, use freshly grated Parmesan and good-quality pepperoni. If you don't have Italian seasoning, mix dried oregano, basil, and thyme. You can also add a pinch of red pepper flakes for heat. The marinara sauce should be warmed before serving to complement the hot bread.
- pizza dough: Use store-bought pizza dough for convenience, or homemade dough if preferred. Ensure it is at room temperature for easier handling.
- low-moisture mozzarella: Fresh mozzarella can be used, but drain it well and pat dry to avoid excess moisture. It will be softer and may not stretch as much.
- Italian seasoning: Use a mix of dried oregano, basil, and thyme if you don't have Italian seasoning. Use 1 teaspoon each.
Equipment
- 10-inch cast iron skillet
- Mixing bowl
- Pastry brush
- Cutting board
- Chef's knife
- Measuring cups and spoons
Up next · Part 2 of 3
6 steps · 22 min of cooking · what to look for at each stage
Step-by-step instructions (Part 2)