Dinner · Part 1 of 3: Ingredients
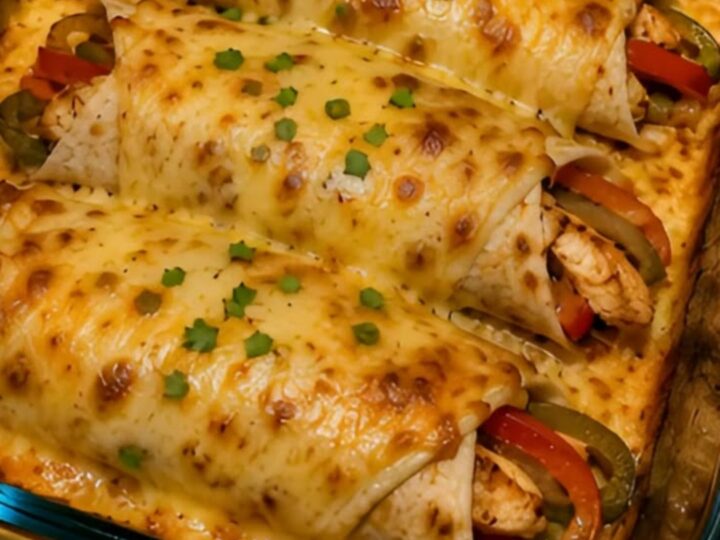
Cheesy Chicken Fajita Wrap Melts
- Prep
- Cook
- Total
- Serves
- 4
Transform simple ingredients into a restaurant-worthy meal with these quick chicken fajita wrap melts. This recipe combines tender, seasoned chicken and crisp bell peppers, all wrapped in a warm tortilla and topped with a generous layer of spicy, melted pepper jack cheese.
It is a straightforward, satisfying dish that brings vibrant flavors to the table without requiring hours in the kitchen, making it an ideal choice for busy weeknights or casual gatherings with friends.
These chicken fajita wrap melts offer a delicious twist on the traditional fajita experience. By baking the wraps, the exterior becomes lightly crisp while the interior remains moist and flavorful.
The pepper jack cheese adds a subtle heat that complements the savory chicken and sweet bell peppers, creating a balanced and comforting bite every time. Whether serving a hungry family or looking for a reliable dinner option, this recipe delivers consistent results that are sure to please even the pickiest eaters.
Ingredients
Filling
- 1 lb chicken breast strips
- 2 cups sliced bell peppers
Base
- 4 count wraps
Topping
- 2 cups shredded pepper jack cheese
Why this recipe works
The baking method is essential because it allows the wraps to heat through evenly while creating a golden, slightly crunchy exterior. By arranging the wraps seam-side down in the baking dish, they remain tightly sealed, preventing the filling from spilling out during the cooking process. The intense heat of the oven also ensures that the pepper jack cheese melts into a cohesive, gooey layer that binds the ingredients together perfectly.
This approach also allows for better texture management compared to stovetop cooking. While the skillet is perfect for developing flavor in the chicken and peppers, the oven provides the finishing touch that transforms the wrap into a cohesive melt. Baking the assembled wraps ensures that the heat penetrates the center effectively, warming the filling through without drying out the chicken or making the wrap soggy, resulting in a professional-grade finish every time.
Notes and substitutions
When selecting ingredients, aim for high-quality chicken breasts and fresh, vibrant bell peppers. The variety of pepper color does not significantly impact the flavor, but using a mix of red, yellow, and green peppers adds visual appeal.
For the cheese, freshly shredded pepper jack provides the best melt quality, as pre-shredded varieties often contain anti-caking agents that can hinder the desired gooey consistency. Always check the labels to ensure no unwanted additives.
Regarding equipment, a sturdy glass or ceramic baking dish is ideal for even heat distribution. Ensure the dish is large enough to hold the wraps without overcrowding them, which allows for proper airflow and consistent browning.
If a metal spatula is used for serving, be cautious not to scratch the surface of non-stick baking dishes. While the recipe uses standard wraps, ensure they are fresh to prevent cracking during the rolling process, which is critical for maintaining the structure of the melts.
- pepper jack cheese: monterey jack or mild cheddar for a less spicy version
Equipment
- large skillet
- baking dish
- metal spatula
- knife
- cutting board
Up next · Part 2 of 3
3 steps · 20 min of cooking · what to look for at each stage
Step-by-step instructions (Part 2)