Dinner · Part 2 of 3: Instructions
Cheesy Chicken Enchiladas with Creamy Sauce Step-by-step instructions
- Prep
- Cook
- Total
- Serves
- 4
Before you start
Before beginning, ensure all ingredients are measured and ready. Preheat the oven to 350°F (175°C) to ensure it is ready for the baking phase.
Clear a clean workspace to assemble the enchiladas efficiently, keeping a baking dish and your spatula within easy reach. Having everything organized will make the assembly process quick and seamless.
Ingredients at a glance (4)
- 2 cups cooked shredded chicken
- 8 flour tortillas
- 2 cups creamy cheese sauce, store-bought or made ahead
- 1/4 cup diced red salsa
Instructions
Filling Preparation
- Prepare the fillingPlace the seasoned chicken filling in a bowl. Ensure the chicken is shredded into bite-sized pieces for easy rolling.Look for The chicken is ready for assembly.Tip Keep the chicken at room temperature before filling.
The chicken should be evenly seasoned and moist. Ensure there are no large clumps of meat, as this makes the rolling process easier. Check that the chicken is fully shredded to ensure each bite contains a consistent amount of meat and seasoning, providing a uniform texture throughout the final dish.
Assembly
- Assemble the enchiladasPlace a portion of the chicken filling into each tortilla. Roll the tortillas tightly and arrange them seam-side down in a baking dish.Look for The tortillas are rolled tightly and packed snugly.Tip Arrange them snugly to prevent unrolling.
Check that the enchiladas are packed snugly in the baking dish to maintain their shape. The tortillas should be rolled tightly, with the seam side facing down to ensure they remain closed during the baking process.
A snug fit is crucial for maintaining the structural integrity of the dish while it bakes.
Baking
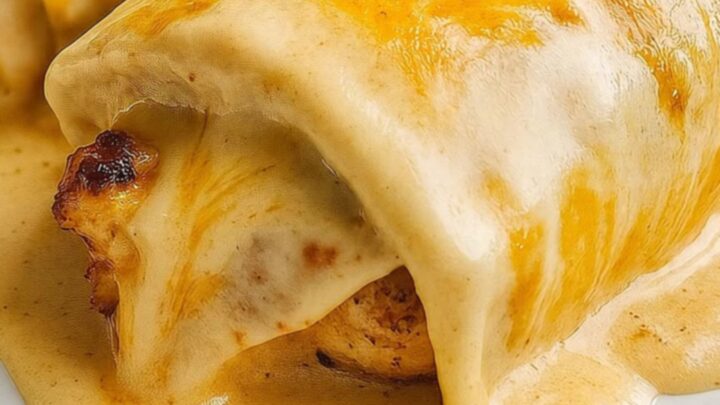
- Sauce and bakePour the creamy cheese sauce over the rolled tortillas. Top with the diced red salsa. Bake in a preheated oven at 350°F (175°C) until the sauce reaches 165°F (74°C) and is bubbling. Let the dish rest for 5 minutes before serving.Look for The sauce is bubbling and glossy.Safe temperature 165°F (74°C) internal temperature (poultry)Tip Ensure the sauce covers the edges of the tortillas.
The sauce should be poured evenly over the top, ensuring every part of the tortilla is covered to prevent drying out. The finished dish will smell savory and rich, with the bubbling sauce indicating the perfect bake. The cheese sauce should be glossy and hot throughout the dish.
Common mistakes
Avoid overfilling the tortillas, as this makes them difficult to roll and causes them to burst during the baking process. Do not rush the baking process; ensure the oven is fully preheated to 350°F (175°C) before placing the dish inside to ensure even heating.
Additionally, avoid leaving the enchiladas exposed to air for too long before baking, as this can cause the tortillas to dry out.
How to tell it’s done
The enchiladas are considered done when the cheese sauce is actively bubbling across the entire surface of the baking dish and the tortillas have softened slightly but maintained their shape.
The internal temperature of the chicken should reach at least 165°F (74°C). The top should show a light golden color where the cheese has caramelized slightly under the heat, indicating the dish is ready for service.
- Poultry: 165°F (74°C) in the thickest part
Up next · Part 3 of 3
2 variations · storage & make-ahead · 3 answers · printable card
Tips, FAQ & printable recipe (Part 3)← Back to the ingredients (Part 1)