Dinner · Part 1 of 3: Ingredients
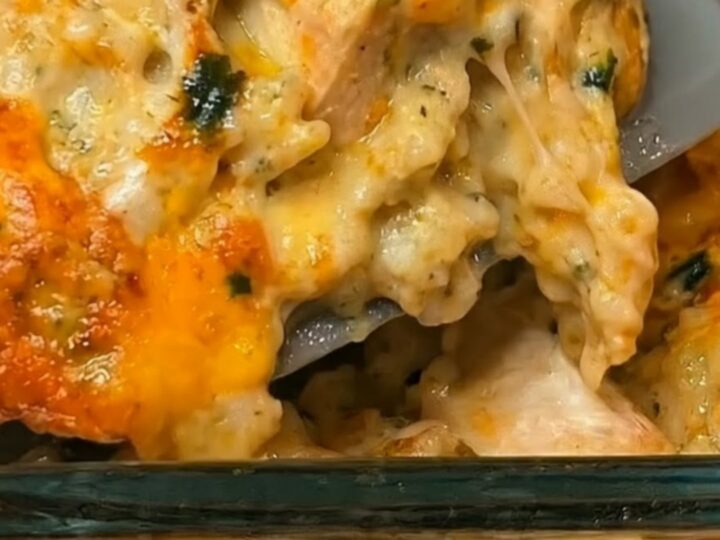
Cheesy Chicken Broccoli and Rice Casserole
- Prep
- Cook
- Total
- Serves
- 6
Discover the secret to a perfectly creamy and cheesy chicken casserole that brings comfort to every bite. This dish combines tender chicken, vibrant broccoli, and fluffy rice in a rich, velvety sauce, topped with a golden cheese crust that bubbles to perfection in the oven. It is the ultimate one-dish meal designed to satisfy cravings while keeping preparation time minimal and the results consistently delicious for every family member to enjoy.
A great casserole relies on the balance of textures and flavors. By combining cooked rice with raw chicken and fresh broccoli, the ingredients cook together in a harmonious way, allowing the chicken juices to flavor the rice while the broccoli retains a slight bite.
The addition of heavy cream and sharp cheddar creates a luxurious sauce that binds everything together. This recipe is straightforward, utilizing simple pantry staples to create a sophisticated meal that feels like a classic home-cooked dinner without the unnecessary complexity or long cleanup times.
Ingredients
Main
- 2 lbs chicken breasts, cut into bite-sized pieces
- 4 cups fresh broccoli florets
- 2 cups white rice, cooked
Sauce
- 2 cups shredded cheddar cheese
- 1 cup heavy cream
Why this recipe works
The method of baking raw chicken directly within the rice and cream mixture allows for a unique infusion of flavors. As the chicken cooks, it releases moisture into the rice, which prevents the casserole from becoming dry.
This approach ensures that every grain of rice is seasoned by the rendered chicken juices and the rich, creamy sauce, resulting in a cohesive dish where the individual components become more than the sum of their parts during the roasting process.
Using a high-heat bake at 375°F (190°C) is essential for achieving the perfect golden-brown cheese crust without overcooking the broccoli. This temperature range provides enough energy to melt the cheese and brown the surface, while the moisture from the cream and broccoli prevents the interior from drying out.
The resting period after baking is crucial as it allows the sauce to thicken and redistribute, ensuring each serving holds its shape perfectly when scooped onto a plate.
Notes and substitutions
When selecting ingredients, choose sharp cheddar for a more pronounced flavor profile, as mild cheeses may get lost in the cream. Ensure the rice is fully cooked before mixing, as the baking time is insufficient to hydrate raw grains. For the chicken, boneless, skinless breasts are ideal because they provide a clean, tender texture that complements the creamy sauce, but thighs can be used if a richer, more succulent result is preferred by the cook.
The choice of baking dish significantly impacts the final outcome. A clear glass 9x13 inch dish is recommended, as it allows for visual monitoring of the bubbling sauce and the browning of the cheese. Avoid overcrowding the dish, as this can lead to uneven cooking.
If the cheese starts to brown too quickly before the chicken is fully cooked, loosely tent the dish with aluminum foil to protect the surface until the internal temperature reaches the required level.
- heavy cream: whole milk mixed with two tablespoons of cornstarch for thickening
- cheddar cheese: a blend of Monterey Jack and sharp cheddar for better melting
Equipment
- 9x13 inch baking dish
- large mixing bowl
- spatula
- chef knife
- cutting board
Up next · Part 2 of 3
3 steps · 45 min of cooking · what to look for at each stage
Step-by-step instructions (Part 2)