Appetizers · Part 1 of 3: Ingredients
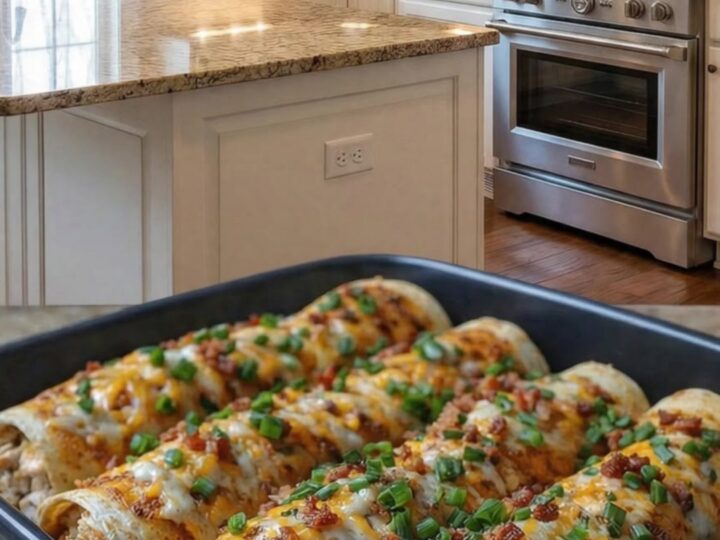
Cheesy Chicken Bacon Ranch Roll-Ups for a Quick Savory Treat
- Prep
- Cook
- Total
- Serves
- 8
Searching for a quick, crowd-pleasing appetizer that delivers on flavor every single time? These chicken bacon ranch roll-ups are the perfect solution for busy weeknights or casual gatherings.
With a combination of tender chicken, smoky bacon, and melted cheese, these roll-ups provide a satisfying experience that everyone will enjoy. Follow this straightforward guide to create a dish that balances textures and savory notes in one simple, baked format that minimizes cleanup while maximizing taste for your dinner table.
These roll-ups are a staple for those who appreciate comfort food that comes together quickly. By utilizing pre-cooked chicken, the preparation time is drastically reduced, allowing for a fast transition from the kitchen to the dining table.
The ranch dressing adds a tangy moisture that perfectly complements the rich flavors of the bacon and cheese, while the wrappers provide a soft, warm exterior that crisps slightly during baking. Whether serving them as a hearty appetizer or a fun main, this recipe is designed for reliability and ease.
Ingredients
Filling
- 2 cups cooked chicken breast, shredded
- 6 slices bacon, cooked and crumbled
- 1 cup cheddar cheese, shredded
- 1/2 cup ranch dressing
Roll-ups
- 8 roll-up dough sheets, store-bought or made ahead
Garnish
- 2 tbsp green onions, sliced, for serving
Why this recipe works
The combination of ranch dressing and cheese creates a cohesive, creamy filling that binds the shredded chicken and bacon together. This ensures that every bite contains a perfect distribution of flavors, preventing the filling from falling apart during the eating process. The high heat of the oven helps the cheese melt into the chicken, creating a luxurious texture that contrasts beautifully with the slight chew of the baked wrapper.
Baking the rolls seam-side down in the dark baking pan acts as a natural seal, keeping the contents secure without the need for toothpicks or complicated folding techniques. This method ensures that the roll-ups retain their shape while allowing the exterior to develop a light, golden color. The result is a compact, handheld portion that is easy to serve and even easier to enjoy, making it an ideal choice for efficient meal preparation.
Notes and substitutions
For the best results, use freshly shredded chicken breast rather than canned versions, as it provides a better texture and cleaner flavor profile. If using leftover rotisserie chicken, ensure it is shredded while still slightly warm, as this helps it absorb the ranch dressing more effectively.
The choice of bacon is also important; using thick-cut bacon that has been cooked until crisp ensures that the texture remains present even after the baking process.
When selecting a baking pan, choose one that fits the roll-ups snugly; this prevents them from unrolling during the baking process. If the roll-ups seem loose, a quick brush of melted butter or olive oil on the tops can help them brown more evenly and add a subtle richness.
Feel free to adjust the amount of ranch dressing if a creamier filling is desired, but be careful not to make the mixture too wet, as this can affect wrapper integrity.
- cheddar cheese: monterey jack or mozzarella for a milder, stretchier melt
- green onions: fresh chives for a delicate herbal finish
Equipment
- Large mixing bowl
- Baking pan
- Spatula
- Chef knife
- Cutting board
Up next · Part 2 of 3
3 steps · 20 min of cooking · what to look for at each stage
Step-by-step instructions (Part 2)