Dinner · Part 1 of 3: Ingredients
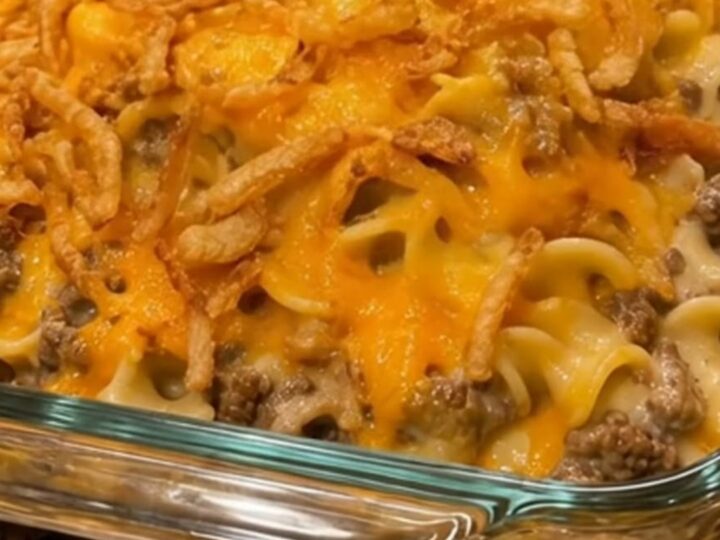
Cheesy Beef and Noodle Casserole with Crispy French Onions
- Prep
- Cook
- Total
- Serves
- 6
Discover the ultimate weeknight comfort food that satisfies every craving. This cheesy beef and noodle casserole brings together savory ground beef, tender egg noodles, and a rich, melted cheese layer, finished with the iconic crunch of golden French fried onions.
It is a simple, reliable recipe designed to turn humble pantry staples into a bubbly, golden masterpiece that the whole family will love. Perfect for busy evenings when you need something hearty, warm, and incredibly satisfying on the table.
This classic casserole is the definition of comfort in a dish. By combining savory protein with silky egg noodles and a generous amount of melted cheddar, this recipe offers a balanced texture and deep, satisfying flavor. The final addition of crispy French fried onions provides a necessary textural contrast, ensuring that every forkful is as exciting as it is comforting.
Whether you are looking to simplify your dinner routine or provide a crowd-pleasing meal, this recipe delivers consistent results every time. It is straightforward to assemble and requires minimal cleanup, making it a go-to choice for any day of the week.
Ingredients
Casserole Base
- 1 lb ground beef
- 12 oz egg noodles
- 2 cups shredded cheddar cheese
Topping
- 1 cup crispy French fried onions
Why this recipe works
The method relies on the classic technique of layering cooked components before a final bake. By browning the ground beef separately, you ensure the meat develops a deep, savory flavor and is rendered of excess fat before it meets the noodles. This prevents the casserole from becoming greasy and ensures the cheese sauce clings perfectly to the noodles during the final bake.
The finish of the dish is achieved by adding the crispy onions only in the final few minutes of baking. This specific timing is critical because it allows the onions to warm through and toast slightly without absorbing moisture from the cheese.
The result is a vibrant, crunchy topping that contrasts beautifully with the soft, creamy interior of the beef and noodle mixture below.
Notes and substitutions
For the best results, use a high-quality cheddar cheese that you shred yourself. Pre-shredded varieties often contain anti-caking agents like cellulose, which can prevent the cheese from melting into a smooth, cohesive sauce. If you prefer a sharper profile, opt for an aged cheddar, while a mild cheddar provides a classic, creamy melt that appeals to all palates.
Regarding equipment, a sturdy 9x13 inch glass or ceramic baking dish is ideal for this recipe. These materials distribute heat evenly, resulting in a consistent bake throughout the center and edges of the casserole.
If you only have a metal baking pan, keep a close eye on the edges, as they may brown faster, and you may need to reduce the oven temperature slightly to prevent over-browning.
- ground beef: ground turkey or ground chicken can be used for a lighter protein profile.
- cheddar cheese: a blend of Monterey Jack and Colby provides a similar melt and flavor profile.
Equipment
- 9x13 inch baking dish
- large skillet
- pot for boiling noodles
- colander
- large mixing spoon
Up next · Part 2 of 3
3 steps · 30 min of cooking · what to look for at each stage
Step-by-step instructions (Part 2)