Dinner · Part 1 of 3: Ingredients
Cheesy BBQ Chicken Slider Bake for a Quick Crowd-Pleasing Meal
- Prep
- Cook
- Total
- Serves
- 12
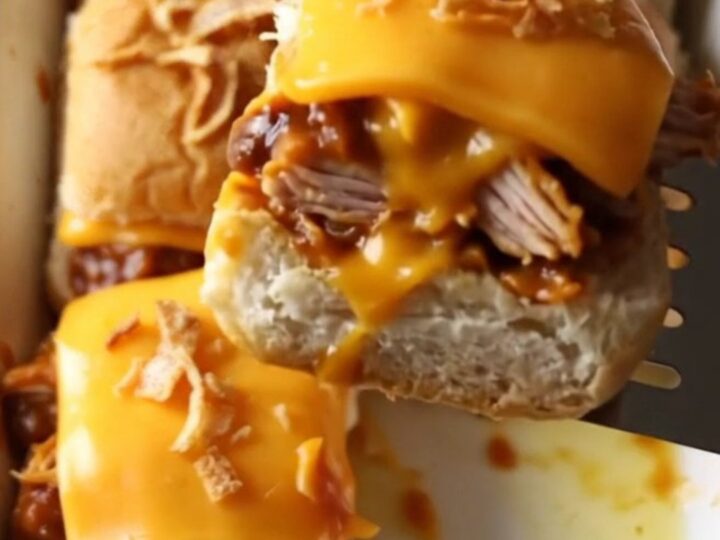
Discover the ultimate quick dinner solution with these cheesy BBQ chicken sliders. Combining tender shredded chicken, savory melted cheddar, and a crunchy onion topping, this dish is designed to satisfy cravings with minimal effort.
Perfect for busy weeknights or casual gatherings, these sliders bring together classic barbecue flavors in a convenient, shareable format that everyone will enjoy. Whether hosting a game night or looking for a simple meal, this recipe delivers consistent, delicious results every single time.
These BBQ chicken sliders are a masterclass in combining simple ingredients to create a bold, satisfying meal. The key is the balance between the sweet rolls, the tangy barbecue sauce, and the rich, melted cheddar cheese.
By adding a garlic butter glaze and crispy fried onions, you elevate the dish from a simple sandwich to a textured, flavorful experience. This recipe focuses on efficiency and flavor, ensuring that you spend less time in the kitchen and more time enjoying a hot, homemade meal with family or friends.
Ingredients
Sliders
- 12 count sweet slider rolls, split horizontally
- 2 cups shredded barbecue chicken, cooked and saucy
- 12 slices cheddar cheese
Topping
- 4 tbsp melted garlic butter
- 1 cup crispy fried onions
Why this recipe works
The method relies on the assembly of pre-cooked components, which drastically reduces the active cooking time. By placing the sliders in a single baking dish, the heat is distributed evenly, allowing the cheese to melt into the chicken while the rolls toast to a perfect golden brown. This approach creates a cohesive bite where the flavors meld together perfectly during the brief baking period.
Using a rectangular baking dish ensures the sliders stay compact, which prevents them from drying out during the oven process. The garlic butter acts as a flavor conductor, carrying the aromatic notes across the entire surface of the rolls. Meanwhile, the crispy fried onions provide a necessary textural contrast to the soft buns and tender chicken, creating a multi-layered eating experience that feels far more complex than the prep time suggests.
Notes and substitutions
For the best results, use high-quality sweet slider rolls that are sturdy enough to hold the saucy chicken without becoming soggy. If the rolls are too soft, they may struggle to maintain their structure during baking.
Ensure the barbecue chicken is well-drained of excess liquid before assembly to keep the rolls from becoming overly soft. You can use any preferred barbecue sauce, whether it is sweet, smoky, or spicy, to customize the flavor profile.
The equipment required is minimal, consisting primarily of a standard 9x13 inch baking dish. This size is ideal for fitting 12 sliders perfectly, ensuring they remain snug during the baking process.
If you prefer a stronger garlic flavor, you can add a pinch of garlic powder or finely minced fresh garlic to the melted butter before drizzling. Always check that the chicken is heated through completely to ensure safety and optimal texture throughout the dish.
- cheddar cheese: Monterey Jack or provolone cheese for a milder, meltier flavor profile
- crispy fried onions: crushed buttery crackers or panko breadcrumbs for a different crunch
Equipment
- 9x13 inch rectangular baking dish
- Measuring cups
- Spatula
- Small bowl for butter
Up next · Part 2 of 3
3 steps · 20 min of cooking · what to look for at each stage
Step-by-step instructions (Part 2)