Appetizers · Part 3 of 3: Tips & recipe card
Cheesy Bacon-Wrapped BBQ Onion Bombs for a Crispy Appetizer Tips, FAQ & printable recipe
- Prep
- Cook
- Total
- Serves
- 4
Tips for success
For an extra layer of flavor, consider mixing finely minced garlic or fresh herbs like parsley into your ground beef before stuffing the onions. This adds a subtle aromatic quality that complements the sweetness of the roasted onion and the richness of the BBQ sauce. If you prefer a smokier profile, you can add a small pinch of smoked paprika to the beef seasoning mix, which pairs exceptionally well with the bacon.
If you find that your onions are wobbling on the tray, you can slice a tiny portion off the bottom of the onion half to create a flat surface. This simple adjustment ensures that the bombs stay upright throughout the baking process, preventing the filling from spilling out.
Always monitor the oven heat during the final glazing phase, as different BBQ sauces have varying sugar contents and may caramelize at different rates depending on the brand or type.
Variations
- Spicy Jalapeño Bomb: Add finely diced fresh jalapeños to the ground beef mixture and substitute the cheddar with a spicy pepper jack cheese for a bold, fiery kick.
- Sausage and Apple Bomb: Replace the ground beef with Italian sausage meat and add a small amount of finely diced tart apple to the filling for a savory-sweet flavor combination.
Storage and make-ahead
- Fridge
- Store in an airtight container for up to 3 days.
- Freezer
- Not recommended, as the onion texture will degrade significantly upon thawing.
- Reheat
- Reheat in an oven at 350°F (175°C) until warmed through and the bacon is crispy again.
If you have leftovers, allow them to cool completely at room temperature for no more than two hours. Once cooled, place the onion bombs in an airtight container to maintain their quality. They can be stored in the refrigerator for up to three days.
When ready to eat again, ensure they are reheated thoroughly until the internal temperature is piping hot, which helps maintain the texture of the bacon and the melted consistency of the cheese.
You can assemble the onion bombs, including the bacon wrapping, up to 24 hours in advance. Simply keep them in an airtight container in the refrigerator on the baking tray.
When you are ready to cook, remove them from the fridge 15 minutes before placing them in the oven to take the chill off. This makes them a fantastic option for parties, as you can do all the prep work ahead of time and simply bake them when guests arrive.
Serving ideas
Serve these onion bombs warm, ideally on a rustic wooden platter or a decorative serving tray. Because they are quite rich and substantial, they pair beautifully with a crisp, acidic side dish like a fresh coleslaw or a simple arugula salad dressed with lemon vinaigrette. This helps to cut through the richness of the bacon and cheese, providing a balanced and satisfying appetizer experience for your guests.
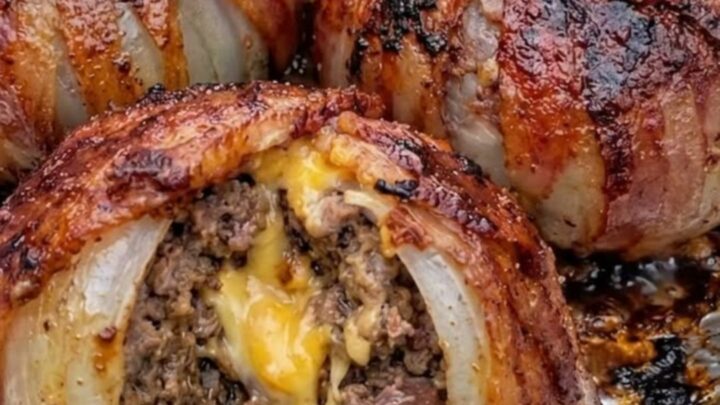
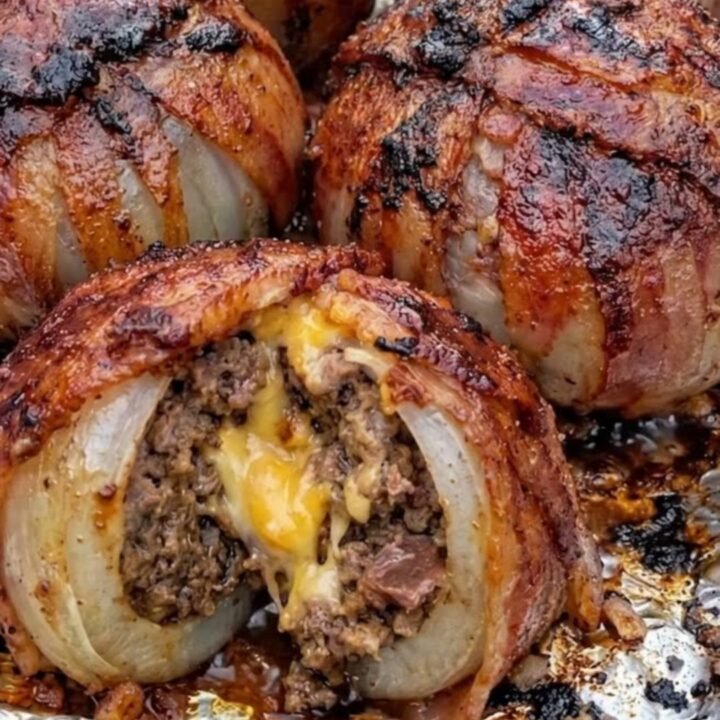
When serving, consider cutting the bombs in half or quarters if they are particularly large, as this reveals the layers and the molten cheese center, making for a visually appealing presentation.
Providing small forks or toothpicks makes them much easier for guests to handle and eat at a party. Ensure they are served promptly after their resting period so the cheese remains warm and gooey, which is the hallmark of a perfectly prepared onion bomb.
Frequently asked questions
Can these be made in an air fryer?
What is the best way to keep the bacon from unraveling?
Can different types of onions be used?
Cheesy Bacon-Wrapped BBQ Onion Bombs for a Crispy Appetizer
Ingredients
- 4 large yellow onions, peeled and halved
- 1 lb ground beef
- 4 oz cheddar cheese, cut into thick cubes
- 8 slices bacon, thin-cut
- 1/2 cup BBQ sauce
Instructions
- Peel the onions and slice them in half. Carefully hollow out the center of each onion half to create a bowl shape. In a medium mixing bowl, season the ground beef with your preferred spices. Take a portion of the seasoned beef and press it into the hollowed-out onion cavity, ensuring a small well remains in the center for the cheese cube.
- Place a cube of cheddar cheese into the center of the seasoned beef. Close the beef over the cheese to seal it completely, forming a tight ball inside the onion. Repeat this process for all four onion halves until each is filled and secured.
- Take two slices of bacon for each onion bomb. Wrap the bacon slices tightly around the onion-beef assembly in a crisscross pattern to ensure it stays held together during the cooking process. Place the bombs on a foil-lined baking sheet, seam side down to help maintain their shape.
- Preheat your oven to 375°F (190°C). Bake the onion bombs for 30 minutes. Remove the tray briefly to brush the BBQ sauce generously over the bacon. Return to the oven for an additional 5 minutes until the bacon is crispy and the internal temperature of the beef reaches 160°F (71°C). Let them rest for 5 minutes before serving.
Estimated nutrition per serving
- Calories
- 450
- Protein
- 22 g
- Carbohydrates
- 12 g
- Fat
- 34 g
- Fiber
- 1.5 g
- Sugar
- 8 g
- Sodium
- 750 mg
Next recipe
Buttery Roasted Beef Bone Marrow with Garlic Bread
See the recipe → →This recipe is based on a short cooking video and is published under the pen name Clara Weller. It was checked before publication, but errors can slip through. Nutrition, when shown, is an estimate. Read more in our editorial policy and on our food safety page.
More recipes to try

Cheesy Ham-Stuffed Pull-Apart Bread for Easy Sharing
Total time: 45 min
Cheesy Baked Ham and Cheese Rolls for an Easy Appetizer
Total time: 30 min
Creamy Garlic Butter Shrimp Bites for Quick Appetizers
Total time: 20 min
Cheesy Bacon Beef Crescent Rolls for a Quick Savory Treat
Total time: 35 min
Easy Baked Ham and Cheese Sliders for a Crowd
Total time: 35 min