Dinner · Part 1 of 3: Ingredients
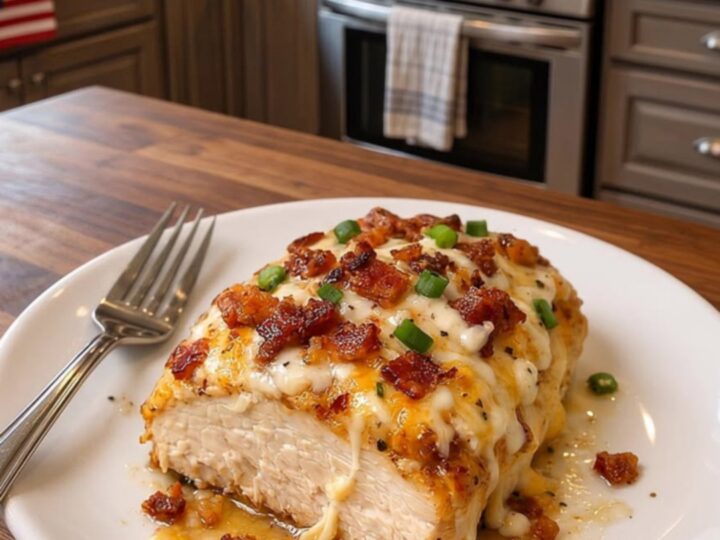
Cheesy Bacon Ranch Chicken for a Quick Dinner
- Prep
- Cook
- Total
- Serves
- 4
Transform humble chicken breasts into a mouthwatering, restaurant-style dinner that the whole family will request again and again. This cheesy bacon ranch chicken combines the savory crunch of bacon with the creamy, tangy goodness of melted cheese and ranch seasoning.
It is the ultimate comfort food solution for busy weeknights when flavor and speed are equally important. Prepare for a meal that delivers maximum satisfaction with minimal effort, featuring a satisfying cheese pull in every single bite.
Cooking a delicious dinner does not have to be complicated. This cheesy bacon ranch chicken relies on simple pantry staples and a single skillet to create a dish that is both impressive and incredibly easy to manage.
By searing the chicken first and then layering the toppings, the flavors meld perfectly while the meat stays tender and juicy. It is a foolproof method that ensures a consistent, delicious result every time, whether hosting a casual dinner or just looking for a hearty weeknight meal.
Ingredients
Main
- 4 pieces chicken breasts
- 2 tbsp ranch seasoning
Topping
- 6 slices bacon, cooked and crumbled
- 1 cup shredded cheese
- 2 tbsp chopped green onions
Why this recipe works
The method of searing the chicken first creates a flavorful crust that locks in moisture, ensuring the breasts do not dry out during the melting process. Using ranch seasoning provides an instant, balanced flavor profile that pairs perfectly with the saltiness of bacon and the richness of melted cheese. This approach minimizes cleanup by utilizing only one skillet for the entire cooking process, making it a highly efficient method for any busy home cook.
Layering the toppings at the end of the cooking process ensures that the cheese melts perfectly without becoming oily or separating. The residual heat from the chicken and the skillet is sufficient to melt the cheese and warm the bacon through, preventing the chicken from overcooking. This controlled approach allows for a beautiful presentation and a consistent texture, resulting in a dish that looks as good as it tastes while maintaining the integrity of each individual ingredient.
Notes and substitutions
When selecting chicken breasts, try to choose pieces of similar thickness to ensure they cook evenly. If the breasts are very uneven, pound them to a uniform thickness before seasoning.
For the cheese, freshly shredded varieties melt much smoother than pre-shredded bags, which often contain anti-caking agents that can interfere with the texture. Feel free to use a blend of cheeses if a more complex flavor profile is desired, such as combining cheddar with mozzarella for the best stretch.
The choice of skillet matters significantly for this recipe. A cast-iron skillet is ideal for achieving a superior sear on the chicken, but a high-quality non-stick pan works perfectly well for easier cleanup.
If using ranch seasoning, check the label to ensure it does not contain excessive sodium; if it does, adjust any additional salt added to the chicken accordingly. Fresh green onions are recommended for the final garnish as they provide a necessary brightness and crisp texture to cut through the richness of the cheese.
- Ranch seasoning: A homemade blend of dried dill, parsley, garlic powder, onion powder, salt, and pepper.
- Shredded cheese: Shredded mozzarella, sharp cheddar, or a Mexican blend.
Equipment
- Large skillet
- Spatula
- Meat thermometer
- Cutting board
- Knife
Up next · Part 2 of 3
3 steps · 20 min of cooking · what to look for at each stage
Step-by-step instructions (Part 2)