Dinner · Part 3 of 3: Tips & recipe card
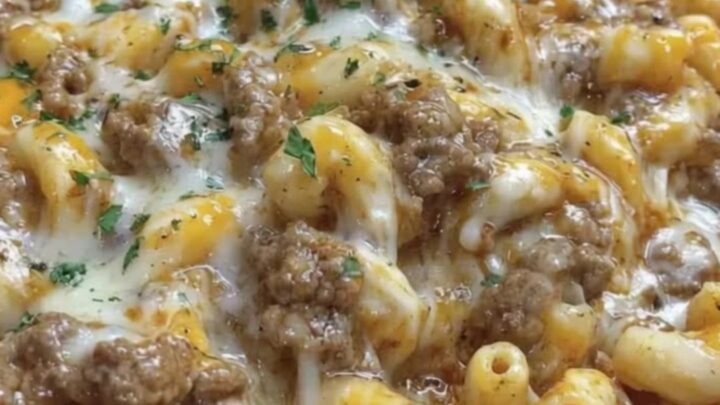
Cheesesteak Hamburger Helper Skillet Tips, FAQ & printable recipe
- Prep
- Cook
- Total
- Serves
- 4
Tips for success
If you find the sauce is becoming too thick before the pasta is fully cooked, add a small splash of hot water or extra broth.
This will help loosen the consistency and ensure the pasta continues to cook evenly without scorching the bottom of the pan.
To enhance the flavor, you can sauté a small amount of diced onions or bell peppers with the beef in the first step. This adds a classic cheesesteak depth and a subtle crunch that complements the softness of the pasta and the richness of the cheese.
Variations
- Spicy Cheesesteak: Add one tablespoon of diced pickled jalapeños or a dash of hot sauce during the final stage of melting the cheese to provide a sharp, spicy contrast to the rich, salty cheddar.
- Garlic Herb Version: Stir in one teaspoon of garlic powder and a half-teaspoon of dried oregano when browning the beef to add an aromatic, herbaceous layer that pairs beautifully with the beef and cheese.
Storage and make-ahead
- Fridge
- Store in an airtight container for up to 3 days. Ensure the food cools to room temperature within 2 hours before placing it in the refrigerator.
- Freezer
- Freezing is not recommended as the cheese sauce may separate and the pasta can become mushy upon thawing and reheating.
- Reheat
- Reheat on the stovetop over low heat, adding a splash of water or broth to loosen the sauce until it is creamy again.
Transfer any leftovers to an airtight container. Allow the dish to cool at room temperature for no more than 2 hours before placing it in the refrigerator to ensure food safety.
The pasta can be stored in the refrigerator for up to three days. When ready to eat, reheat gently on the stovetop with a tablespoon of water to restore the creamy consistency of the cheese sauce.
While this dish is best served fresh, you can prepare the browned beef mixture in advance and refrigerate it. When ready to serve, bring the broth to a boil, add the pasta, and proceed with the recipe as instructed.
This shortens the active cooking time significantly, making it a great option for prepping ahead of a busy evening.
Serving ideas
Serve this dish directly from the skillet to keep it warm and maintain that inviting, home-cooked aesthetic. The cast-iron will hold the heat, allowing for a leisurely meal where the last bite is just as warm and cheesy as the first.
For a balanced presentation, serve with a side of crisp green salad or steamed vegetables.
The freshness of the greens cuts through the richness of the cheese, providing a welcome contrast in both texture and flavor that elevates the entire dining experience.
Frequently asked questions
Can this be made with a different type of pasta?
Why is the cheese sauce grainy?
Is it possible to use ground turkey instead of beef?
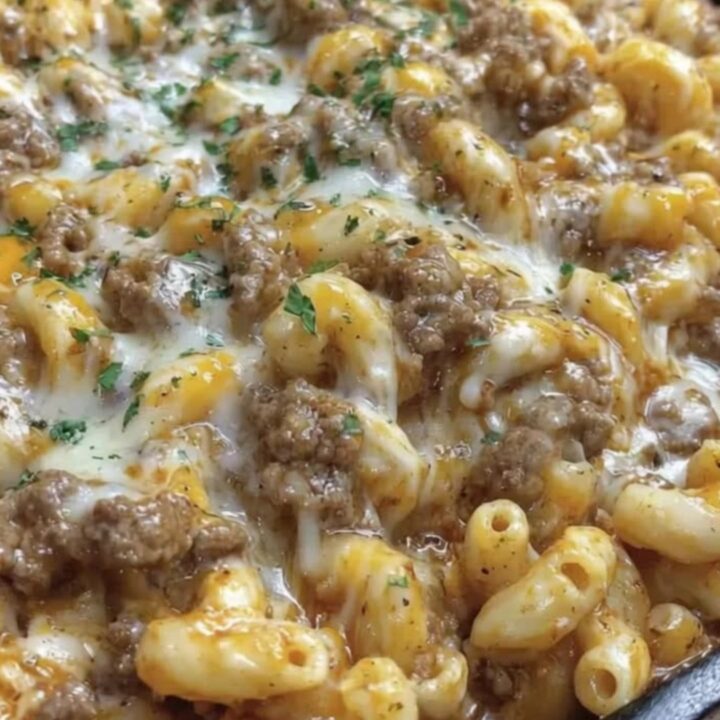
Cheesesteak Hamburger Helper Skillet
Ingredients
- 1 lb ground beef
- 2 cups dry macaroni pasta
- 3 cups beef broth
- 2 cups shredded cheddar cheese
Instructions
- Place a large cast-iron skillet over medium-high heat. Add the ground beef and cook, breaking it apart with a wooden spoon, until browned and no longer pink. Once the beef reaches 160°F (71°C) internally, drain excess fat if desired.
- Add the dry macaroni and beef broth to the skillet with the browned beef. Stir to combine, bring the liquid to a simmer, and cover. Cook for approximately 10 to 12 minutes, or until the pasta is al dente and most of the liquid has been absorbed.
- Reduce the heat to low. Add the shredded cheddar cheese to the skillet and stir continuously until the cheese is completely melted and the mixture is creamy and uniform. Serve immediately while hot and stretchy.
Estimated nutrition per serving
- Calories
- 580
- Protein
- 32 g
- Carbohydrates
- 45 g
- Fat
- 28 g
- Fiber
- 2 g
- Sugar
- 3 g
- Sodium
- 850 mg
Next recipe

Creamy Seafood Lasagna with Shrimp and Crab
See the recipe → →This recipe is based on a short cooking video and is published under the pen name Clara Weller. It was checked before publication, but errors can slip through. Nutrition, when shown, is an estimate. Read more in our editorial policy and on our food safety page.
More recipes to try

Creamy Chicken Alfredo Lasagna for a Decadent Dinner
Total time: 1 h 15 min
Crispy Herb-Crusted Chicken Cordon Bleu
Total time: 40 min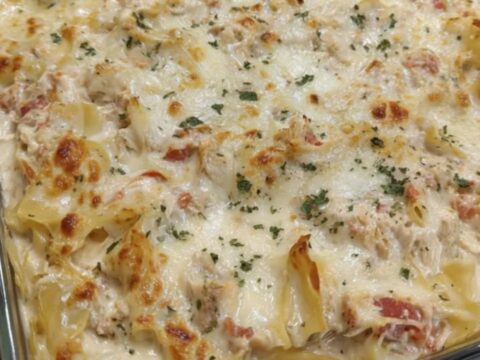
Creamy Chicken Spaghetti Bake
Total time: 1 h 15 min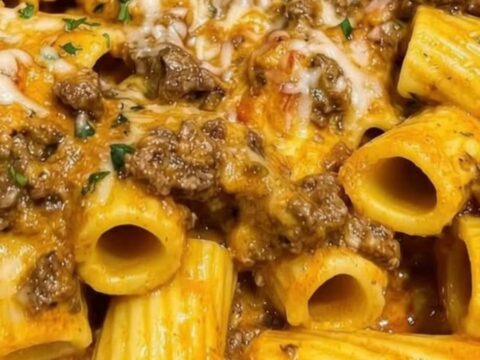
Creamy Garlic Butter Beef Rigatoni
Total time: 30 min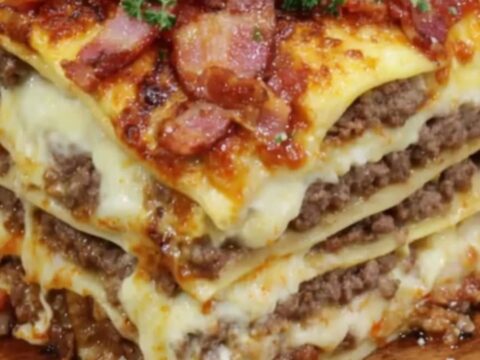
Parmesan Garlic Bacon Cheeseburger Lasagna
Total time: 1 h 15 min