Dinner · Part 1 of 3: Ingredients
Cheddar Green Chile Red Potato Bake: Easy Crockpot Side
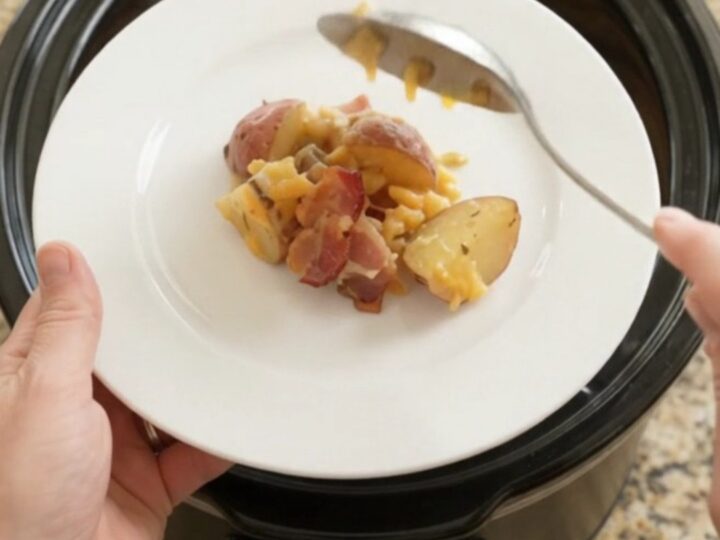
- Prep
- Cook
- Total
- Serves
- 8
This slow cooker casserole turns simple ingredients into a rich, comforting side dish that practically makes itself. Quartered red bliss potatoes, smoky bacon, fire-roasted Hatch chiles, and a blanket of sharp cheddar cheese cook low and slow until everything melds into a bubbling, golden masterpiece.
The best part? There is no sautéing, no stirring, and no fuss — just layer the ingredients in the Crockpot, cover, and walk away. Hours later, a tender, cheesy potato bake is ready to scoop onto plates and enjoy alongside any main course.
Cheddar Green Chile Red Potato Bake is the set-and-forget side dish that delivers big flavor with minimal effort. The combination of buttery red potatoes, salty bacon, and zesty green chiles is elevated by a creamy cheddar sauce that forms a golden crust as it cooks.
This recipe is perfect for busy weeknights, potlucks, and holiday gatherings because it requires just 10 minutes of prep and then the slow cooker does all the work. Serve it as a hearty side to roasted meats, grilled chicken, or even as a standalone comfort meal.
Ingredients
- 3 lb baby red bliss potatoes, quartered
- 8 oz smoky bacon, diced
- 4 oz fire-roasted Hatch green chiles, diced
- 1 can (10.5 oz) condensed cheddar cheese soup
- 2 cups shredded sharp yellow cheddar cheese
- 4 tbsp salted butter, cut into pats
Why this recipe works
Cooking the potatoes low and slow in the slow cooker allows them to absorb the creamy cheddar soup and the smoky bacon drippings, becoming exceptionally tender and flavorful.
The gentle heat breaks down the starches in the potatoes without turning them mushy, so each bite is soft but still holds its shape. The bacon renders its fat into the sauce, infusing every potato with a deep, savory richness.
The condensed cheddar cheese soup acts as a built-in sauce, creating a velvety base that clings to the potatoes and chiles. Topping the dish with shredded sharp cheddar and butter ensures a bubbling, golden crust forms during the final hours of cooking.
This method requires no roux, no whisking, and no extra dishes — just layer, cover, and let the slow cooker work its magic.
Notes and substitutions
Baby red bliss potatoes are ideal because they are waxy and hold up well during long cooking. If unavailable, Yukon Gold potatoes are a great substitute. Fire-roasted Hatch green chiles add a smoky, mild heat; use canned diced green chiles if Hatch are out of season. Smoky bacon provides a salty, savory punch — thick-cut bacon works especially well.
Sharp yellow cheddar is chosen for its bold flavor and excellent melting properties. The condensed cheddar cheese soup is a convenient shortcut that ensures a creamy sauce without extra steps. For a richer version, substitute the soup with a mixture of heavy cream and shredded cheddar. Always use full-fat cheese and soup for the best texture and taste.
- baby red bliss potatoes: Yukon Gold potatoes, quartered
- fire-roasted Hatch green chiles: canned diced green chiles (mild or hot)
- condensed cheddar cheese soup: 1 cup heavy cream plus 1 cup shredded cheddar cheese
- smoky bacon: smoked paprika or liquid smoke for a vegetarian version (omit bacon)
Equipment
- 6-quart slow cooker
- Cutting board
- Chef's knife
- Measuring cups and spoons
- Serving spoon
- White dinner plate
Up next · Part 2 of 3
6 steps · 4 h of cooking · what to look for at each stage
Step-by-step instructions (Part 2)