Dinner · Part 1 of 3: Ingredients
Cast-Iron Garlic Butter Ribeye Steak Bites
- Prep
- Cook
- Total
- Serves
- 4
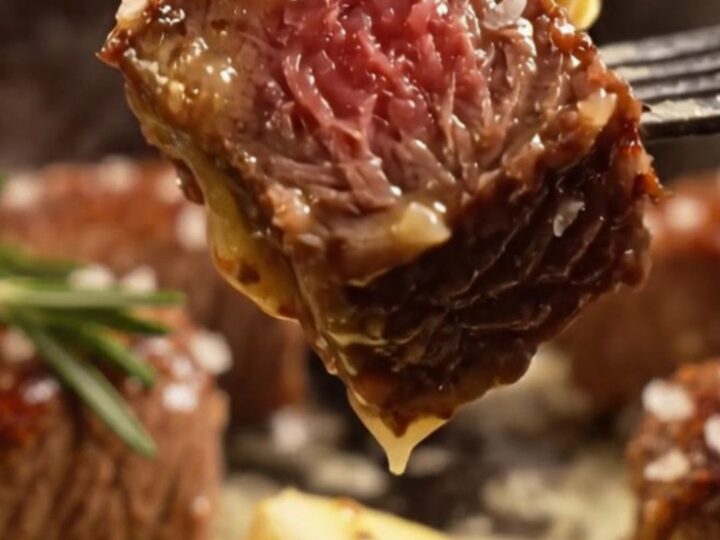
Master the art of the perfect steakhouse sear in the comfort of your own kitchen. These bite-sized ribeye morsels provide a concentrated burst of flavor, combining a crisp, mahogany exterior with a tender, melt-in-your-mouth center.
This method is the ultimate solution for anyone craving a high-quality steak experience that fits into a busy schedule, delivering impressive results without the need for complex techniques or hours of preparation time. It is truly the gold standard for quick, gourmet-level home cooking.
Achieving the ideal steakhouse experience usually requires expensive equipment and lengthy cooking times, but this recipe changes the narrative. By cutting prime ribeye into uniform cubes, the surface area exposed to high heat increases significantly, allowing for a rapid, intense sear that locks in juices and develops deep, savory flavors.
Finished with a classic aromatic butter baste, these steak bites are transformed into a sophisticated dish that works perfectly as a main course or a decadent appetizer. Follow these precise steps to ensure every bite is cooked to perfection.
Ingredients
Steak
- 1 1/2 lb ribeye steak, cut into 1.5-inch cubes
- 1 tbsp coarse kosher salt
- 1 tbsp cracked black pepper
Cooking Fat
- 2 tbsp beef tallow
Butter Sauce
- 4 tbsp unsalted butter
- 6 cloves garlic, smashed
- 1 sprig fresh rosemary
Finishing
- flaky Maldon sea salt for serving
Why this recipe works
The method of cutting the steak into cubes is highly effective because it allows for maximum contact with the hot cast-iron surface. This produces a uniform, deep-brown crust on all sides of the meat in a fraction of the time required for a whole steak. The high heat of the 500°F skillet is essential for the Maillard reaction, which creates the complex, savory flavors that define a great steak.
Finishing the dish with a garlic-herb butter bath off the heat provides a luxurious, silky coating that elevates the flavor profile. The residual heat of the skillet gently infuses the beef with the aromatics of the rosemary and toasted garlic without causing the butter to burn. This technique ensures the steak remains tender while absorbing the rich, umami notes of the butter sauce, resulting in a restaurant-quality finish every single time.
Notes and substitutions
For the best results, use a well-seasoned cast-iron skillet. The material retains heat exceptionally well, which is crucial for maintaining the high temperature needed for searing.
If a cast-iron skillet is not available, a heavy-bottomed stainless steel pan is a suitable alternative. Ensure the steak is thoroughly dried before seasoning, as excess moisture on the surface will cause the meat to steam rather than sear, hindering the formation of a proper crust.
When selecting the ribeye, look for significant marbling, as the intramuscular fat is what provides the signature tenderness and flavor of this cut. If beef tallow is unavailable, use a high smoke point oil like avocado or grapeseed oil.
Avoid olive oil, as its lower smoke point will cause it to burn at the high temperatures required for this recipe. Always ensure the skillet is properly ventilated, as searing at 500°F will produce a significant amount of smoke.
- beef tallow: high smoke point oil like avocado oil or grapeseed oil
- fresh rosemary: fresh thyme or dried rosemary
Equipment
- Cast-iron skillet
- Chef's knife
- Cutting board
- Tongs
Up next · Part 2 of 3
3 steps · 5 min of cooking · what to look for at each stage
Step-by-step instructions (Part 2)