Desserts · Part 1 of 3: Ingredients
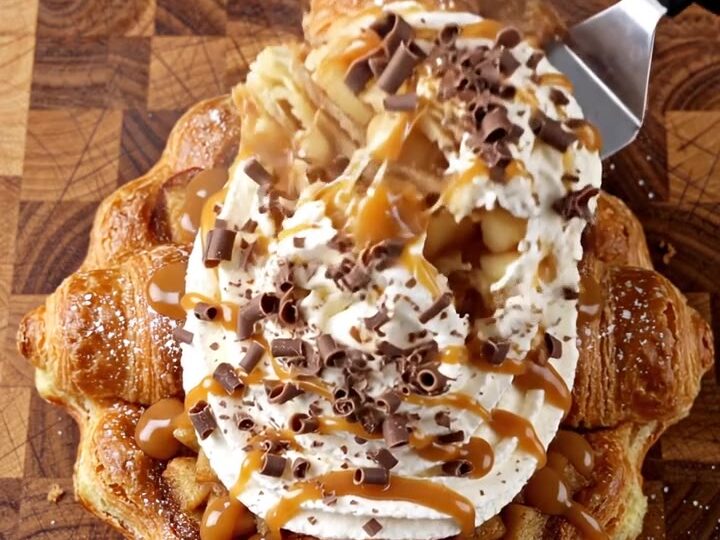
Caramel Apple Croissant Bake with Chocolate and Whipped Cream
- Prep
- Cook
- Total
- Serves
- 8
Golden croissant edges, caramelized apples and warm caramel sauce soaking into every layer make this bake one of the most satisfying desserts you can build in a single dish.
It needs no special skills, only a sharp knife, a box grater and an oven set to a steady temperature. Each bite delivers flaky pastry, soft cinnamon apple and a glossy finish of caramel, ready for whipped cream and chocolate curls.
This caramel apple croissant bake turns simple bakery pastry into a warm, layered dessert. You start with rolled and flaky croissants, some sliced into thick spirals and others cut into chunks, then combine them with diced red-skinned apples and cinnamon sugar. The pieces go into a white rectangular baking dish in layers, so the apples and pastry settle together as they bake.
A generous pour of warm caramel sauce soaks into the layers until the whole dish looks glossy. Once baked and rested, the bake moves to a round board and is finished with whipped cream, grated chocolate, a drizzle of caramel and a light dusting of powdered sugar.
The result is a dessert with golden edges, tender fruit and a creamy center that can be cut and served straight from the dish.
Ingredients
- 6 rolled and flaky croissants, some cut into thick spiral slices
- 3 red-skinned apples, peeled and diced
- 1/3 cup cinnamon sugar, divided
- 2 oz chocolate bar, for grating
- 1 cup caramel sauce, warm, store-bought or made ahead
- 1 cup whipped cream, for topping
- powdered sugar, for dusting, to taste
Why this recipe works
The croissants are the structure of this dessert. Their open, buttery crumb absorbs the caramel sauce without turning to mush, so each piece stays distinct while the layers meld. Cutting some into thick spirals and others into chunks gives you a mix of crisp edges and softer centers, which is why the finished bake looks so varied when you slice into it.
Apples cook in the same oven as the pastry, and the cinnamon sugar helps them caramelize at the surface while the centers soften. Pouring the caramel over the assembled layers before baking lets the sauce seep down through the pastry, so every piece tastes of caramel. The short rest after baking lets the sauce settle, which makes the portions easier to lift and serve.
Notes and substitutions
Red-skinned apples such as Gala or Honeycrisp hold their shape when diced and baked, which keeps the apple pieces distinct rather than applesauce-like. Peel them before dicing if you prefer a smoother texture. Use a sharp knife to cut the croissants so the pastry does not compress as you slice it.
A 9x13-inch white rectangular baking dish gives the layers enough room to bake evenly and holds the caramel without spilling over. A box grater produces the fine chocolate curls used as garnish.
Store-bought caramel sauce works well here; warm it until it is pourable so it can soak into the pastry. Whipped cream can be replaced with a sweetened whipped topping if you want a shelf-stable option.
- red-skinned apples: Honeycrisp or Gala apples, which hold their shape well in the oven
- caramel sauce, homemade: store-bought caramel sauce, warmed until pourable
- whipped cream: sweetened whipped topping for a shelf-stable option
Equipment
- Long serrated knife
- Wooden cutting board
- Box grater
- White rectangular baking dish, 9x13 inches
- Metal pitcher
- Round serving board
Up next · Part 2 of 3
7 steps · 25 min of cooking · what to look for at each stage
Step-by-step instructions (Part 2)