Dinner · Part 1 of 3: Ingredients
Brown Sugar Molasses Baby Back Ribs: Easy Slow Cooker
- Prep
- Cook
- Total
- Serves
- 4
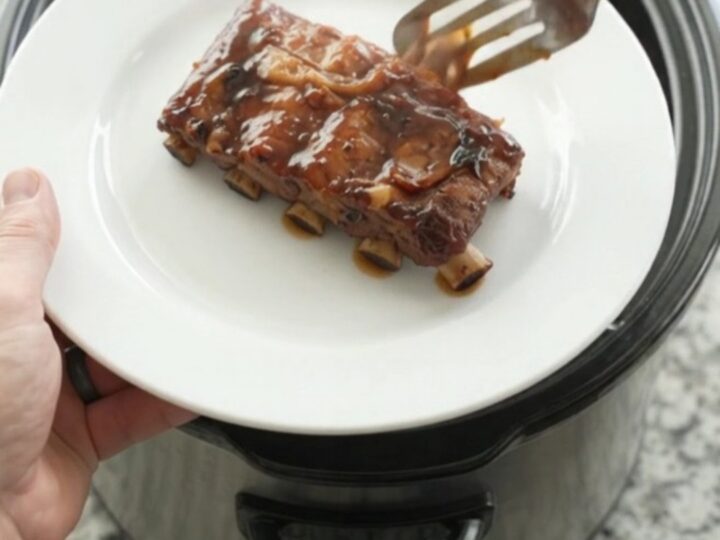
These slow cooker baby back ribs are the definition of set-it-and-forget-it. A simple rub of brown sugar and smoked paprika, a pile of sweet onions, and a generous pour of molasses garlic BBQ sauce transform into a sticky, caramelized glaze that coats tender, fall-off-the-bone meat.
All you do is dump everything into the Crockpot, walk away, and come back hours later to a dinner that tastes like it took all day to babysit. Perfect for busy weeknights or lazy weekends, this recipe delivers maximum flavor with minimal effort.
There's something deeply satisfying about a rack of ribs that falls apart at the touch of a fork. This recipe makes that happen in the slow cooker, with just five ingredients and almost zero hands-on time.
The brown sugar and smoked paprika create a sweet-smoky crust, while the onions melt into the sauce, adding a mellow sweetness. The molasses garlic BBQ sauce brings a tangy, savory depth that balances the sugar. Whether you're feeding a crowd or just want an easy dinner, these ribs deliver every time.
Ingredients
- 2 lb baby back pork ribs
- 1/4 cup dark brown sugar
- 1 tbsp smoked paprika
- 1 medium yellow onion, sliced
- 1 cup molasses garlic BBQ sauce
Why this recipe works
The slow cooker provides a low, steady heat that gently breaks down the collagen in the ribs, turning them meltingly tender. Unlike grilling or roasting, there's no risk of drying out the meat, and the enclosed environment traps steam, keeping the ribs moist throughout the long cooking time. The sauce also reduces slightly, concentrating its flavors into a rich, glossy glaze.
The brown sugar and smoked paprika rub forms a flavorful crust on the surface of the meat, while the onions cook down into a sweet, jam-like accompaniment. Because everything cooks together in one pot, the ribs absorb the sauce's flavors from all sides, resulting in a deeply seasoned, cohesive dish. The hands-off method means you can go about your day while dinner cooks itself.
Notes and substitutions
Baby back ribs are the star here, but you can also use St. Louis-style or spare ribs—just adjust the cooking time accordingly. Look for racks that are meaty and have a good amount of fat for the best flavor.
The molasses garlic BBQ sauce is a shortcut that delivers a lot of depth; you can use your favorite brand or make a homemade version. If you prefer a spicier kick, add a pinch of cayenne to the rub.
The slow cooker size matters: a 6- to 7-quart model fits 2 pounds of ribs comfortably. If your ribs are too large, cut them into smaller sections to ensure even cooking.
Avoid lifting the lid during cooking, as that releases heat and extends the cooking time. The sauce will thin out as the ribs release juices, but it will thicken slightly upon resting. Serve with extra sauce from the pot for dipping.
- molasses garlic BBQ sauce: Use 3/4 cup barbecue sauce mixed with 2 tablespoons molasses and 2 minced garlic cloves.
- baby back ribs: Substitute 2 pounds of St. Louis-style or spare ribs; increase cooking time to 8 hours on low.
- dark brown sugar: Light brown sugar works, but the molasses flavor will be slightly less intense.
- smoked paprika: Regular paprika plus a pinch of liquid smoke can mimic the smoky depth.
Equipment
- 6- to 7-quart slow cooker
- Small bowl
- Tongs
- Carving fork
- Cutting board
- Serving platter
Up next · Part 2 of 3
5 steps · 6 h of cooking · what to look for at each stage
Step-by-step instructions (Part 2)