Desserts · Part 1 of 3: Ingredients
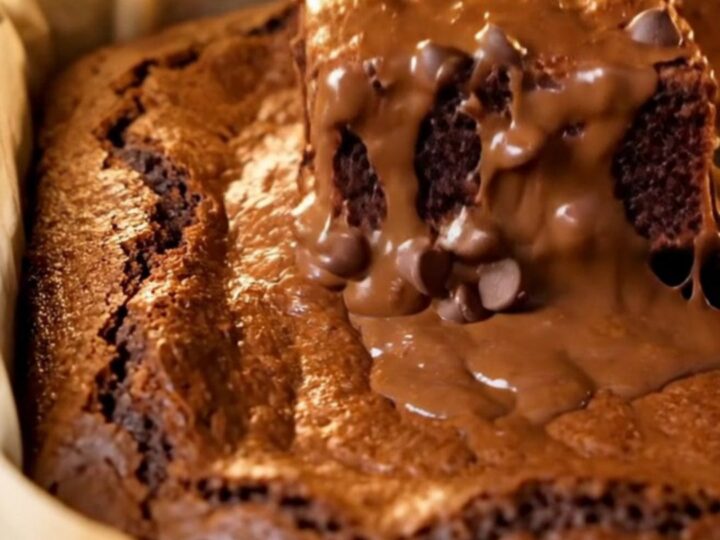
Brown Butter Fudgy Brownies with Shiny Crinkle Top
- Prep
- Cook
- Total
- Serves
- 16
These brown butter fudgy brownies have the shiniest crinkle top and the fudgiest molten chocolate center. The secret is browning the butter until nutty and amber, then pouring it over cocoa and chocolate to create a glossy, deeply flavored base.
Whipped eggs and sugar give the batter structure, while a generous amount of chocolate chips melts into pockets of gooey richness. This recipe delivers the perfect balance of crackly top, dense middle, and intense chocolate flavor.
Brownies are a classic treat, but this version takes them to the next level with browned butter and a shiny, crackled crust. The browned butter adds a toasty, caramel-like depth that complements the dark chocolate.
Whipping the eggs and sugar to a ribbon creates a light, airy structure that bakes into a dense, fudgy center. The result is a brownie that looks as beautiful as it tastes, with a glossy top that shatters when you bite into it and a molten, gooey interior that chocolate lovers dream about.
Ingredients
- 1 cup unsalted butter
- 1/2 cup unsweetened cocoa powder
- 4 oz bittersweet chocolate, chopped
- 1 tsp instant espresso powder
- 2 tsp vanilla extract
- 2 tbsp olive oil
- 3 large eggs, room temperature
- 1/2 cup light brown sugar, packed
- 1 3/4 cups confectioners' sugar
- 1/2 cup all-purpose flour
- 1/2 tsp salt
- 1 cup semi-sweet chocolate chips
Why this recipe works
Browning the butter is a simple step that transforms the flavor. As the butter cooks, the milk solids toast and develop a nutty, caramelized aroma that adds complexity to the brownies. This extra depth is what makes these brownies taste truly special, elevating them beyond a standard cocoa-based recipe.
Whipping the eggs and sugar until pale and ribbon-like is crucial. This process incorporates air and dissolves the sugar, creating a stable structure that yields a shiny, paper-thin crust on top.
The high ratio of sugar and the long whipping time are key to achieving that iconic crinkly finish and a fudgy, dense texture that stays moist for days.
Notes and substitutions
Use good-quality cocoa powder and chocolate, as they are the main flavor. Dutch-processed cocoa will give a darker, more mellow flavor, while natural cocoa provides a brighter, more acidic note. The bittersweet chocolate adds richness and helps create a glossy texture when melted with the butter.
Room-temperature eggs are essential for maximum volume when whipping. The olive oil adds a subtle fruity note and contributes to the fudgy texture.
If you don't have olive oil, any neutral oil works. The espresso powder enhances the chocolate flavor without adding a coffee taste, but it can be omitted.
- olive oil: Use a neutral oil like canola or vegetable oil, or replace with 2 tablespoons of melted butter.
- bittersweet chocolate: Use semi-sweet chocolate or dark chocolate chips for a slightly sweeter result.
- instant espresso powder: Skip the espresso powder or use 1 teaspoon of instant coffee granules dissolved in a little water.
- light brown sugar: Use dark brown sugar for a deeper molasses flavor, or substitute with granulated sugar for a less chewy texture.
Equipment
- 8-inch square baking pan
- Medium saucepan
- Mixing bowls
- Whisk
- Rubber spatula
- Measuring cups and spoons
- Knife
- Wire rack
Up next · Part 2 of 3
5 steps · 32 min of cooking · what to look for at each stage
Step-by-step instructions (Part 2)