Desserts · Part 1 of 3: Ingredients
Brown Butter Double Chocolate Chunk Skillet Pizookie with Sea Salt
- Prep
- Cook
- Total
- Serves
- 8
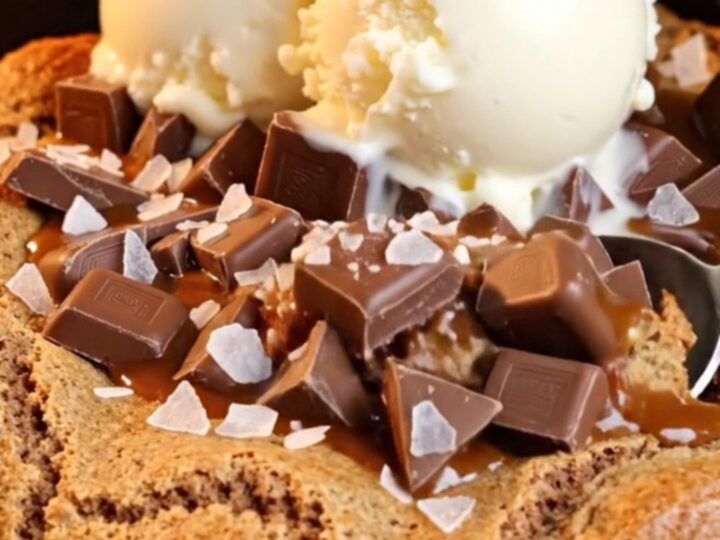
This brown butter double chocolate chunk skillet pizookie is the ultimate one-pan dessert. A crisp, golden edge gives way to a soft, gooey center loaded with dark and milk chocolate chunks. A sprinkle of flaky sea salt and a scoop of cold vanilla bean ice cream turn it into something truly special. Ready in just over 30 minutes, it's perfect for sharing straight from the skillet.
A pizookie is a cookie baked in a skillet, and this version takes it over the top with brown butter and two kinds of chocolate. The brown butter adds a deep, nutty flavor that pairs beautifully with the sweet chocolate.
Baking it in a cast iron skillet gives you crispy edges and a soft, almost underbaked center—exactly what you want. Topped with flaky sea salt and vanilla ice cream, it's a dessert that feels both rustic and indulgent. Serve it warm with spoons for a crowd-pleasing treat.
Ingredients
- 1/2 cup unsalted butter
- 100 g brown sugar
- 50 g white sugar
- 1 large egg
- 1 large egg yolk
- 1 tsp vanilla extract
- 150 g all-purpose flour
- 1/2 tsp baking soda
- 100 g dark chocolate chunks
- 50 g milk chocolate chunks
- flaky sea salt, for sprinkling, to taste
- vanilla bean ice cream, for serving
Why this recipe works
Brown butter is the secret here. Toasting the butter until it turns amber and smells nutty develops complex, caramel-like flavors that plain butter can't match. That flavor infuses the entire dough, making every bite taste richer and more aromatic.
The browning also removes some water from the butter, which helps create a chewier texture in the finished cookie. It's a simple step that makes a big difference.
Baking in a cast iron skillet ensures even heat distribution, which gives you a perfectly crisp edge while keeping the center soft and gooey. The skillet's high sides also help the cookie rise slightly, creating that classic pizookie shape.
The contrast between the crunchy exterior and the molten chocolate interior is the whole point. Using both dark and milk chocolate gives you a balance of intense cocoa and creamy sweetness.
Notes and substitutions
For the best results, use good-quality chocolate chunks rather than chips. Chunks melt into pools and create that gooey texture. Dark chocolate with 60-70% cocoa works well, and milk chocolate adds a creamy sweetness. If you only have chips, they'll work, but the texture will be slightly different. Flaky sea salt is important—it adds a salty crunch that cuts through the richness.
You'll need an 8-inch cast iron skillet. If you only have a larger one, the pizookie will be thinner and bake faster. A 10-inch skillet will work, but reduce the baking time by a few minutes.
Make sure the skillet is well-buttered to prevent sticking. The dough is thick, so use a spatula to press it evenly. Let the pizookie rest for a few minutes after baking to help it set slightly.
- dark chocolate chunks: semi-sweet chocolate chips or chopped dark chocolate bar
- milk chocolate chunks: white chocolate chips or butterscotch chips
- vanilla bean ice cream: regular vanilla ice cream or whipped cream
- unsalted butter: salted butter (omit the flaky sea salt on top)
Equipment
- 8-inch cast iron skillet
- small saucepan
- mixing bowl
- whisk
- rubber spatula
- measuring cups and spoons
- kitchen scale (optional)
Up next · Part 2 of 3
6 steps · 18 min of cooking · what to look for at each stage
Step-by-step instructions (Part 2)