Drinks · Part 1 of 3: Ingredients
Black Forest Chocolate Frappe in a Blender, Ready in 15 Minutes
- Prep
- Cook
- Total
- Serves
- 2
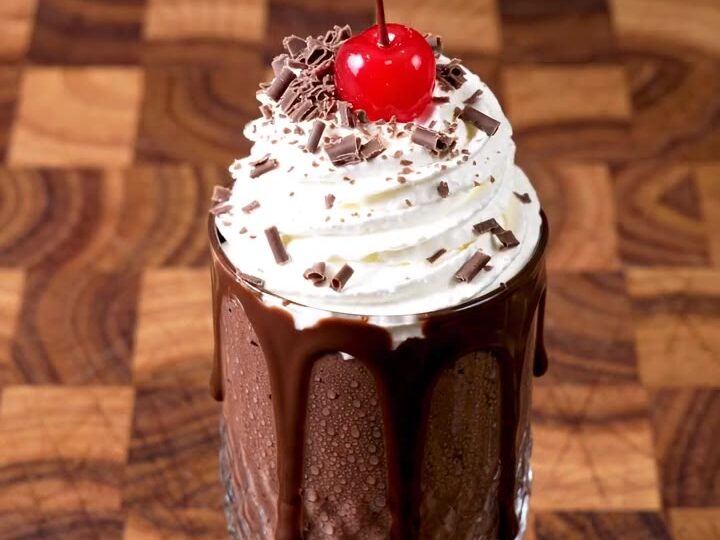
A black forest frappe is the dessert you can make in a blender without turning on the oven. Ripe banana, halved cherries, grated dark chocolate and cold milk blend into a thick, chocolate-brown drink, then finish with whipped cream and crunchy almonds.
Two tall glasses take about fifteen minutes from the first slice to the final spoonful, which makes it an easy treat for a warm afternoon or a quick dessert after dinner.
This frappe brings the flavors of black forest cake into a cold, spoonable drink. Cherries and dark chocolate are the classic pair, and banana gives the body a soft sweetness and a creamy texture that holds the blend together.
Almonds add a light nutty bite, and a swirl of whipped cream on top makes the drink feel like a finished dessert. The method is short and forgiving.
You slice and pit the fruit, grate the chocolate over a box grater, add everything to the blender pitcher with the milk and ice, and blend until the mixture is smooth. Pour it into a tall glass, let it run down the sides, and crown it with cream. There is no cooking involved, so the work is mostly preparation and a few minutes of blending.
Ingredients
- 1 ripe banana, sliced
- 1 cup red cherries, halved and pitted
- 2 tbsp whole almonds, roughly chopped for topping and blending
- 2 oz dark chocolate, grated
- 1 cup whole milk
- 1 cup ice cubes
- whipped cream for topping, to taste
Why this recipe works
Blending the frozen-cold ingredients with ice is what gives the frappe its thickness. The ice breaks down into fine crystals as the blades spin, and the banana and milk help turn them into a smooth, cool body rather than a thin, watery shake.
Keeping the ice in the pitcher with the solids means the blades work through everything at once, so the texture is even from top to bottom.
Grating the dark chocolate instead of chopping it gives it much more surface area. Fine curls and shavings melt into the cold milk quickly and disperse evenly through the blend, so every sip tastes of chocolate rather than having chunks of it. Adding the chocolate before the liquid also prevents it from sticking to the blender walls in the first seconds of blending.
Notes and substitutions
Use ripe red cherries that are firm and fully colored; sweeter fruit gives a more rounded drink without adding sugar. Pitting and halving the cherries keeps the blender blades from catching on pits and prevents the frappe from tasting bitter. Whole milk gives the best body, but a lower-fat milk still works if you prefer a lighter glass.
A standard glass blender pitcher is the right tool, because it holds the layered ingredients and the ice without overflowing when the motor runs. A tall footed glass shows off the drips running down the sides and makes the cream topping easy to pipe. A box grater and a sharp chef's knife are the only other tools you need, so the method stays simple at home.
- whole milk: 2% milk or oat milk for a lighter texture; a dairy-free milk changes the flavor and the recipe is then not dairy-free unless every ingredient is
- whole almonds: toasted hazelnuts or pecans, chopped the same way
- dark chocolate: bittersweet baking chocolate block, grated the same way
Equipment
- Wooden cutting board
- Chef's knife
- Box grater
- Cherry pitter or small paring knife
- Glass blender with lid
- Tall footed glass
- Piping bag with star tip or a spoon
Up next · Part 2 of 3
6 steps · 2 min of cooking · what to look for at each stage
Step-by-step instructions (Part 2)