Dinner · Part 1 of 3: Ingredients
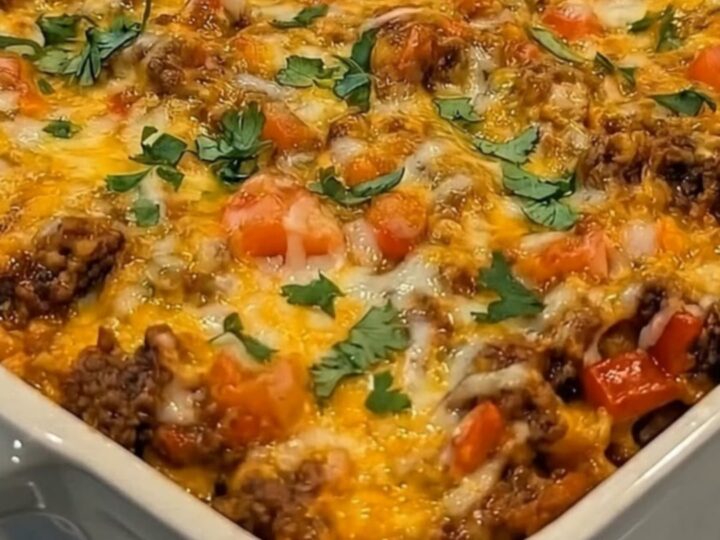
Beefy Fiesta Tortilla Casserole with Gooey Melted Cheese
- Prep
- Cook
- Total
- Serves
- 6
Craving a bubbly, cheesy, and deeply satisfying dinner that comes together with minimal effort? This Beefy Fiesta Tortilla Casserole is the ultimate crowd-pleaser, combining perfectly seasoned ground beef, warm rolled tortillas, and a blanket of gooey melted cheese. It is a hearty, comforting bake that delivers big, bold flavors in every single bite, making it perfect for busy weeknights.
Casseroles are the unsung heroes of weeknight cooking, and this tortilla bake is about to become a regular in your dinner rotation. By rolling seasoned ground beef and cheese into soft tortillas before baking them, you get the perfect contrast of tender edges and a rich, cheesy center.
It has all the vibrant, festive flavors of your favorite tacos but served in a sliceable, comforting format that keeps everyone coming back for seconds. Best of all, it requires no complicated techniques and uses simple, accessible ingredients.
Ingredients
- 1 lb ground beef
- 1 packet taco seasoning
- 8 flour tortillas
- 2 cups shredded cheese
- 1/2 cup diced tomatoes, for serving
- 1/4 cup fresh cilantro, for serving
Why this recipe works
First, rolling the tortillas rather than simply layering them creates distinct pockets of seasoned beef and melted cheese, ensuring a perfect texture in every slice. Layered casseroles can sometimes turn soggy, but rolling the tortillas helps them hold their structure while keeping the filling securely inside.
This technique also creates beautiful, defined portions that are incredibly easy to scoop and serve, giving you a beautiful presentation straight from the baking dish.
Second, baking the assembled casserole at a high temperature allows the cheese to melt into a gooey, golden blanket while the beef juices mingle with the cheese.
This high-heat bake caramelizes the edges of the tortillas, adding a subtle crispness that contrasts beautifully with the tender, cheesy interior. It is the ultimate way to meld the savory taco seasoning, rich beef, and sharp cheese into one cohesive, deeply comforting flavor profile.
Notes and substitutions
When it comes to ingredients, choosing the right ground beef is key to a flavorful but not overly greasy casserole. A leaner blend like 85/15 or 90/10 ground beef works beautifully, as it provides plenty of rich, beefy flavor without releasing excessive fat into the baking dish.
If you prefer a different protein, ground turkey or chicken make excellent alternatives that still pair wonderfully with the bold taco seasoning. For the cheese, shredding your own Monterey Jack or cheddar off the block will give you an even better, extra-gooey cheese pull.
For the tortillas, medium-sized flour tortillas are highly recommended because they are incredibly pliable and roll easily without tearing. If you prefer to use corn tortillas, make sure to warm them slightly in the microwave between damp paper towels first to make them flexible enough to roll. A standard baking dish is the ideal size for this recipe, allowing you to fit all the rolled tortillas snugly in a single layer so they bake evenly.
- ground beef: ground turkey or ground chicken for a lighter alternative
- flour tortillas: corn tortillas, warmed slightly before rolling to prevent tearing
Equipment
- Large skillet
- Spatula
- Baking dish
- Chef's knife
- Cutting board
Up next · Part 2 of 3
4 steps · 20 min of cooking · what to look for at each stage
Step-by-step instructions (Part 2)