Dinner · Part 3 of 3: Tips & recipe card
Bacon-Wrapped Stuffed Onion Bombs Tips, FAQ & printable recipe
- Prep
- Cook
- Total
- Serves
- 4
Tips for success
To achieve an even crispier bacon exterior, you can brush the wrapped bombs with a light glaze of barbecue sauce during the final five minutes of grilling.
This adds a hint of sweetness and helps to caramelize the bacon surface, creating a beautiful glossy finish. Watch them closely during this step, as the sugars in the sauce can burn quickly over direct heat.
If you are feeding a large crowd, you can assemble the onion bombs several hours in advance and keep them covered in the refrigerator. This allows the flavors to meld and makes the grilling process much smoother when guests arrive.
Just remember to let them sit at room temperature for about 15 minutes before placing them on the grill to ensure they cook more evenly and efficiently.
Variations
- Spicy Jalapeno Bombs: Add finely diced fresh jalapenos to the ground beef mixture for a spicy kick. The heat pairs perfectly with the sweetness of the onion and the richness of the melted cheese.
- Herb-Infused Beef: Mix fresh chopped herbs like parsley, chives, or thyme into the ground beef before stuffing the onions. This adds a fresh, aromatic dimension that lightens the overall profile.
Storage and make-ahead
- Fridge
- Store in an airtight container in the refrigerator for up to 3 days.
- Freezer
- Not recommended, as the texture of the onion and the crispness of the bacon will be compromised.
- Reheat
- Reheat in a preheated oven at 350°F (175°C) until warmed through and the bacon is crisp again, about 10-15 minutes.
If you have leftovers, allow them to cool completely at room temperature for no more than two hours before transferring them to an airtight container. Properly stored, they will keep well in the refrigerator for up to three days. For the best flavor and texture, avoid leaving them out for extended periods after they have been grilled.
These onion bombs are excellent for advanced preparation. You can hollow out the onions and prepare the beef filling the day before. Keep the components separate and assemble the bombs just before you are ready to grill. This keeps the onions crisp and prevents the beef juices from softening the onion shells too much before cooking.
Serving ideas
Serve these onion bombs hot directly from the grill, arranged on a rustic platter surrounded by fresh greens to provide a refreshing contrast to the richness of the bacon and beef.
They pair perfectly with a side of coleslaw or a simple tomato salad, which helps balance the smoky, savory profile of the main dish. Provide guests with small plates and napkins, as these can be quite juicy and indulgent.
For a more casual presentation, offer a variety of dipping sauces on the side, such as a tangy barbecue sauce or a creamy horseradish dip. These additions allow guests to customize their bites and add an extra layer of flavor.
Ensure the onion bombs are the star of the show by keeping the rest of the meal simple, allowing the complex flavors of the stuffed onions to truly shine.
Frequently asked questions
Can these be baked in the oven instead of grilled?
What is the best way to secure the bacon if it keeps falling off?
How can the onion shells be kept from collapsing?
Bacon-Wrapped Stuffed Onion Bombs
Ingredients
- 4 large yellow onions, peeled and halved
- 1 lb ground beef
- 4 oz cheddar cheese, cubed
- 8 slices bacon
Instructions
- Peel the yellow onions and cut them in half crosswise. Carefully remove the inner layers of the onion halves, leaving about two outer layers to form a sturdy cup or shell that will hold the filling.
- Take a portion of the seasoned ground beef and press it into the hollowed-out onion halves. Place a cube of cheddar cheese into the center of the beef and cover it with more beef to seal the cheese completely inside.
- Wrap each stuffed onion bomb securely with slices of bacon. Use a toothpick if necessary to secure the ends of the bacon to the onion, ensuring the bacon covers the entire surface of the beef and onion exterior.
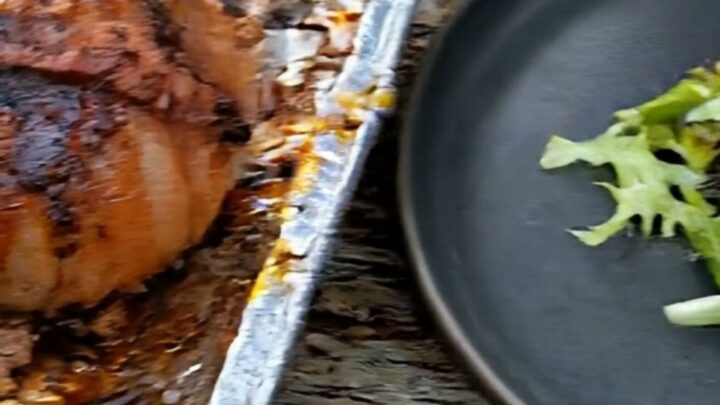
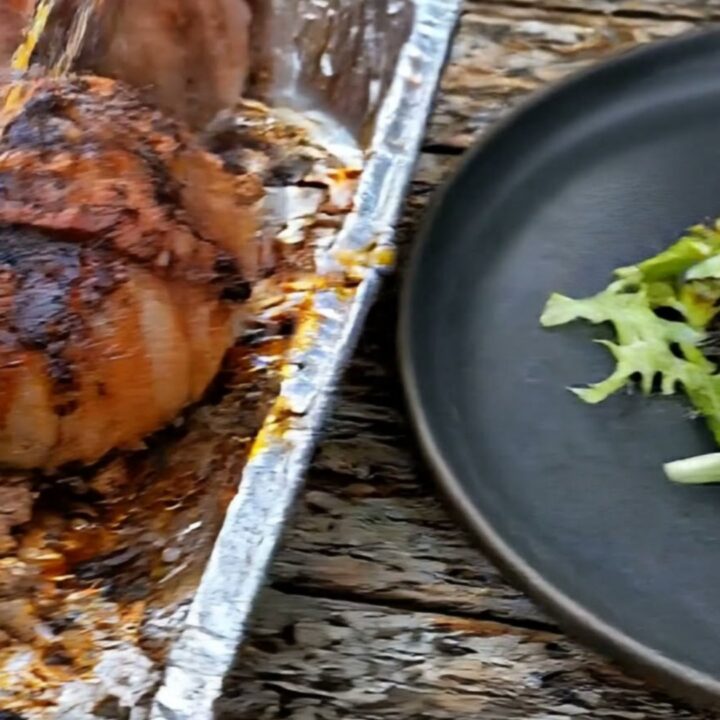
- Place the bacon-wrapped bombs on the preheated grill. Sear them over medium-high heat, turning occasionally, until the bacon is crispy and the internal temperature of the ground beef reaches 160°F (71°C). Place them in a foil tray for the final stage of cooking to catch any juices.
Estimated nutrition per serving
- Calories
- 450
- Protein
- 22 g
- Carbohydrates
- 8 g
- Fat
- 36 g
- Fiber
- 1.5 g
- Sugar
- 4 g
- Sodium
- 650 mg
Next recipe
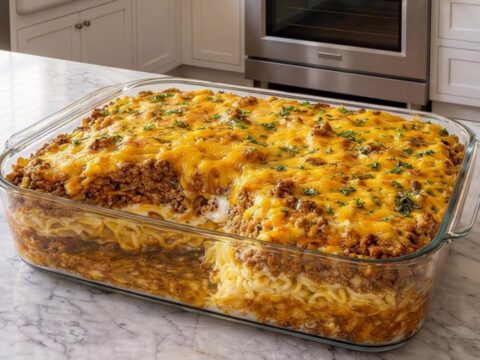
Cheesy Beef Noodle Casserole for Ultimate Comfort
See the recipe → →This recipe is based on a short cooking video and is published under the pen name Clara Weller. It was checked before publication, but errors can slip through. Nutrition, when shown, is an estimate. Read more in our editorial policy and on our food safety page.
More recipes to try
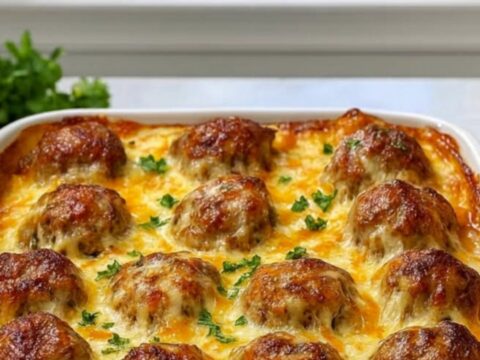
One-Pan Dump and Bake Meatball Casserole
Total time: 1 h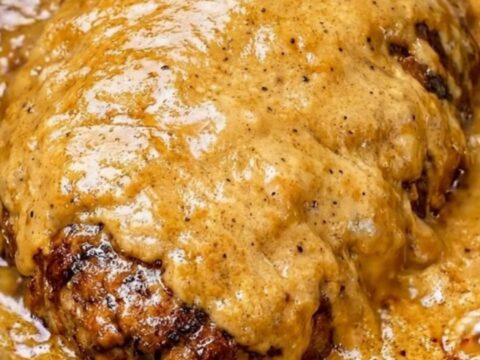
Slow-Cooker Creamy Gravy Beef for Easy Weeknight Dinners
Total time: 8 h 25 min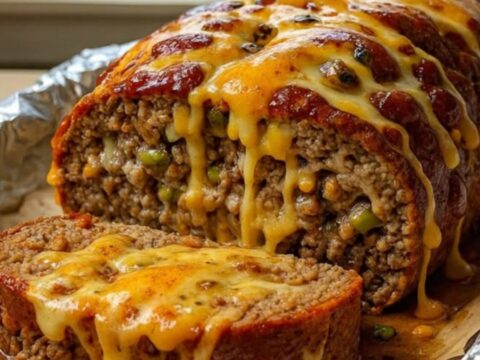
Philly Cheesesteak Meatloaf with Savory Glaze
Total time: 1 h 30 min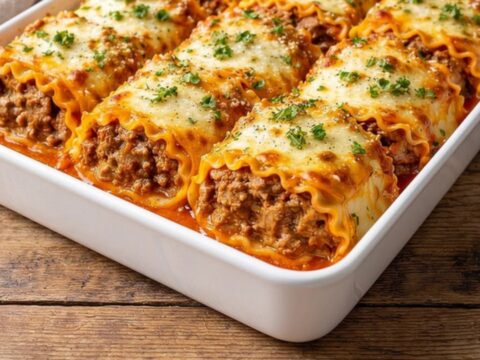
Tender Short Rib Lasagna Rolls for a Cozy Dinner
Total time: 1 h 10 min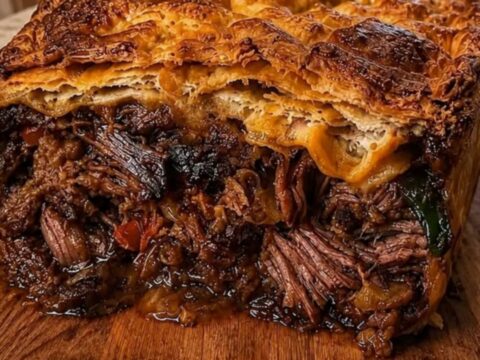
Cheesy Beef Brisket Pie with Flaky Pastry
Total time: 1 h 15 min