Appetizers · Part 3 of 3: Tips & recipe card
Bacon-Wrapped Stuffed Onion Bombs Tips, FAQ & printable recipe
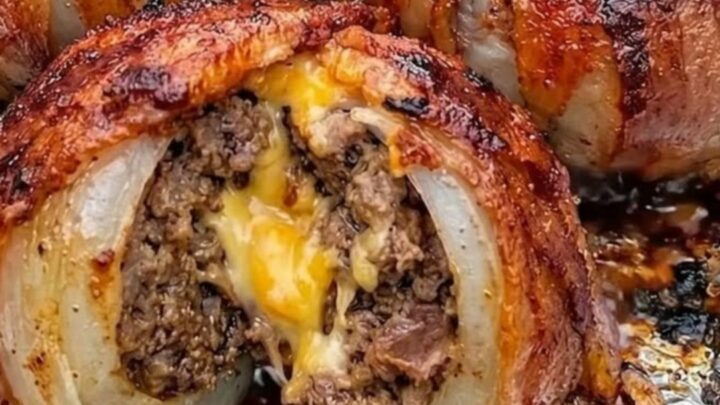
- Prep
- Cook
- Total
- Serves
- 4
Tips for success
If the bacon is not crisping up enough toward the end of the cooking time, you can turn on the broiler for the last two to three minutes. Watch the oven closely during this process to prevent the bacon from burning, as the sugars in the rendered fat can char very quickly under direct heat. This step adds a final touch of texture and color that makes the presentation look professional and appetizing for any occasion.
To add more depth to the ground beef, consider mixing in finely minced garlic, a splash of Worcestershire sauce, or your favorite steak seasoning blend before stuffing the onions.
These additions will boost the savory notes and complement the natural sweetness of the onions without requiring additional steps. Experimenting with different herbs or spices in the beef mixture allows you to customize the flavor profile to suit your personal preferences or the theme of your meal.
Variations
- Spicy Jalapeno Bomb: Add finely diced fresh jalapenos into the ground beef mixture before stuffing. This adds a nice heat that cuts through the richness of the bacon and cheese.
- BBQ Glazed Bomb: Brush the bacon-wrapped onions with your favorite barbecue sauce during the last 10 minutes of baking for a sweet and tangy caramelized finish.
Storage and make-ahead
- Fridge
- Keep in an airtight container in the refrigerator for up to 3 days.
- Freezer
- Not recommended, as the onion texture will become mushy upon thawing.
- Reheat
- Reheat in a 350°F oven for 10-15 minutes until warmed through.
Allow any leftovers to cool for no more than 2 hours at room temperature before transferring them to an airtight container. Properly stored, these onion bombs will maintain their quality for up to three days in the refrigerator.
Avoid leaving them out for extended periods, as this can compromise the texture of the bacon and the safety of the meat. Always ensure the container is tightly sealed to prevent the onion aroma from permeating other items in your fridge.
You can assemble the onion bombs up to 24 hours in advance. Keep the assembled, unbaked bombs covered tightly in the refrigerator. When ready to serve, take them out of the fridge about 20 minutes before baking to take the chill off, which ensures a more even cooking time in the oven. This makes them an excellent choice for parties or busy weeknights when you want to minimize time spent in the kitchen right before your guests arrive or dinner is served.
Serving ideas
These onion bombs are best served hot, directly from the oven, to ensure the cheese remains molten and the bacon stays crispy. They make an excellent centerpiece for a casual dinner or a hearty addition to a spread of appetizers.
For a complete meal, serve them alongside a crisp green salad or roasted root vegetables to balance the richness. The contrast between the savory, smoky bacon and the sweet, tender onion creates a balanced bite that is sure to please everyone.
When slicing into the onion bombs, use a sharp serrated knife to cut through the crispy bacon layer without crushing the tender onion. Serving them on individual plates allows guests to enjoy the full experience of the cheese pull.
Adding a light drizzle of balsamic glaze or a dollop of sour cream can provide a nice contrast to the savory, smoky flavors. Presenting them with a fresh garnish, such as chopped parsley or chives, adds a pop of color and freshness to the plate.
Frequently asked questions
Can these be made in an air fryer?
Why do the onion bombs fall apart?
Can a different type of meat be used?
Bacon-Wrapped Stuffed Onion Bombs
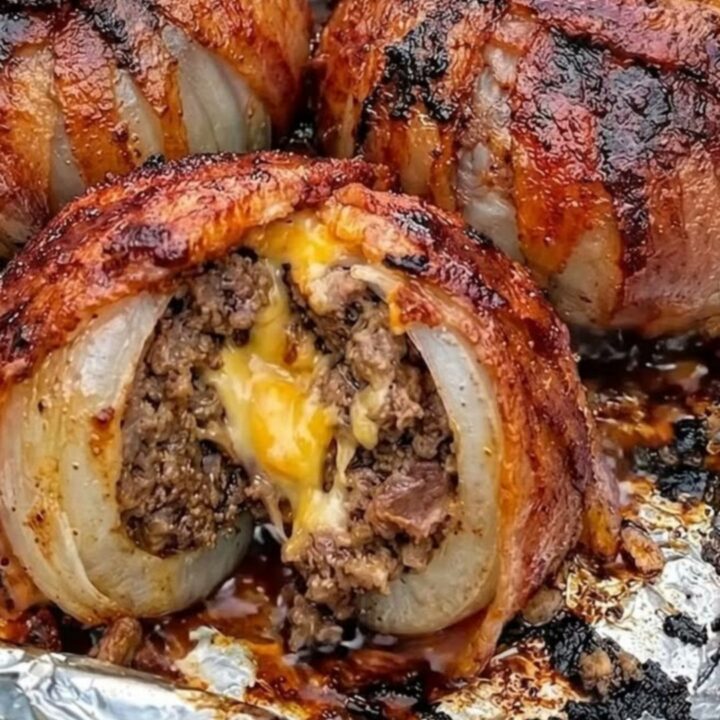
Ingredients
- 4 large yellow onions, peeled
- 1 lb ground beef
- 4 oz cheddar cheese, cubed
- 8 slices bacon
Instructions
- Peel the yellow onions and carefully cut them in half. Remove the centers, leaving about two layers of the outer onion rings to act as a sturdy vessel for the filling.
- Take a portion of the ground beef and press it into the bottom of an onion half. Place a cube of cheddar cheese in the center and cover it with more ground beef, ensuring the cheese is completely encased. Repeat until all onions are stuffed.
- Wrap two slices of bacon around each stuffed onion bomb, securing the ends with toothpicks if necessary. Place on a foil-lined baking sheet and bake at 400°F (200°C) until the bacon is crispy and the ground beef reaches an internal temperature of 160°F (71°C).
Estimated nutrition per serving
- Calories
- 450
- Protein
- 22 g
- Carbohydrates
- 8 g
- Fat
- 36 g
- Fiber
- 1.5 g
- Sugar
- 4 g
- Sodium
- 650 mg
Next recipe

Crispy Garlic Butter Bacon Cheeseburger Rollups
See the recipe → →This recipe is based on a short cooking video and is published under the pen name Clara Weller. It was checked before publication, but errors can slip through. Nutrition, when shown, is an estimate. Read more in our editorial policy and on our food safety page.
More recipes to try

Crispy Bacon-Wrapped Stuffed Onion Bombs
Total time: 1 h 5 min
Garlic Parmesan Cheeseburger Bombs
Total time: 40 min
Crispy Carnivore Cheese Balls for a Simple Snack
Total time: 22 min
Cheesy Baked Shrimp and Crab Dip for Easy Entertaining
Total time: 40 min
Crispy Ham and Cheese Wraps
Total time: 15 min