Appetizers · Part 3 of 3: Tips & recipe card
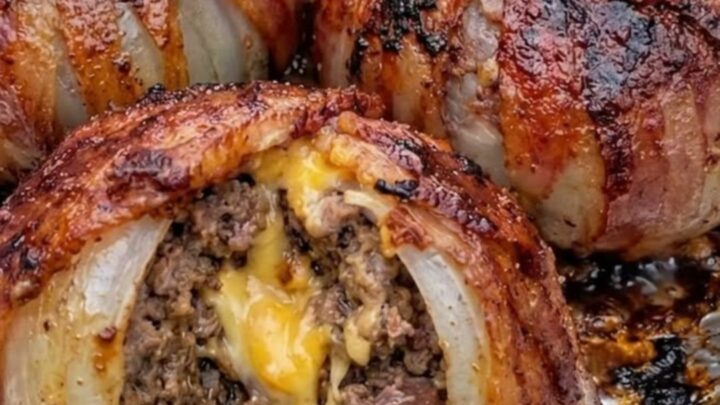
Bacon-Wrapped BBQ Onion Bombs for a Savory Treat Tips, FAQ & printable recipe
- Prep
- Cook
- Total
- Serves
- 4
Tips for success
For the best flavor, season your ground beef with a touch of salt, pepper, or your favorite dry rub before placing it inside the onion shells. This ensures the meat is well-seasoned throughout.
If you want an extra layer of flavor, consider adding finely chopped fresh herbs like parsley or chives to the beef mixture before assembling the bombs.
If you find that the onions are wobbling on the baking sheet, you can trim a tiny sliver off the bottom of each onion half to create a flat surface. This simple trick prevents them from tipping over while they bake, ensuring that the cheese filling stays inside the onion rather than leaking out onto the pan.
Variations
- Spicy Onion Bombs: Add a teaspoon of cayenne pepper or finely diced jalapeños to the ground beef mixture for a spicy kick that pairs perfectly with the sweet onion flavor.
- Herb-Infused Bombs: Mix finely chopped fresh rosemary and thyme into the ground beef to add an aromatic, earthy flavor that elevates the savory profile of the dish.
Storage and make-ahead
- Fridge
- Keep leftovers in an airtight container in the refrigerator for up to 3 days.
- Freezer
- Freezing is not recommended as the onion texture will become mushy upon thawing.
- Reheat
- Reheat in a 350°F (175°C) oven for 10-15 minutes until hot and crispy.
Store any leftover onion bombs in an airtight container in the refrigerator. They will maintain their quality for up to 3 days. When ready to eat again, place them on a baking sheet and heat them in a preheated oven until they are warmed through and the bacon regains some of its crispness.
You can assemble the onion bombs ahead of time and keep them in the refrigerator for up to 4 hours before baking. Simply keep them on a plate or tray covered with plastic wrap until you are ready to put them in the oven.
This makes them a convenient option for entertaining, as you can do the prep work well before your guests arrive.
Serving ideas
These onion bombs are best served warm, shortly after they have finished their resting period. They pair exceptionally well with a side of coleslaw or a fresh green salad, which helps to cut through the richness of the bacon and cheese.
Consider serving them with an extra side of sauce for dipping if you prefer a more intense flavor profile.
Since these are a hearty appetizer, they work well as a centerpiece for a casual meal. Arrange them on a platter and provide small forks or napkins for guests to enjoy them easily.
The combination of textures and flavors makes them a standout dish that requires very little else to impress, providing a satisfying and savory experience that is perfect for any occasion.
Frequently asked questions
Can these onion bombs be made ahead of time?
What is the best way to keep the bacon from unraveling?
Is it possible to use a different type of meat?
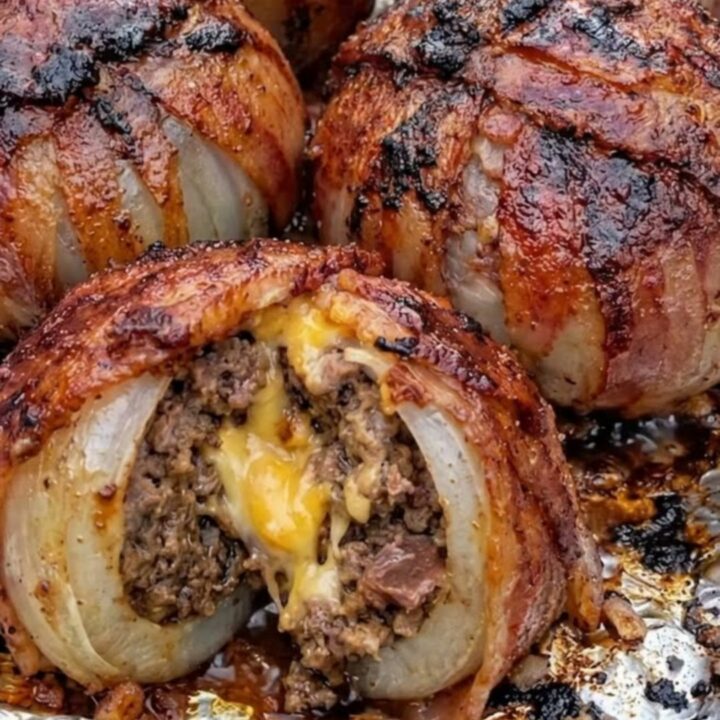
Bacon-Wrapped BBQ Onion Bombs for a Savory Treat
Ingredients
- 4 large yellow onions, peeled and halved
- 1 lb ground beef
- 4 oz cheddar cheese, cubed
- 8 slices bacon
Instructions
- Peel the onions and cut them in half. Carefully remove the inner layers of the onion, leaving the outer two or three layers to form a shell or cup that will hold the filling.
- Take the ground beef and press a portion into the hollowed onion halves. Place a cube of cheddar cheese into the center of the meat, then fold the other onion half over the top to enclose the beef and cheese. Wrap the entire onion assembly with two slices of bacon, securing them tightly around the onion.
- Place the bacon-wrapped onions on a foil-lined baking sheet. Bake in a preheated oven at 375°F (190°C) for 35 to 40 minutes. Ensure the ground beef reaches an internal temperature of 160°F (71°C). Remove from the oven and let rest for 5 minutes before serving.
Estimated nutrition per serving
- Calories
- 380
- Protein
- 20 g
- Carbohydrates
- 8 g
- Fat
- 30 g
- Fiber
- 1 g
- Sugar
- 4 g
- Sodium
- 600 mg
Next recipe

Garlic Parmesan Cheeseburger Bombs for an Easy Appetizer
See the recipe → →This recipe is based on a short cooking video and is published under the pen name Clara Weller. It was checked before publication, but errors can slip through. Nutrition, when shown, is an estimate. Read more in our editorial policy and on our food safety page.
More recipes to try
Roasted Beef Bone Marrow with Toasted Garlic Crostini
Total time: 35 min
Cheesy Ham-Stuffed Pull-Apart Bread for Easy Sharing
Total time: 35 min
Creamy Garlic Butter Shrimp Bites for a Quick Appetizer
Total time: 18 min
Easy Baked Ham and Cheese Sliders for Any Crowd
Total time: 35 min
Creamy Hot Sausage Beer Cheese Dip
Total time: 40 min