Appetizers · Part 1 of 3: Ingredients
Adorable Pumpkin Brioche Buns with Melty Cheese
- Prep
- Cook
- Total
- Serves
- 8
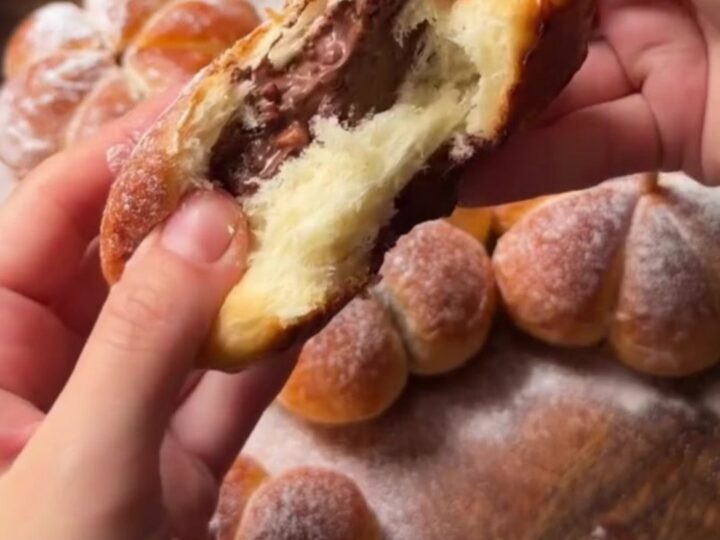
These miniature pumpkin brioche buns are the ultimate fall showstopper. Shaped like little pumpkins with kitchen twine, they hide a molten cheese center that pulls apart in the most satisfying way.
The dough is enriched with pumpkin puree, giving it a beautiful orange hue and a subtle sweetness that pairs perfectly with the savory cheese. Perfect for Halloween parties, Thanksgiving gatherings, or any autumn celebration, these buns are as fun to make as they are to eat.
Imagine pulling apart a soft, golden brioche bun shaped like a pumpkin, only to find a river of melted cheese stretching between your fingers. That's the magic of these pumpkin brioche buns. The dough comes together quickly with warm milk, oil, pumpkin puree, and yeast, then rises until pillowy.
After shaping and tying with twine, a simple egg wash gives them a shiny, bakery-style finish. Baking at 375°F turns them into perfect little pumpkins, ready for a pecan stem. These buns are a delightful twist on classic dinner rolls, combining visual charm with irresistible taste. Whether served as an appetizer, a side, or a Halloween centerpiece, they're sure to delight.
Ingredients
- 1 cup warm milk
- 1/2 cup vegetable oil
- 1/2 cup pumpkin puree
- 2 1/4 tsp active dry yeast
- 2 tbsp granulated sugar
- 3 1/2 cups all-purpose flour
- 1 tsp salt
Filling
- 1 1/2 cups shredded mozzarella cheese
Egg wash
- 1 egg yolk, beaten
- 1 tbsp water
Why this recipe works
The method of shaping the dough with kitchen twine is genius. As the dough rises and bakes, it expands around the twine, naturally creating the segmented ridges of a pumpkin. This technique requires no special molds or tools, just a bit of string and patience.
The result is a perfectly realistic pumpkin shape that's sure to impress. The twine also helps the buns hold their shape during baking, ensuring they come out of the oven looking like tiny gourds.
The use of pumpkin puree in the dough serves a dual purpose. It adds a beautiful golden-orange color, making the buns look like real pumpkins, and it also contributes moisture and a subtle earthy sweetness.
The puree keeps the buns soft and tender, while the cheese filling provides a savory contrast that makes each bite irresistible. The combination of sweet dough and salty, melty cheese is a classic pairing that never fails to please.
Notes and substitutions
For the best flavor, use a good-quality pumpkin puree (not pumpkin pie filling) and a cheese that melts well, like mozzarella, provolone, or a mix of your favorites. The warm milk should be about 110°F (43°C) – warm to the touch but not hot, to activate the yeast properly. If you don't have active dry yeast, you can use instant yeast; just mix it directly with the flour and reduce the rising time slightly.
When tying the twine, make sure it's snug but not too tight. You want to create distinct segments without cutting into the dough. Use a kitchen scissors to snip the twine after baking, and be careful not to tear the buns. If you prefer a sweeter bun, you can add a tablespoon of honey or maple syrup to the dough. For a savory twist, add a pinch of dried herbs like rosemary or thyme to the dough.
- mozzarella: cheddar, provolone, or a mix of your favorite melting cheeses
- pumpkin puree: butternut squash puree or sweet potato puree
- vegetable oil: melted butter or coconut oil
- all-purpose flour: bread flour for a chewier texture
Equipment
- Large mixing bowl
- Whisk
- Kitchen twine
- Baking sheet
- Parchment paper
- Pastry brush
- Cooling rack
Up next · Part 2 of 3
9 steps · 20 min of cooking · what to look for at each stage
Step-by-step instructions (Part 2)