Dinner · Part 1 of 3: Ingredients
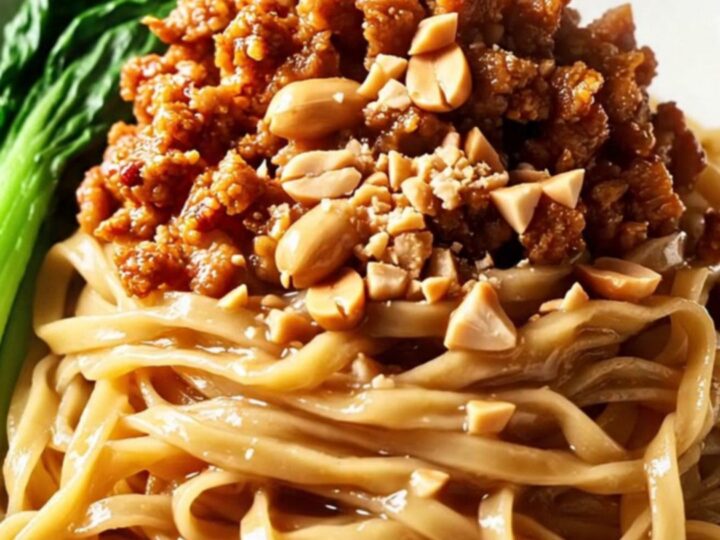
15-Minute Spicy Peanut Dan Dan Noodles with Crispy Pork
- Prep
- Cook
- Total
- Serves
- 4
Elevate your weeknight routine with these fiery, nutty Dan Dan noodles that come together in just fifteen minutes. This recipe captures the iconic Sichuan balance of numbing spice, savory depth, and satisfying crunch, proving that restaurant-quality meals are well within reach of any home cook's busy schedule.
Dan Dan noodles are a celebrated Sichuan classic, known for their complex flavor profile and comforting texture. This version streamlines the process for the modern kitchen, focusing on a high-impact peanut sauce that pairs perfectly with crispy, savory minced pork.
Whether you are craving something bold and spicy or simply need a fast, delicious meal, this dish offers a reliable path to authentic flavors without the wait time associated with traditional preparations. The combination of chewy noodles, aromatic pork, and a rich, numbing sauce creates a memorable dining experience that satisfies every time.
Ingredients
Sauce
- 60 grams creamy peanut butter
- 30 milliliters chili crisp oil
- 2 tbsp dark soy sauce
- 1 tbsp Chinkiang vinegar
- 1 tsp numb-spicy Sichuan peppercorn powder
Main
- 250 grams minced pork
- 4 cloves garlic
- 1 tbsp ginger, minced
- 2 tbsp preserved mustard greens
- 350 grams wheat noodles
- 80 milliliters broth
Garnish
- 2 cups baby bok choy, for serving
- 1/4 cup roasted peanuts, for serving
Why this recipe works
The method focuses on efficiency by preparing the sauce separately while the pork reaches optimal crispness in a single skillet.
By whisking the peanut butter with the chili oil, soy sauce, and Sichuan peppercorns first, the flavors have a moment to harmonize before meeting the hot components. This ensures that the sauce coats every strand of noodle evenly, creating a consistent experience in every bite.
The use of high heat for the pork is crucial for developing the Maillard reaction, which provides the necessary depth of flavor and texture contrast.
Incorporating the broth at the final stage emulsifies the sauce, transforming the thick peanut base into a glossy, velvety coating that clings to the wheat noodles. This technique balances the intensity of the numbing peppercorns with the creamy richness of the peanut butter.
Notes and substitutions
When selecting ingredients, look for high-quality dark soy sauce, which provides the essential color and depth. The choice of wheat noodles is flexible; fresh noodles offer the best chew, but dried varieties work perfectly well when boiled to the correct al dente texture. Ensure that the Sichuan peppercorn powder is fresh to guarantee that authentic, tingling numbing sensation that defines the dish.
The equipment required is minimal, with a standard skillet or wok being the most important tool for achieving the crispy pork texture. If the skillet starts to crowd during the browning process, work in smaller batches to maintain the high temperature needed for crisping.
Do not skip the preserved mustard greens, as they provide the signature savory, fermented backbone that balances the richness of the nut butter.
- Chinkiang vinegar: Use balsamic vinegar mixed with a splash of rice vinegar for a similar depth of flavor.
- Minced pork: Ground chicken or turkey can be used as a leaner alternative, though the texture will be slightly different.
Equipment
- Whisk
- Mixing bowl
- Large skillet or wok
- Pot for boiling noodles
Up next · Part 2 of 3
3 steps · 10 min of cooking · what to look for at each stage
Step-by-step instructions (Part 2)